Introductions
Creating an Enseva Azure Account
Creating an Enseva Azure Account
- Navigate to the Tenant Portal
Creating an Enseva Azure account is a self-service activity. Any user with an email address may visit Enseva's Azure portal, sign up, and activate an account. To create an Enseva Azure account, navigate to the Enseva Azure portal at https://tenant.enseva.com
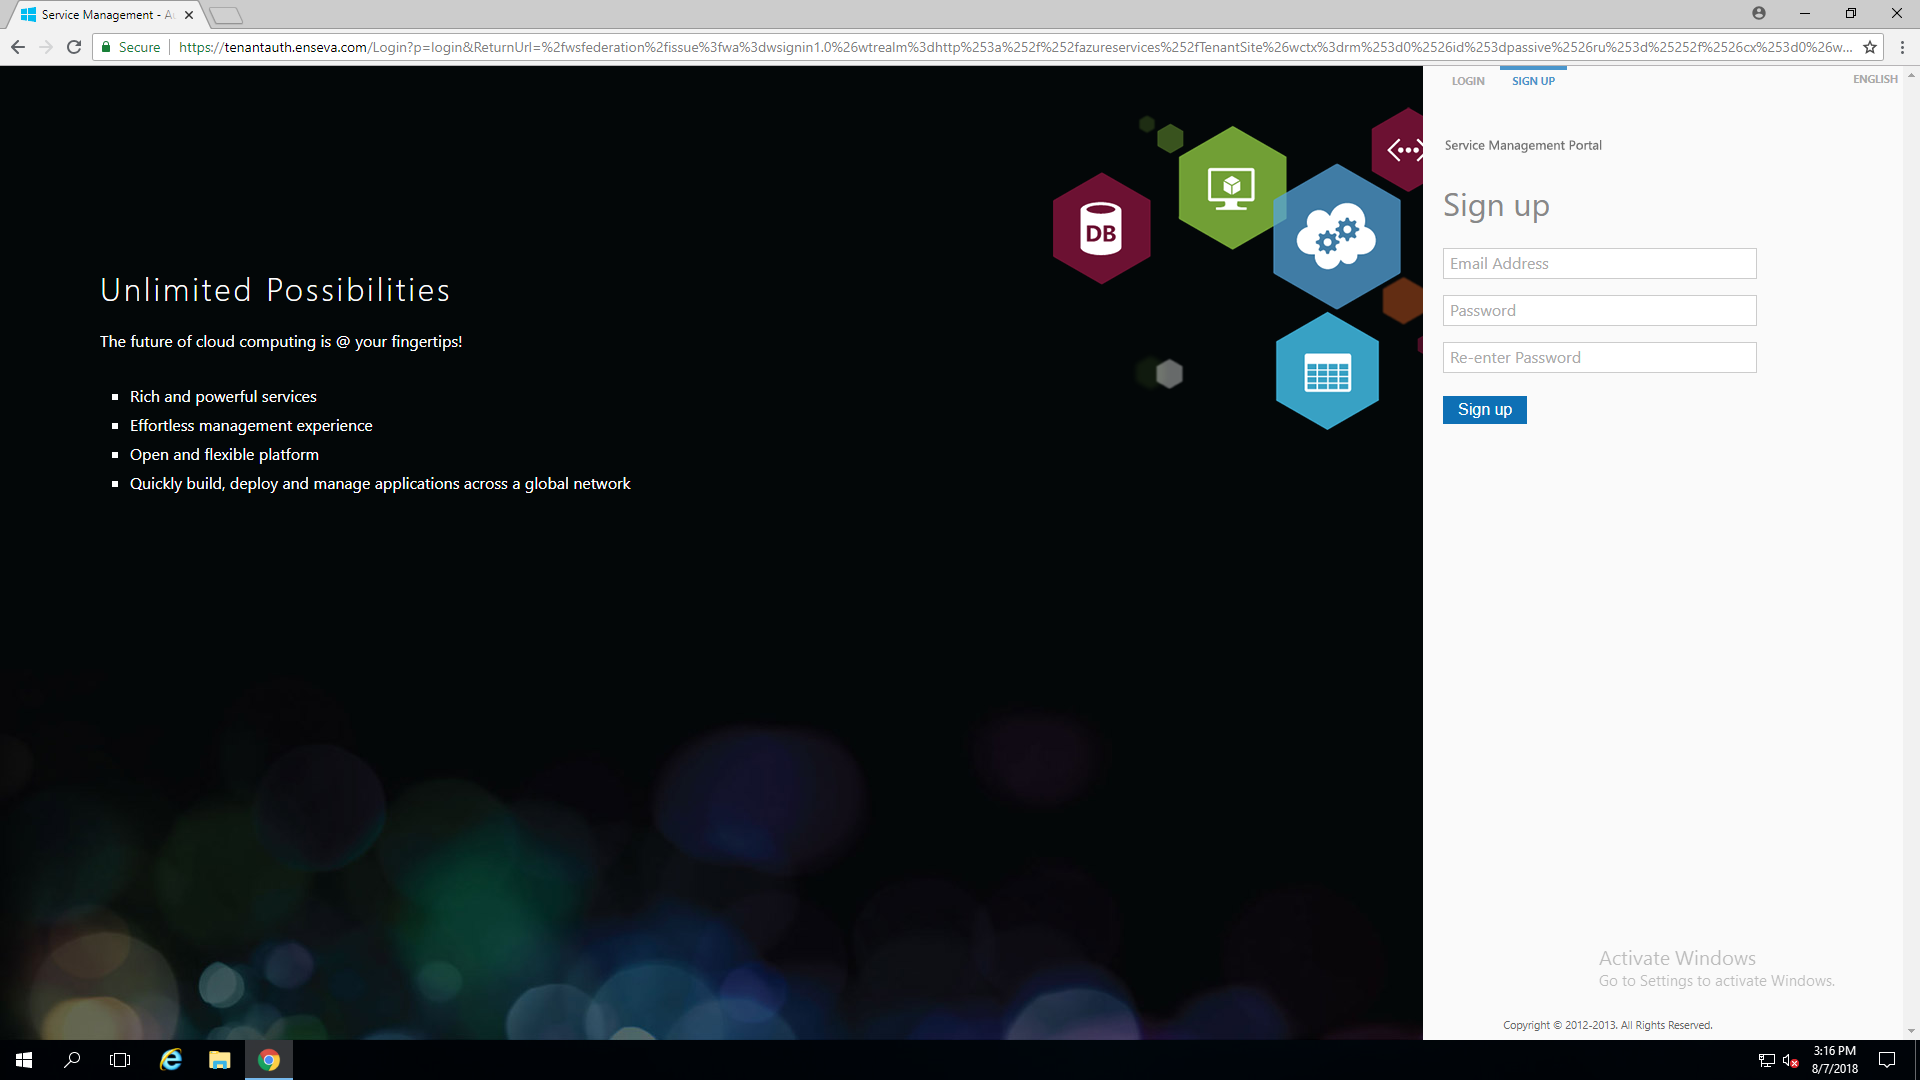
- Select Sign-Up
Click SIGN UP at the top of the page to toggle the displayed fields and start creating a new account.
- Enter Desired Credentials
Enter the email address that you would like associated with your Enseva Azure login (you will need to access this email to complete the activation process) Next, specify your preferred password twice (follow the on-screen instructions if the passwords entered do not meet the complexity requirements) Finally, click the 'Sign-Up' button.

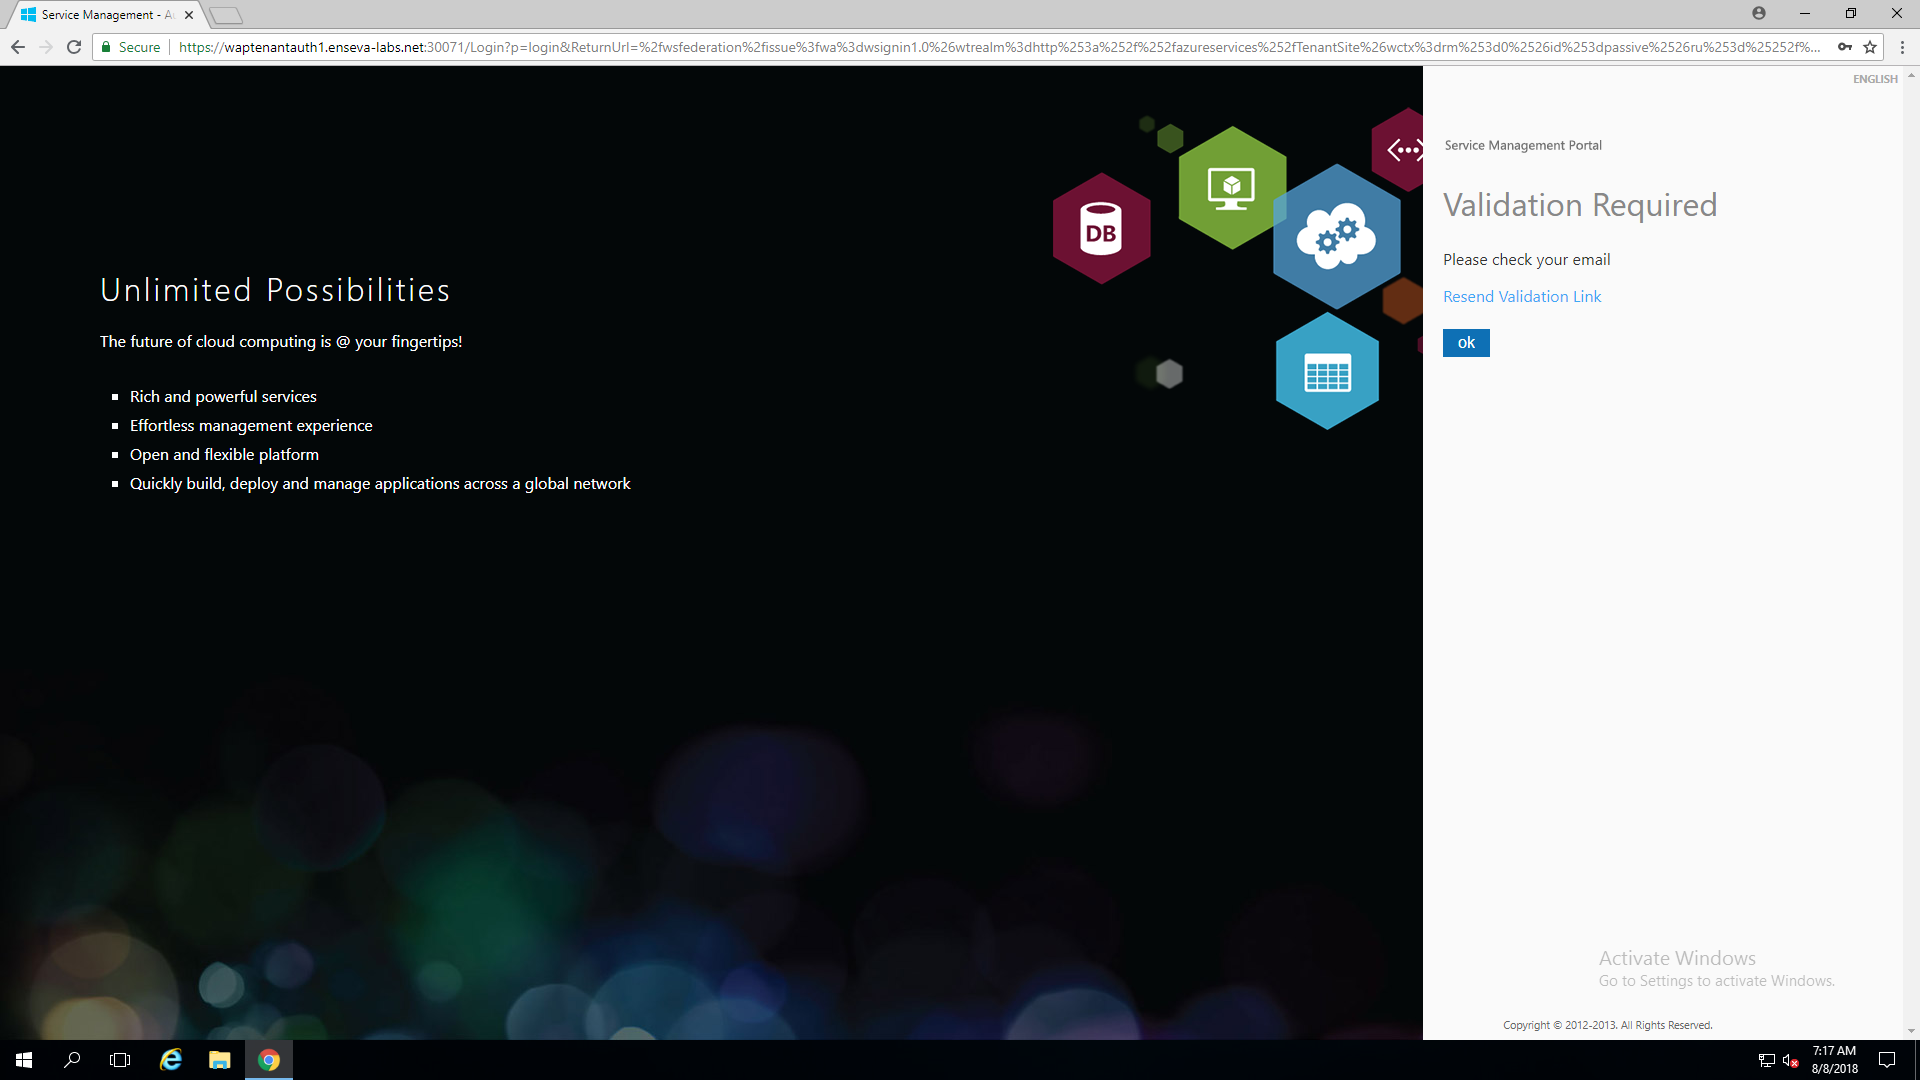
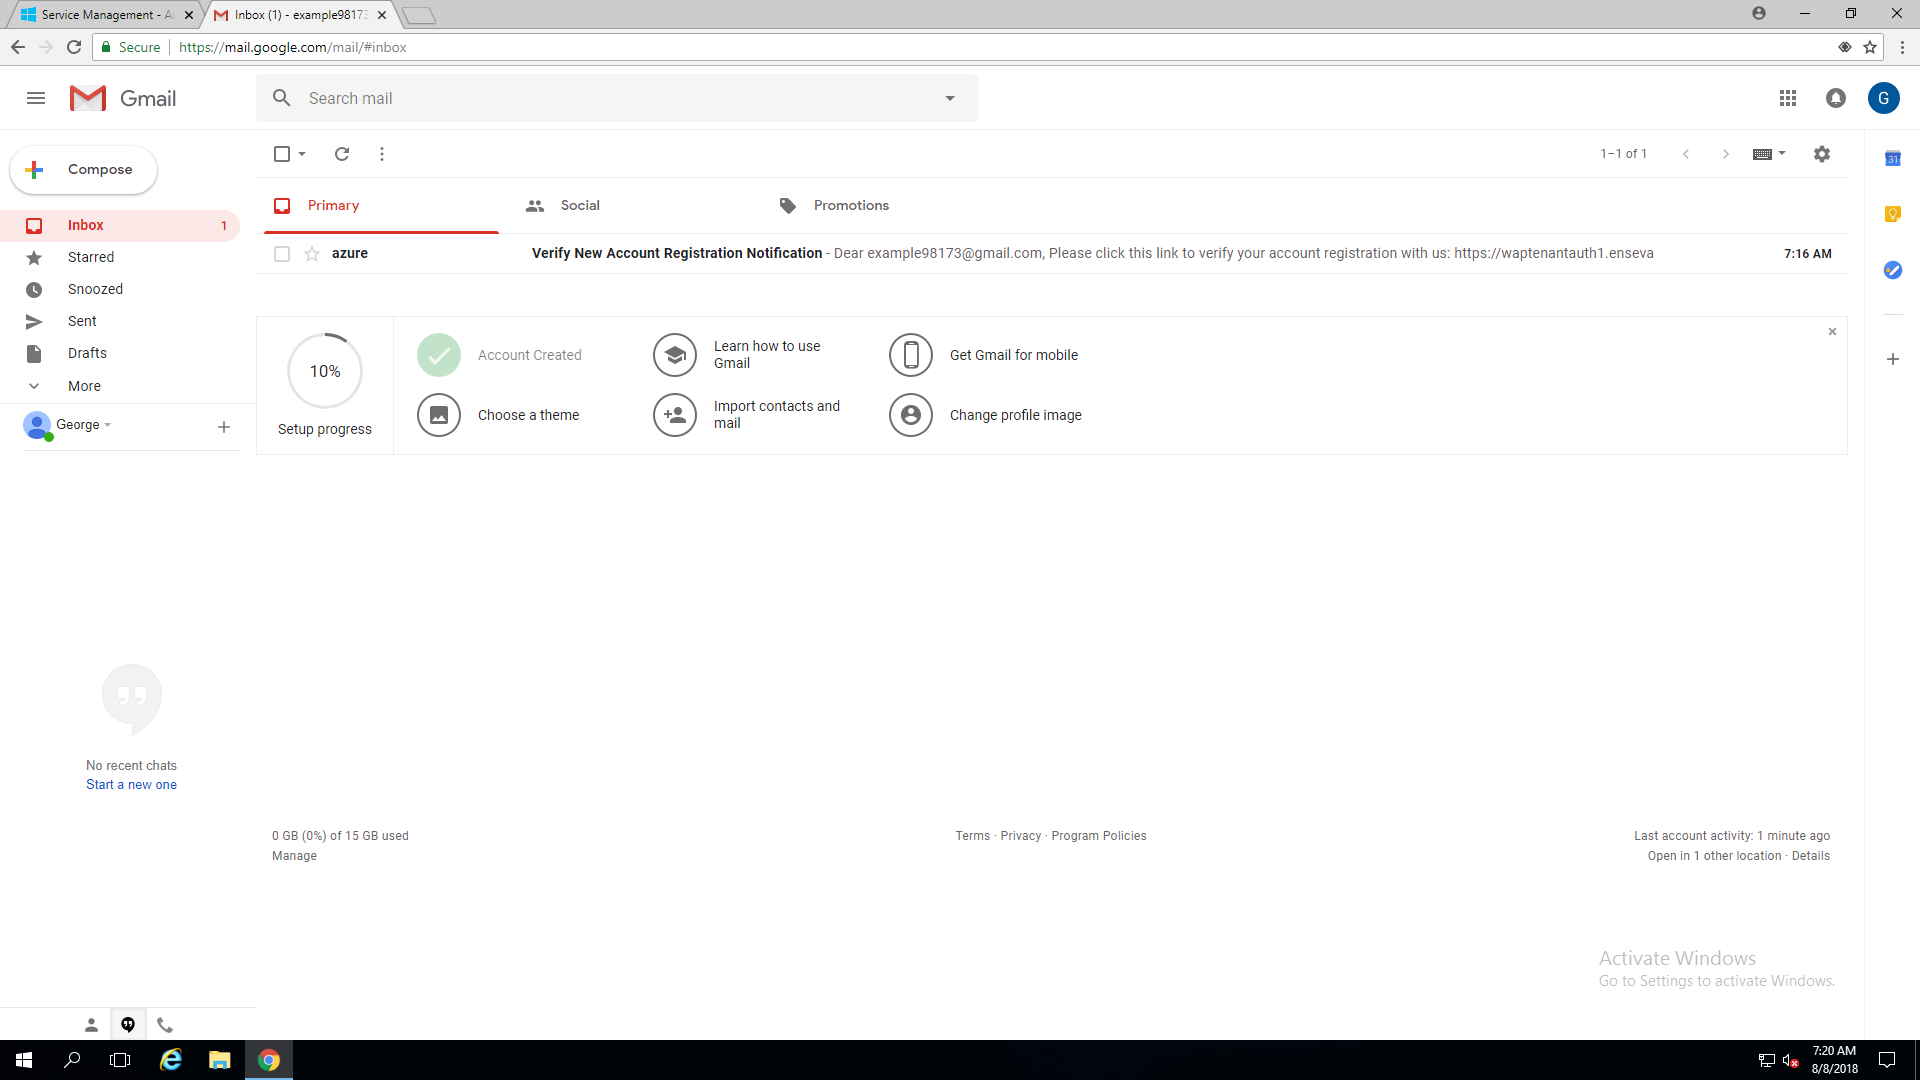
- Validate Email Address
After a few moments, you will receive an automated email that includes an activation link. You must click this link to complete the activation process.
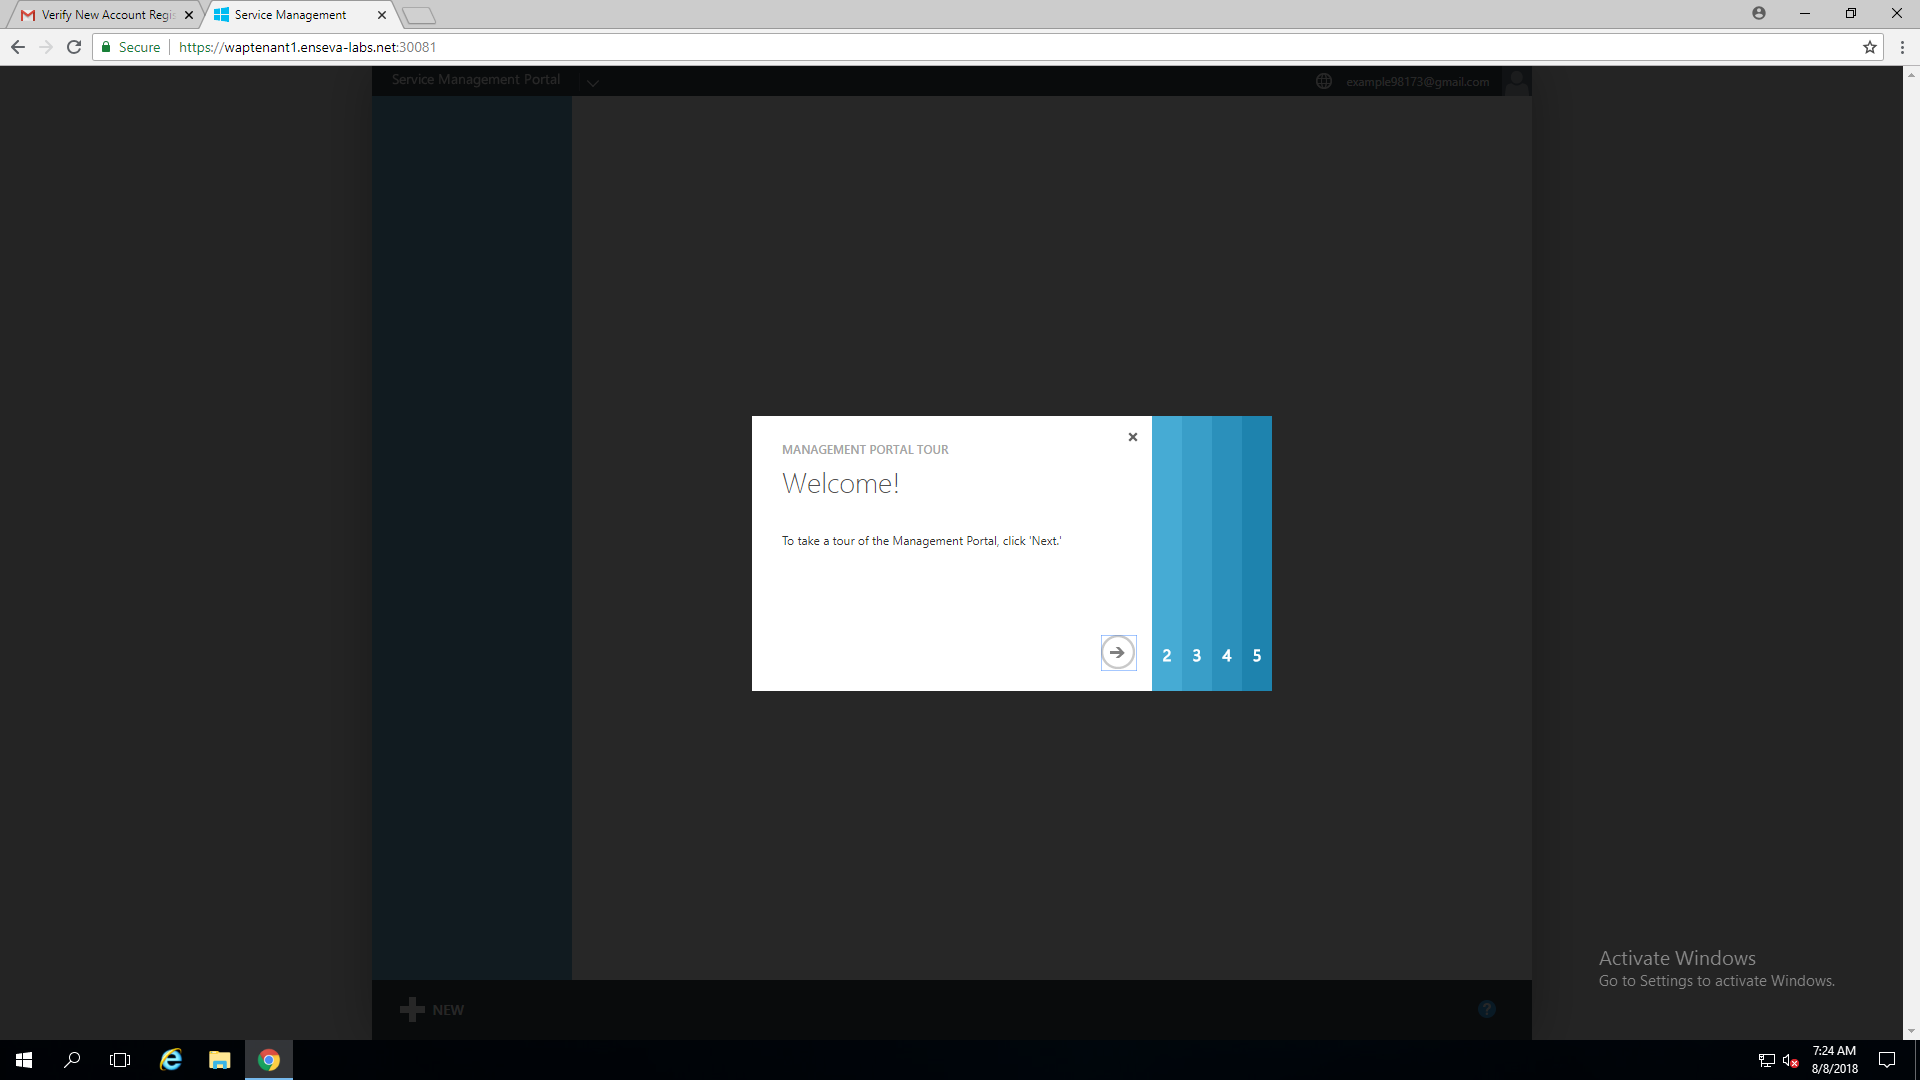
- Login to your Account
After activation is completed, you'll be logged into the Enseva Azure portal and an introduction wizard will be initiated. Click through the wizard to learn more about the Enseva Azure web interface.


Logging in for the first time
This guide will cover logging into your Enseva Azure account for the first time.
Logging into your Enseva Azure account for the first time
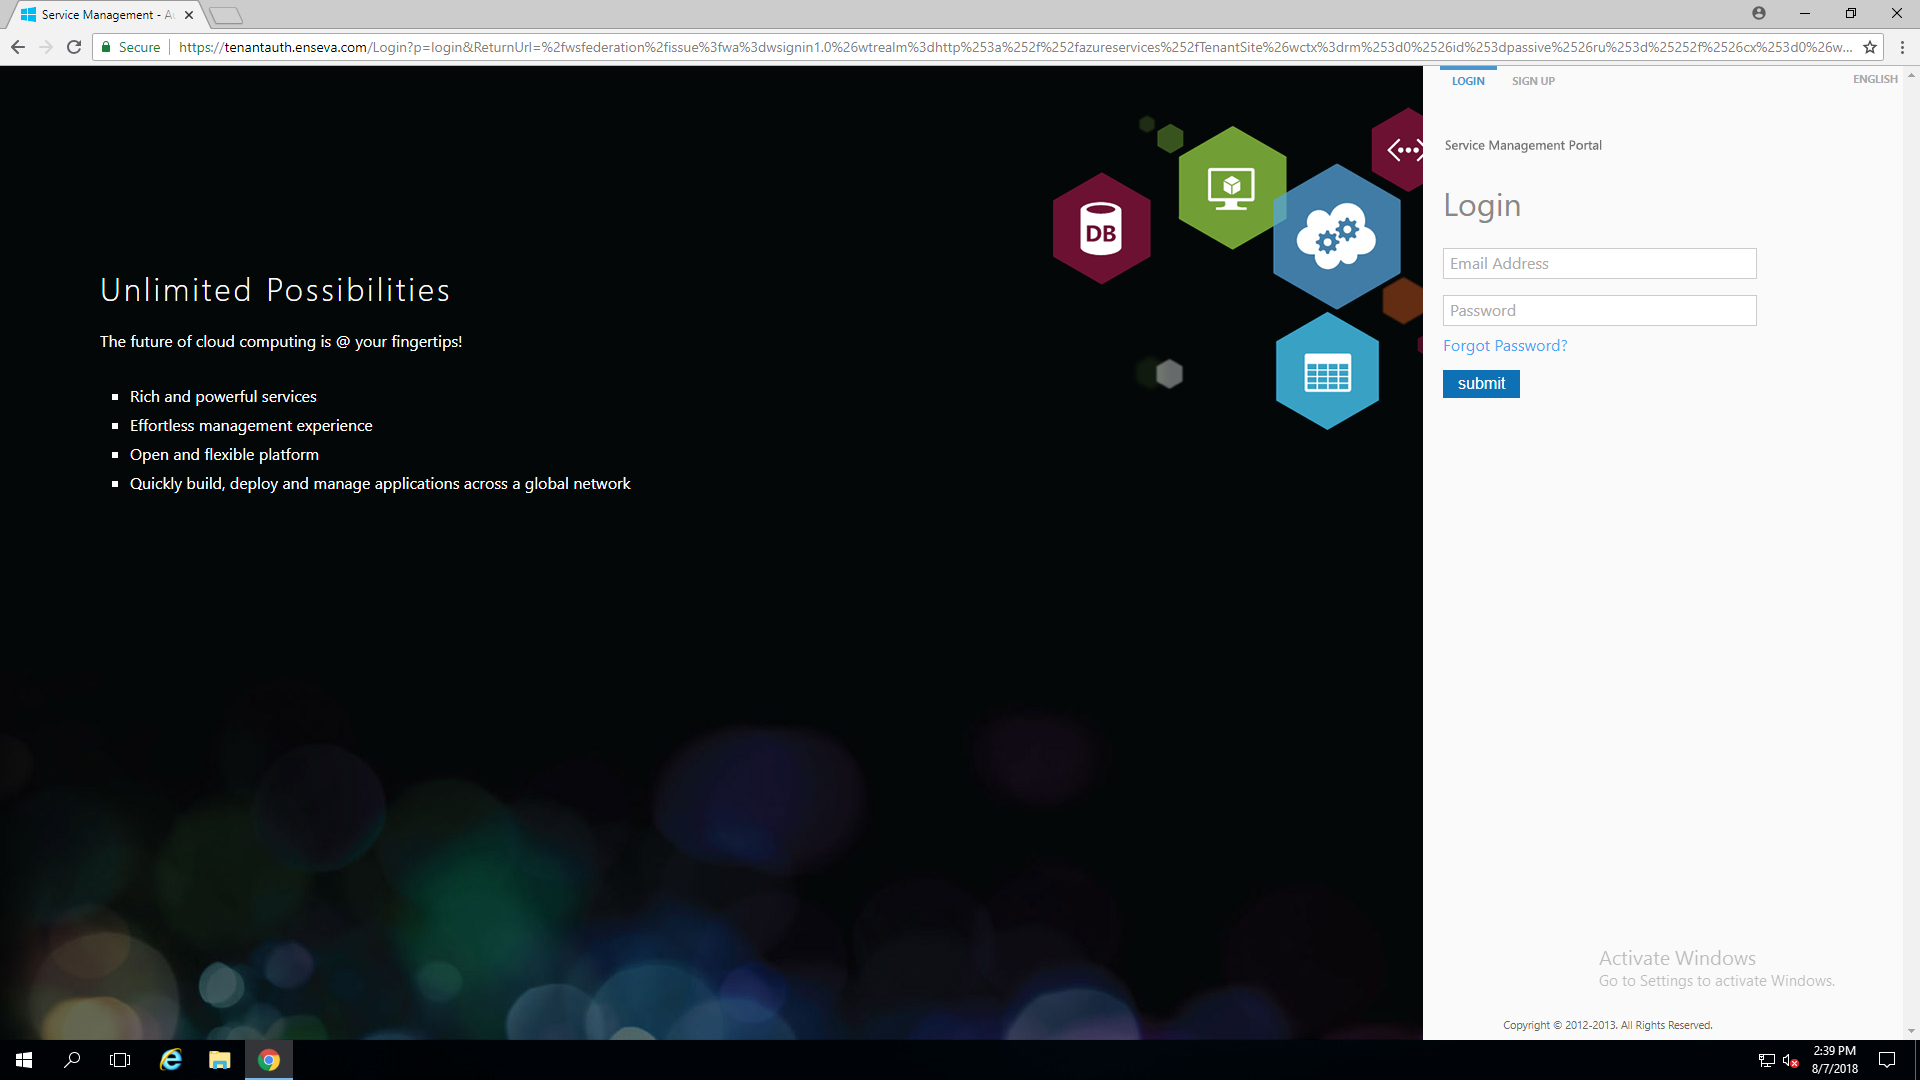
- Navigate to the Tenant Portal
From an internet browser, navigate to the page https://tenant.enseva.com
- Enter your login credentials
Enter your login credentials into their respective fields and click 'submit'
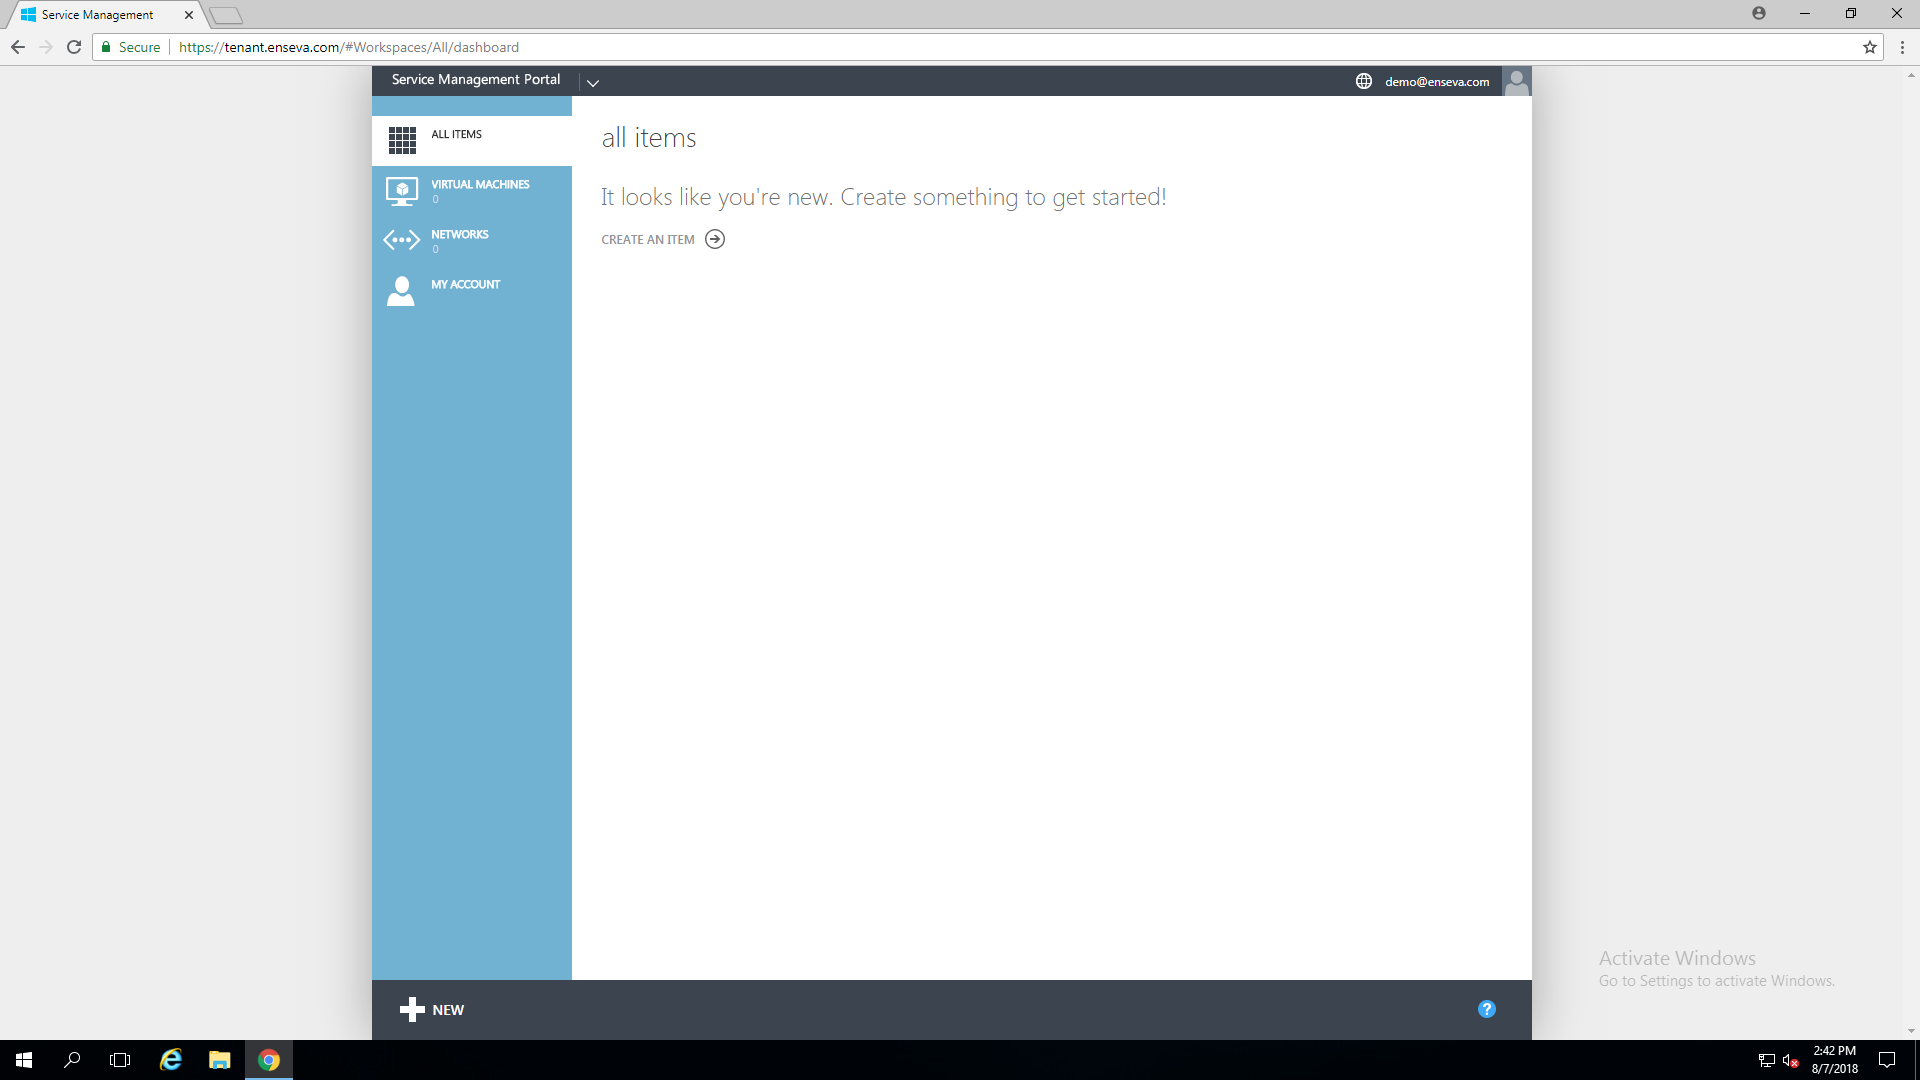
- Review your account
Browse this page to ensure the functionality you desire is configured for your account