Subscription Management
- Reviewing Your Enseva Azure Subscription
- Managing Multiple Subscriptions
- Sharing Your Subscription with a Co-Administrator
- Un-sharing Your Subscription with a Co-Administrator
Reviewing Your Enseva Azure Subscription
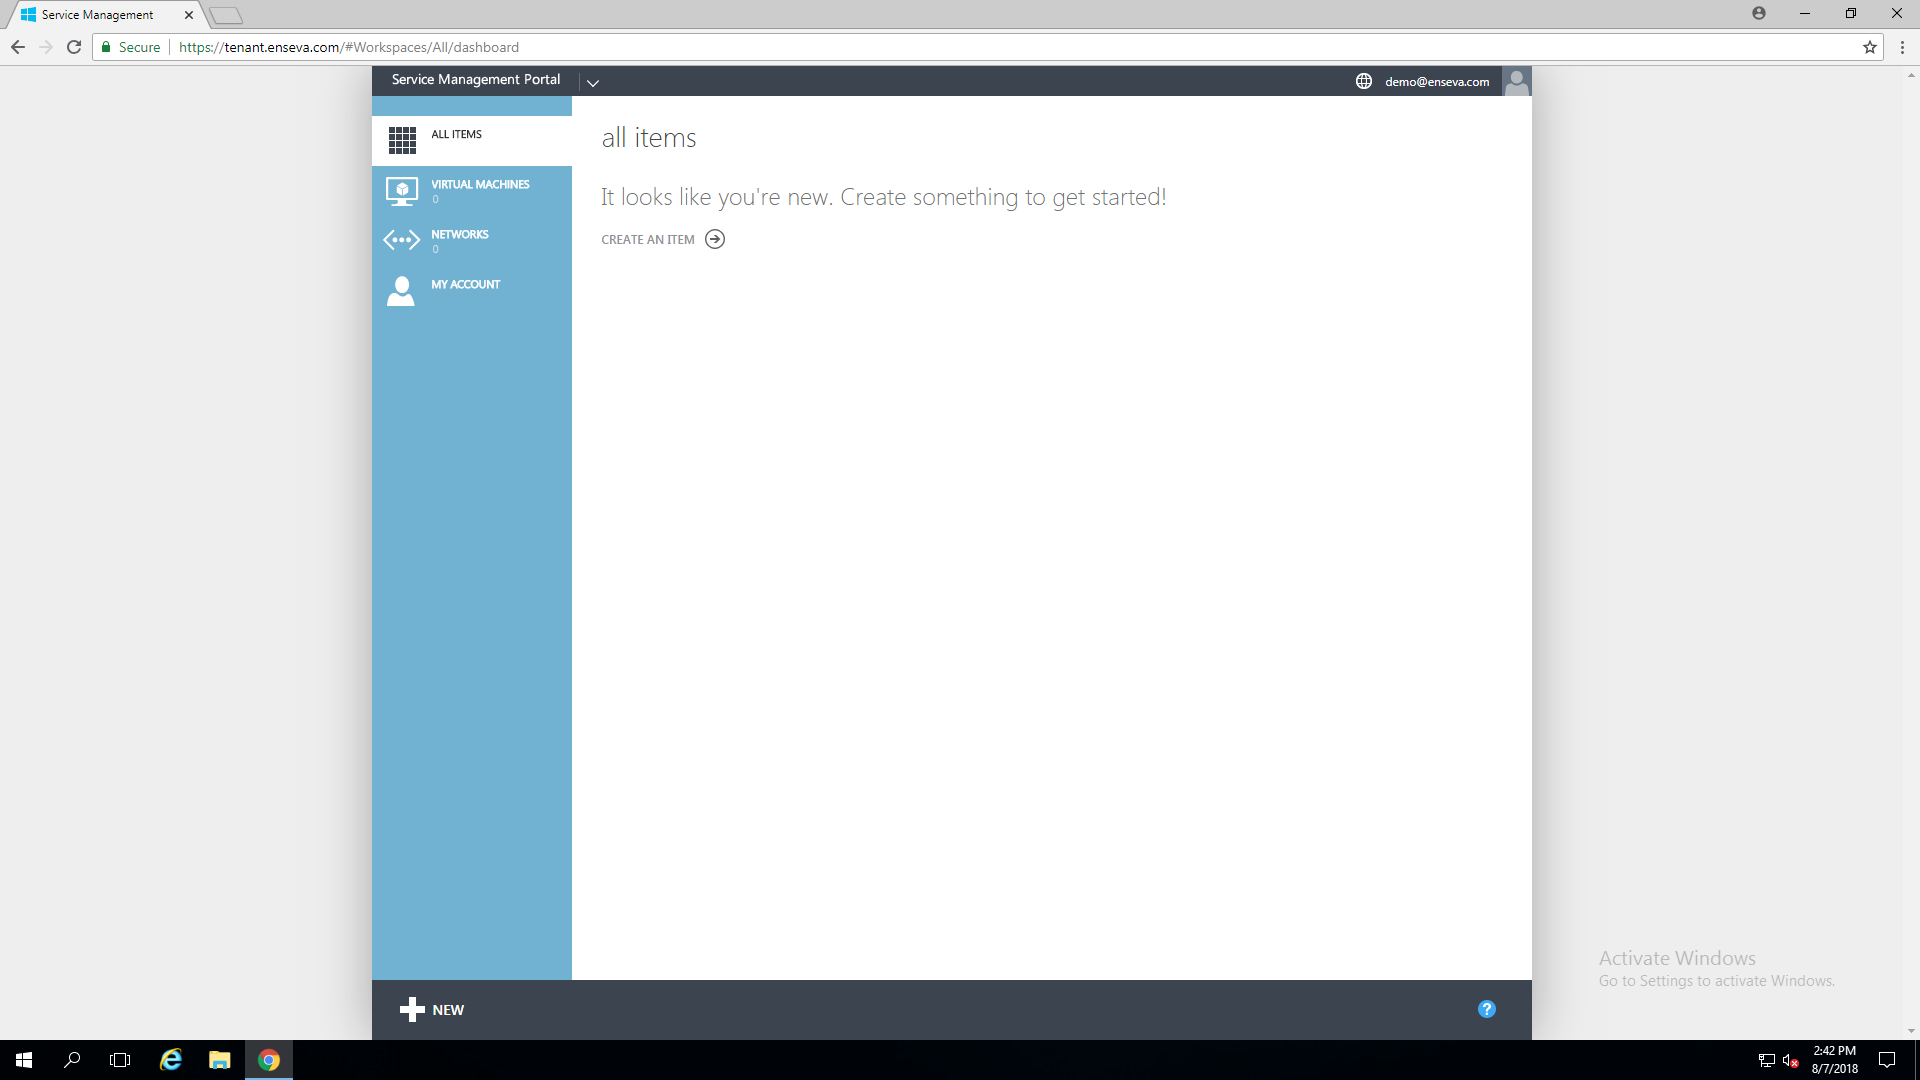
This guide will cover Reviewing your Enseva Azure Subscriptions
Reviewing Your Enseva Azure Subscription
- Navigate to the Enseva Azure Portal
Enseva Azure subscriptions allow users and organizations to self-provision resources in the cloud. These subscriptions are typically associated with your account after purchasing from the Enseva sales team. Any automated email message will be delivered to the purchaser at the time the subscription gets created.
For the purposes of this tutorial, it is assumed that a subscription has already been assigned to your account and that you are logged into the Enseva Tenant Portal.
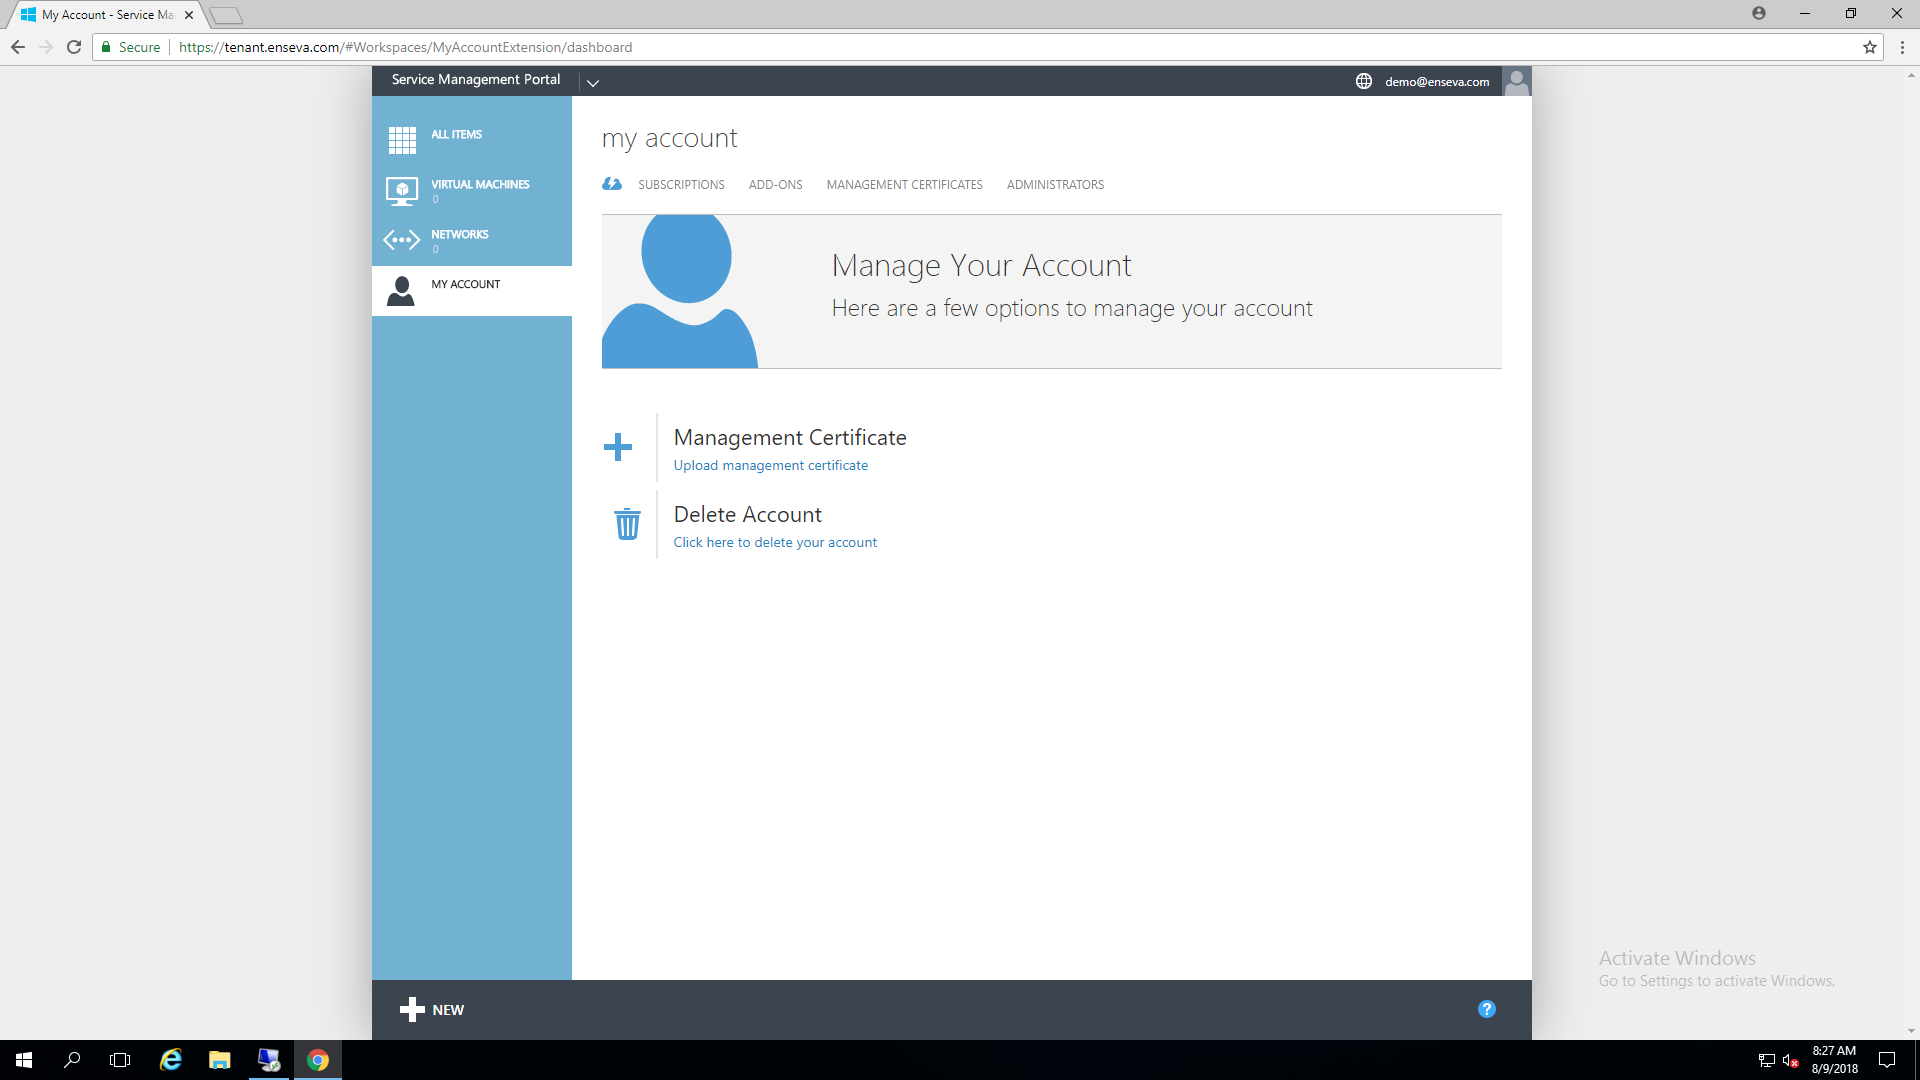
- Navigate to My Account
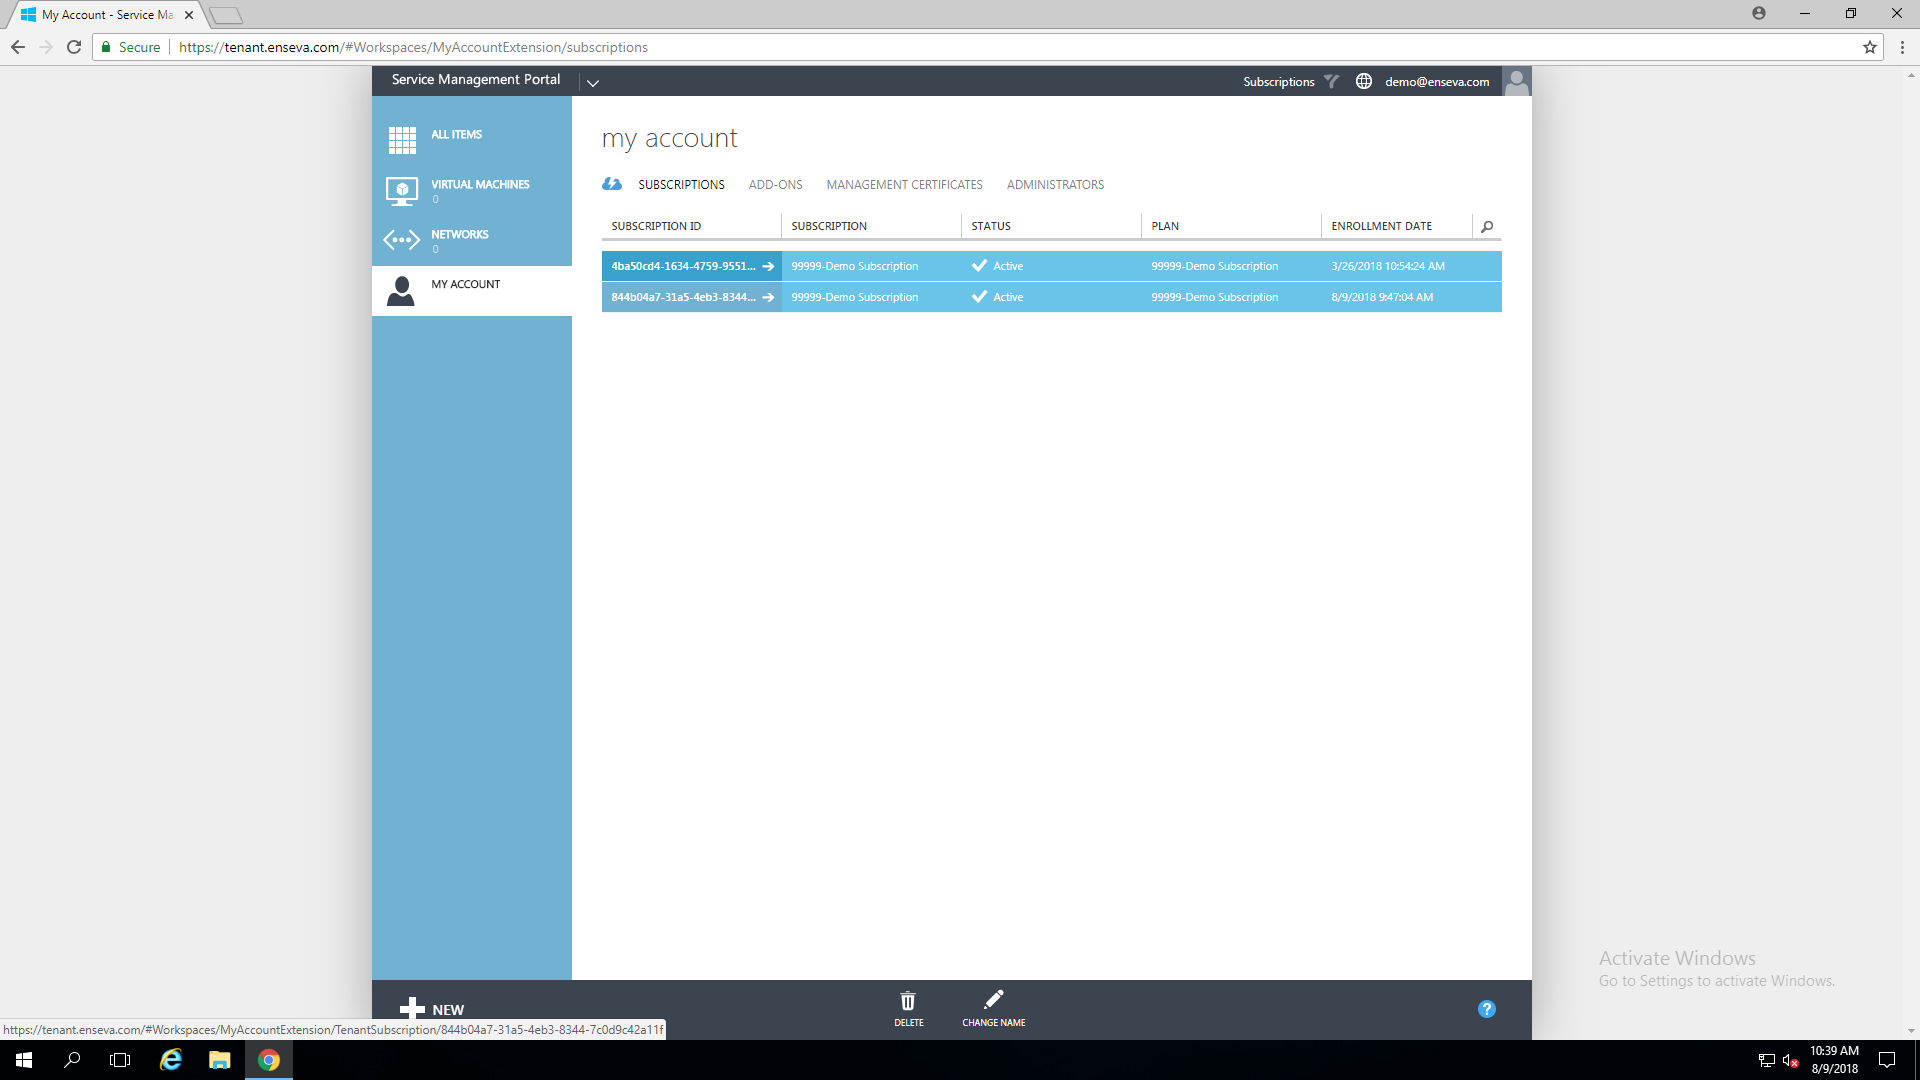
Users can review the subscriptions they have access to by clicking on 'My Account' in the Enseva Azure portal.
- Navigate to Subscriptions
At the top of the page, click on the 'Subscriptions' button to display a list of subscriptions your account currently has access to.
The demo account we're working with has a single subscription. For each subscription you'll be presented a Subscription ID, a friendly Subscription name, the Status of the subscription, the Plan the subscription was generated from and the Enrollment Date.
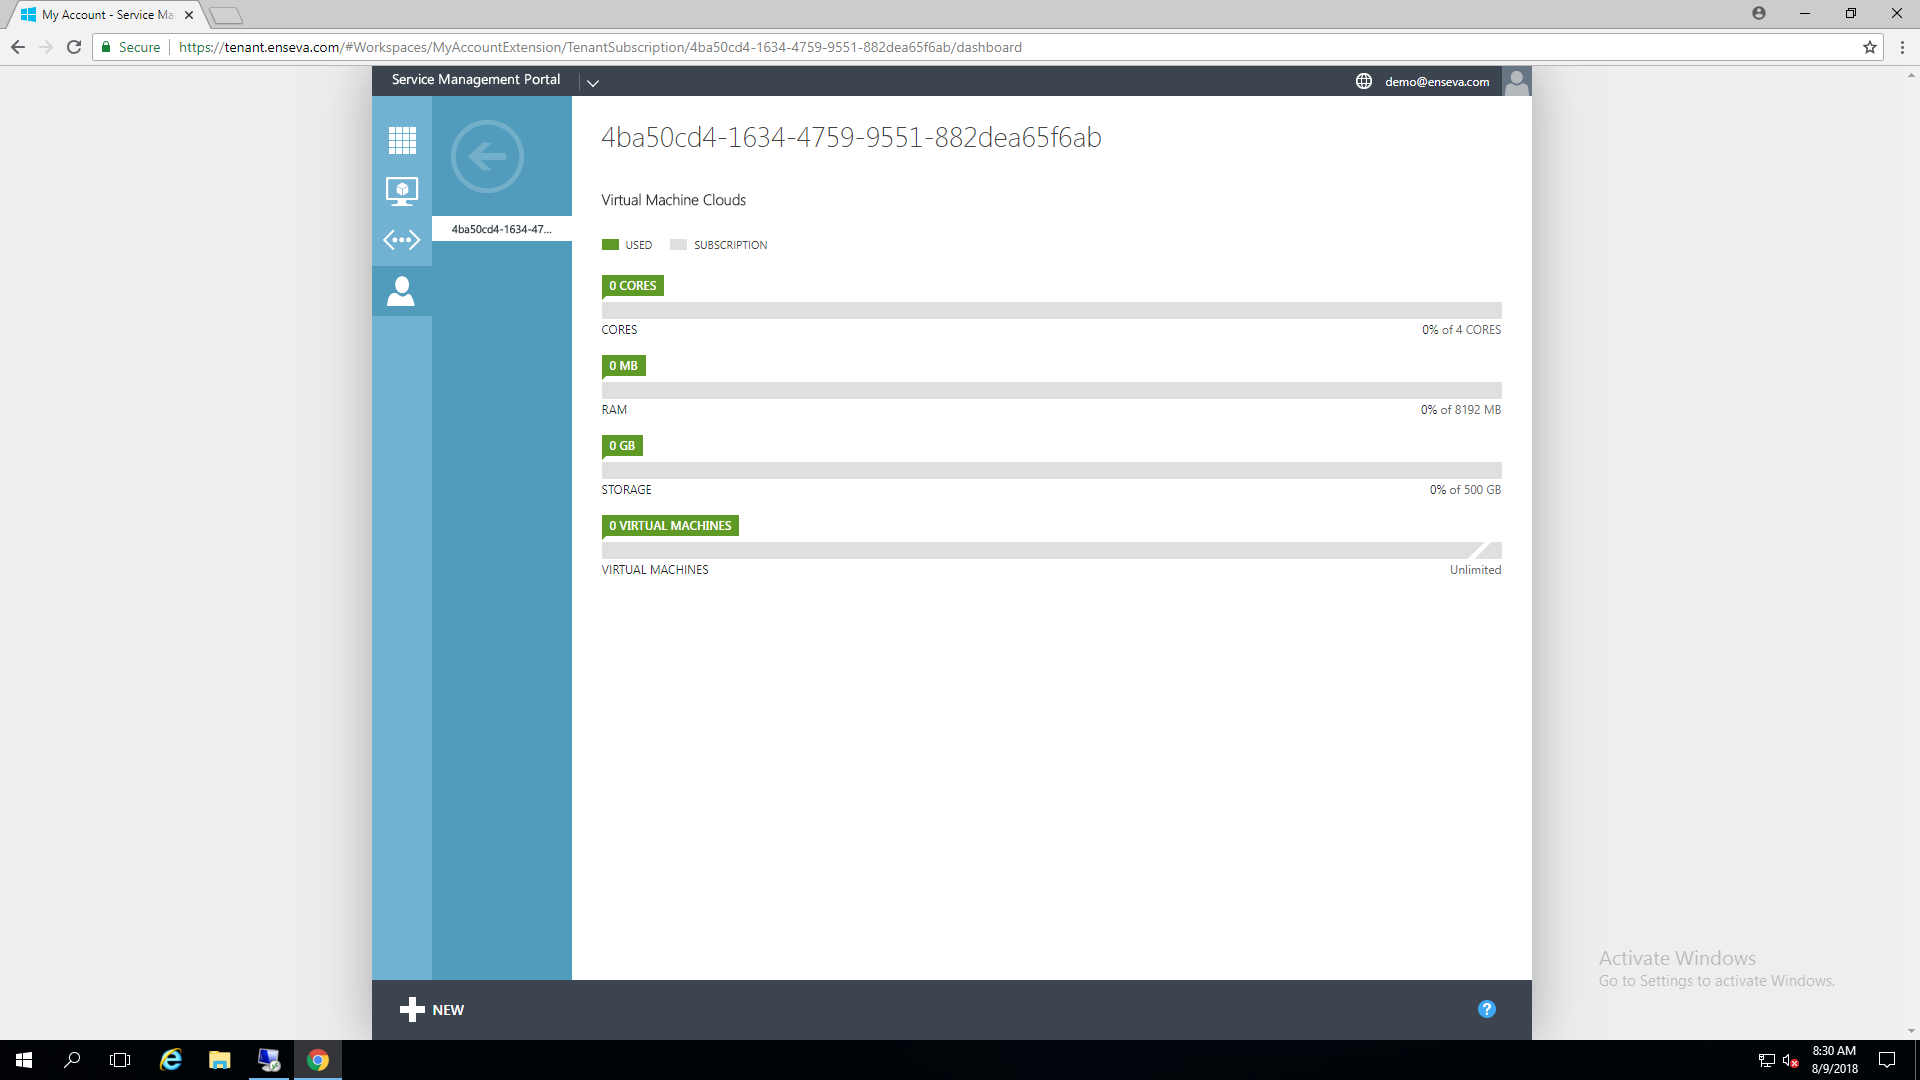
- Subscription Details
Clicking on one of the subscriptions will display additional details about the subscription. In the below example, we have not created any virtual machine instances yet, however you can see that the subscription has 4 vCPU Cores, 8GB of Memory, 500GB of Block Storage and we can create an unlimited number of virtual machine instances, of which we currently have zero.
- Return to Subscriptions
Clicking the back arrow will return you to the subscription list.

Managing Multiple Subscriptions
This guide will cover Managing Multiple Subscriptions within the Enseva Azure Portal
Managing Multiple Subscriptions
- Navigate to the Enseva Azure Portal
It’s possible for a user to own or have access to multiple subscriptions. This comes in handy in cases where separation is required between virtual machine instances and in cases of managed service providers having access to multiple client environments using a single pane of glass.
For the purposes of this tutorial, it is assumed that you have already logged into the Enseva Azure portal and multiple subscriptions have already been assigned to your account.
- Select Plan To Review
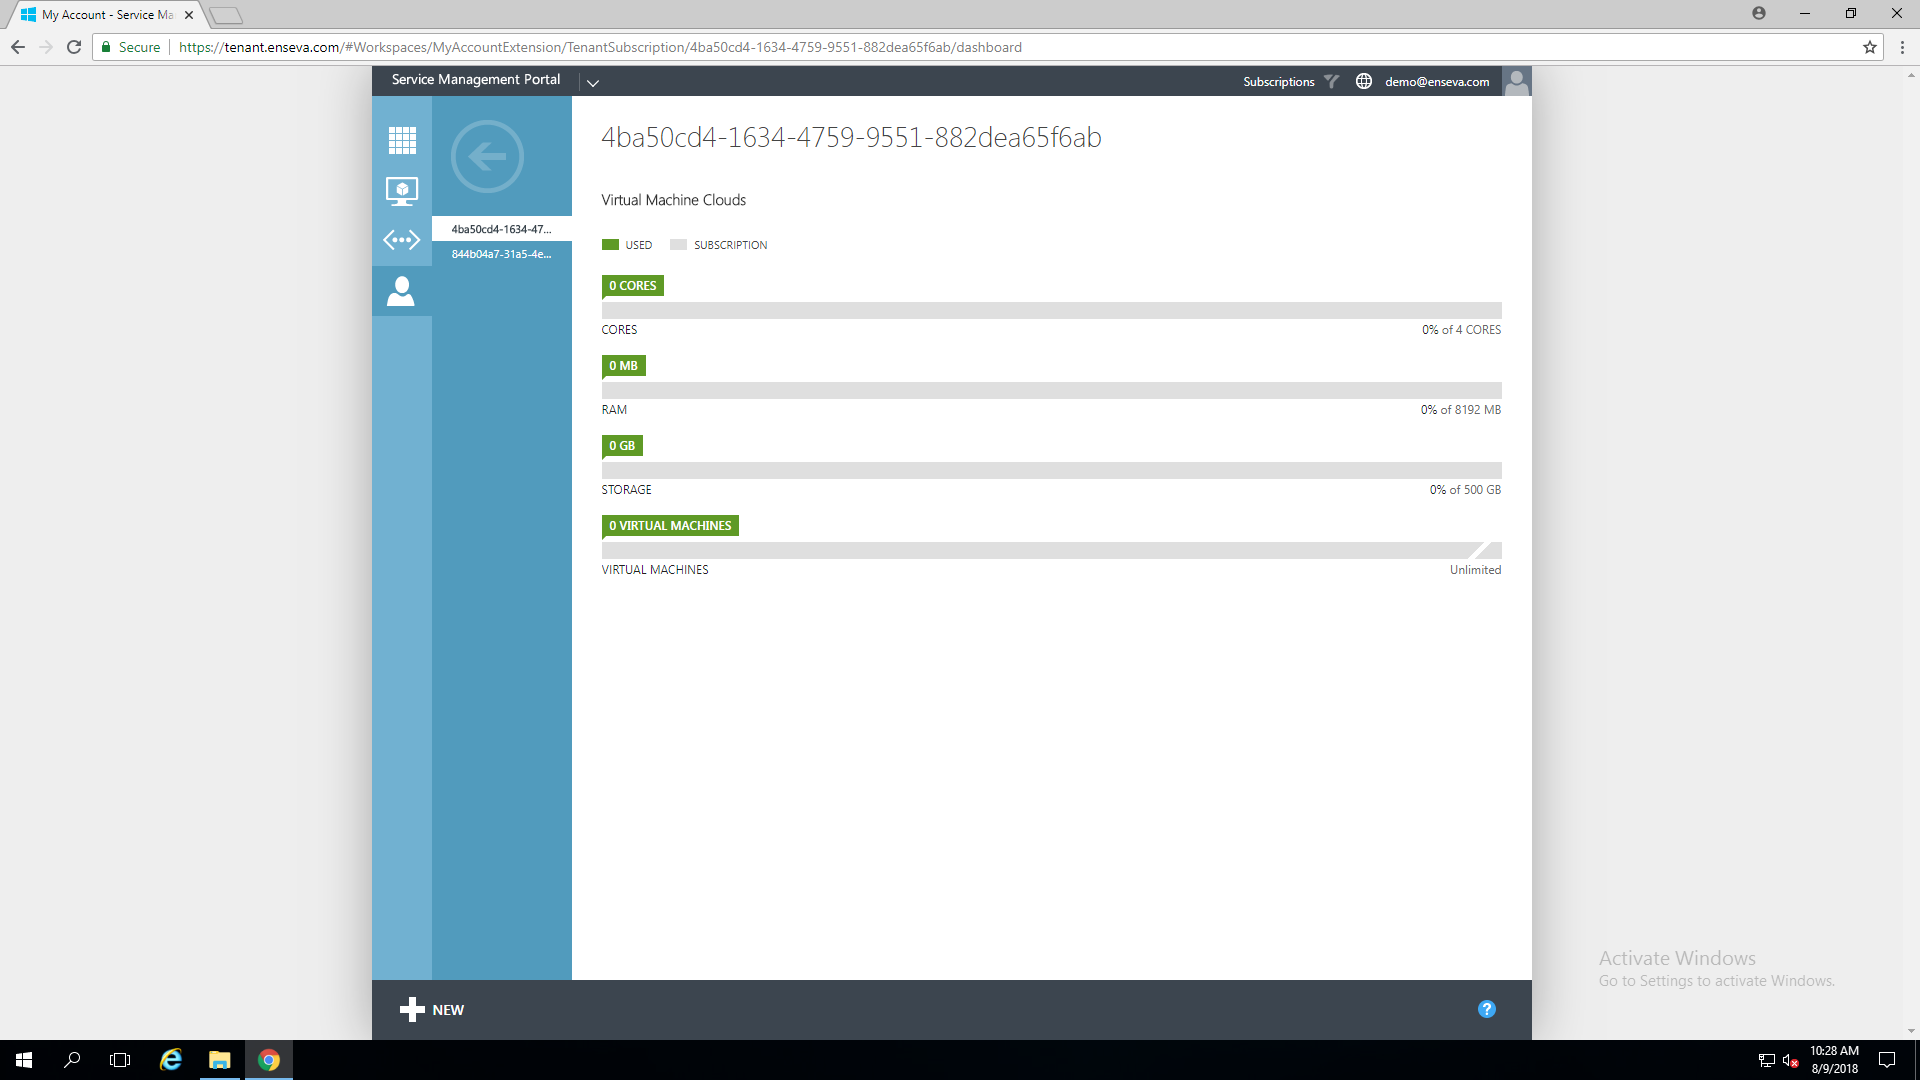
Within the 'Subscriptions' page you will see the plans that are currently associated with your account, click on the 'Subscription ID' of the plan in which you would like to review.
- View an Alternate Subscription
If you would like to review a different subscription, click on the back button in the top left corner.
- Select a Different Plan to Review
From the 'Subscriptions' page choose the next plan in which you would like to review.
- Filter Subscriptions
It is also possible to filter which subscription you are currently interacting with. This can be done by clicking the 'Subscriptions' button towards the top of the page. Click the checkbox to the left of the subscription you would like to manage, then click 'Apply.'


Sharing Your Subscription with a Co-Administrator
Enseva Azure subscription owners are able to share their subscriptions with co-administrators. Co-administrators are able to perform some of the same functions as the subscription owner such as creating virtual machine instances, powering instances on and off, changing hardware profiles on an instance and deleting an instance. Co-administrators are not able to re-share access to a subscription they are not owners of however.
For the purposes of this tutorial, it is assumed that you have already logged into the Enseva Azure portal and are the owner of one or more subscriptions.
Adding Co-administrators to Your Subscription
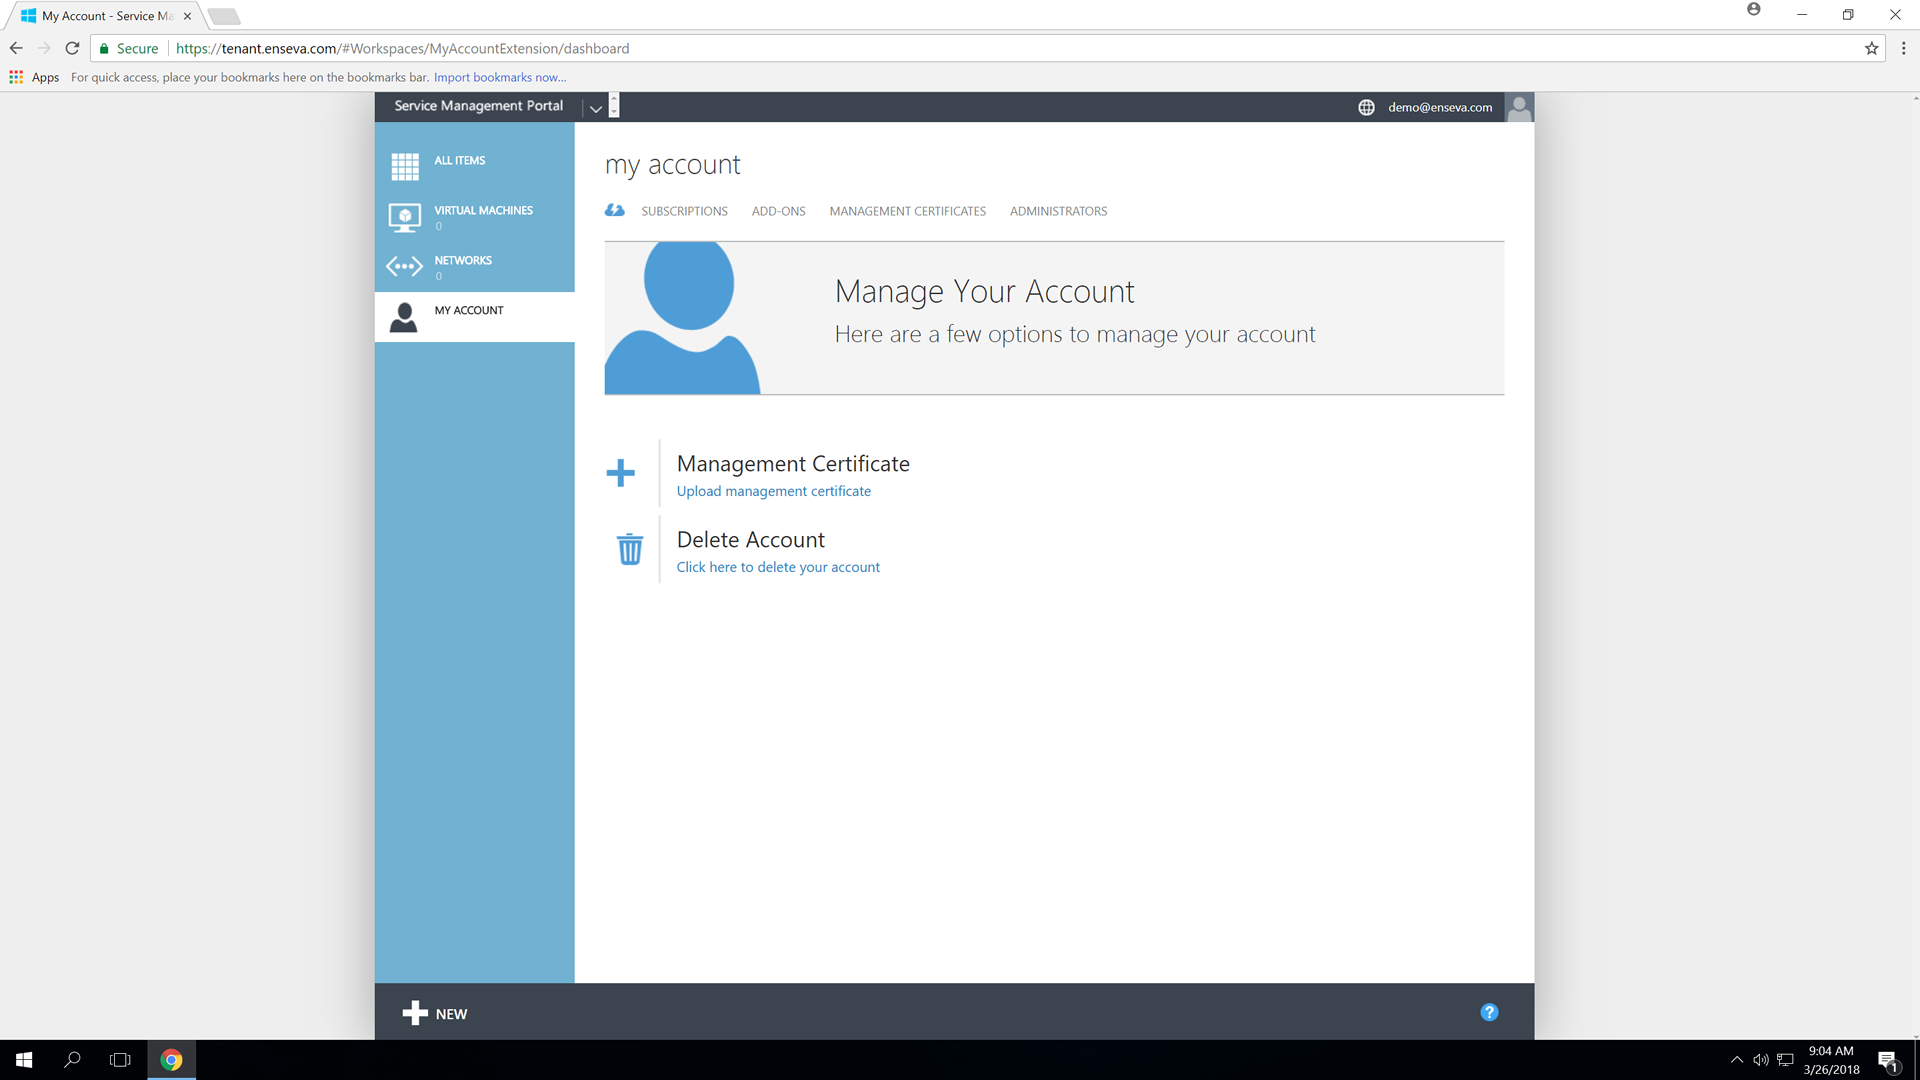
- To grant a co-administrator permission to one of your subscriptions, start by visiting My Account in the Enseva Azure portal.

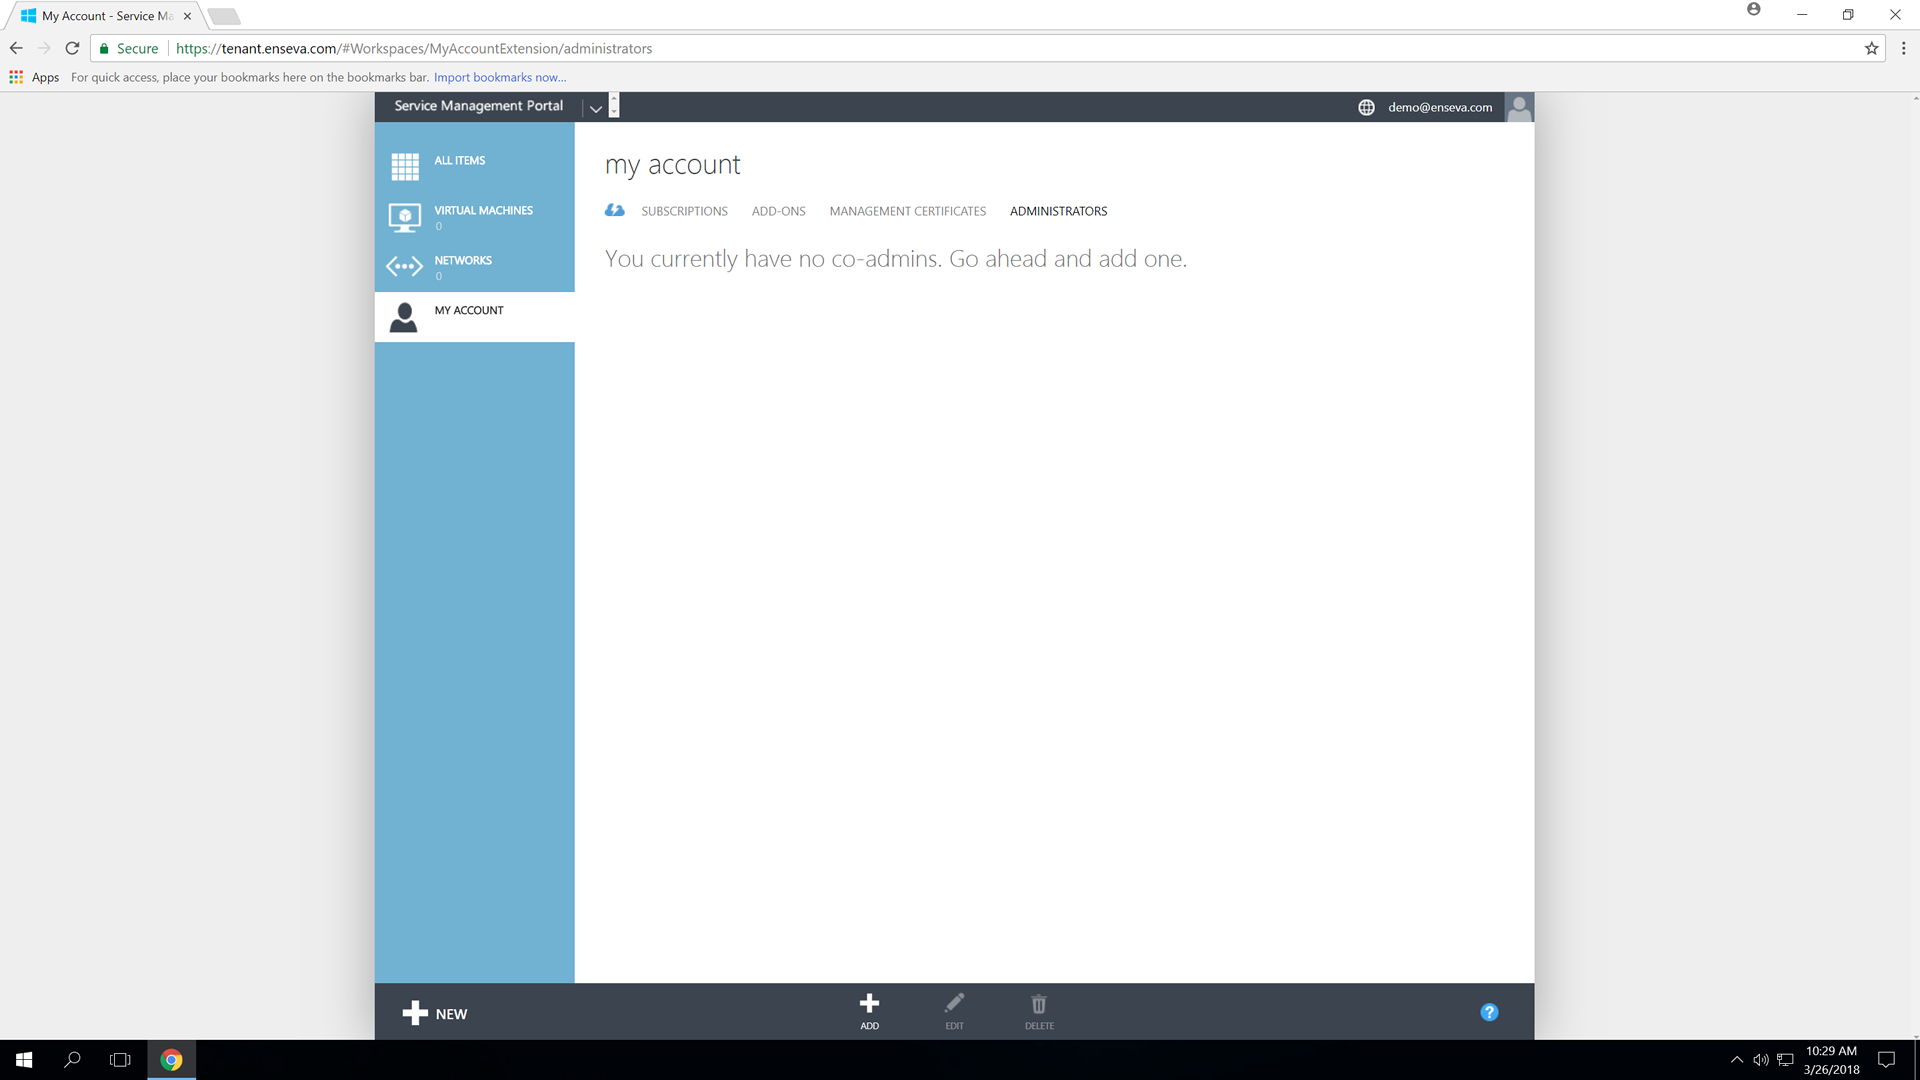
- Click Administrators at the top of the page

- Click Add at the bottom of the page to bring up the Add Co-administrator wizard. Type the email address of the co-administrator you would like to permit access to in the Name field then select the subscription(s) you would like to grant. When completed, click the Grey Check Mark.

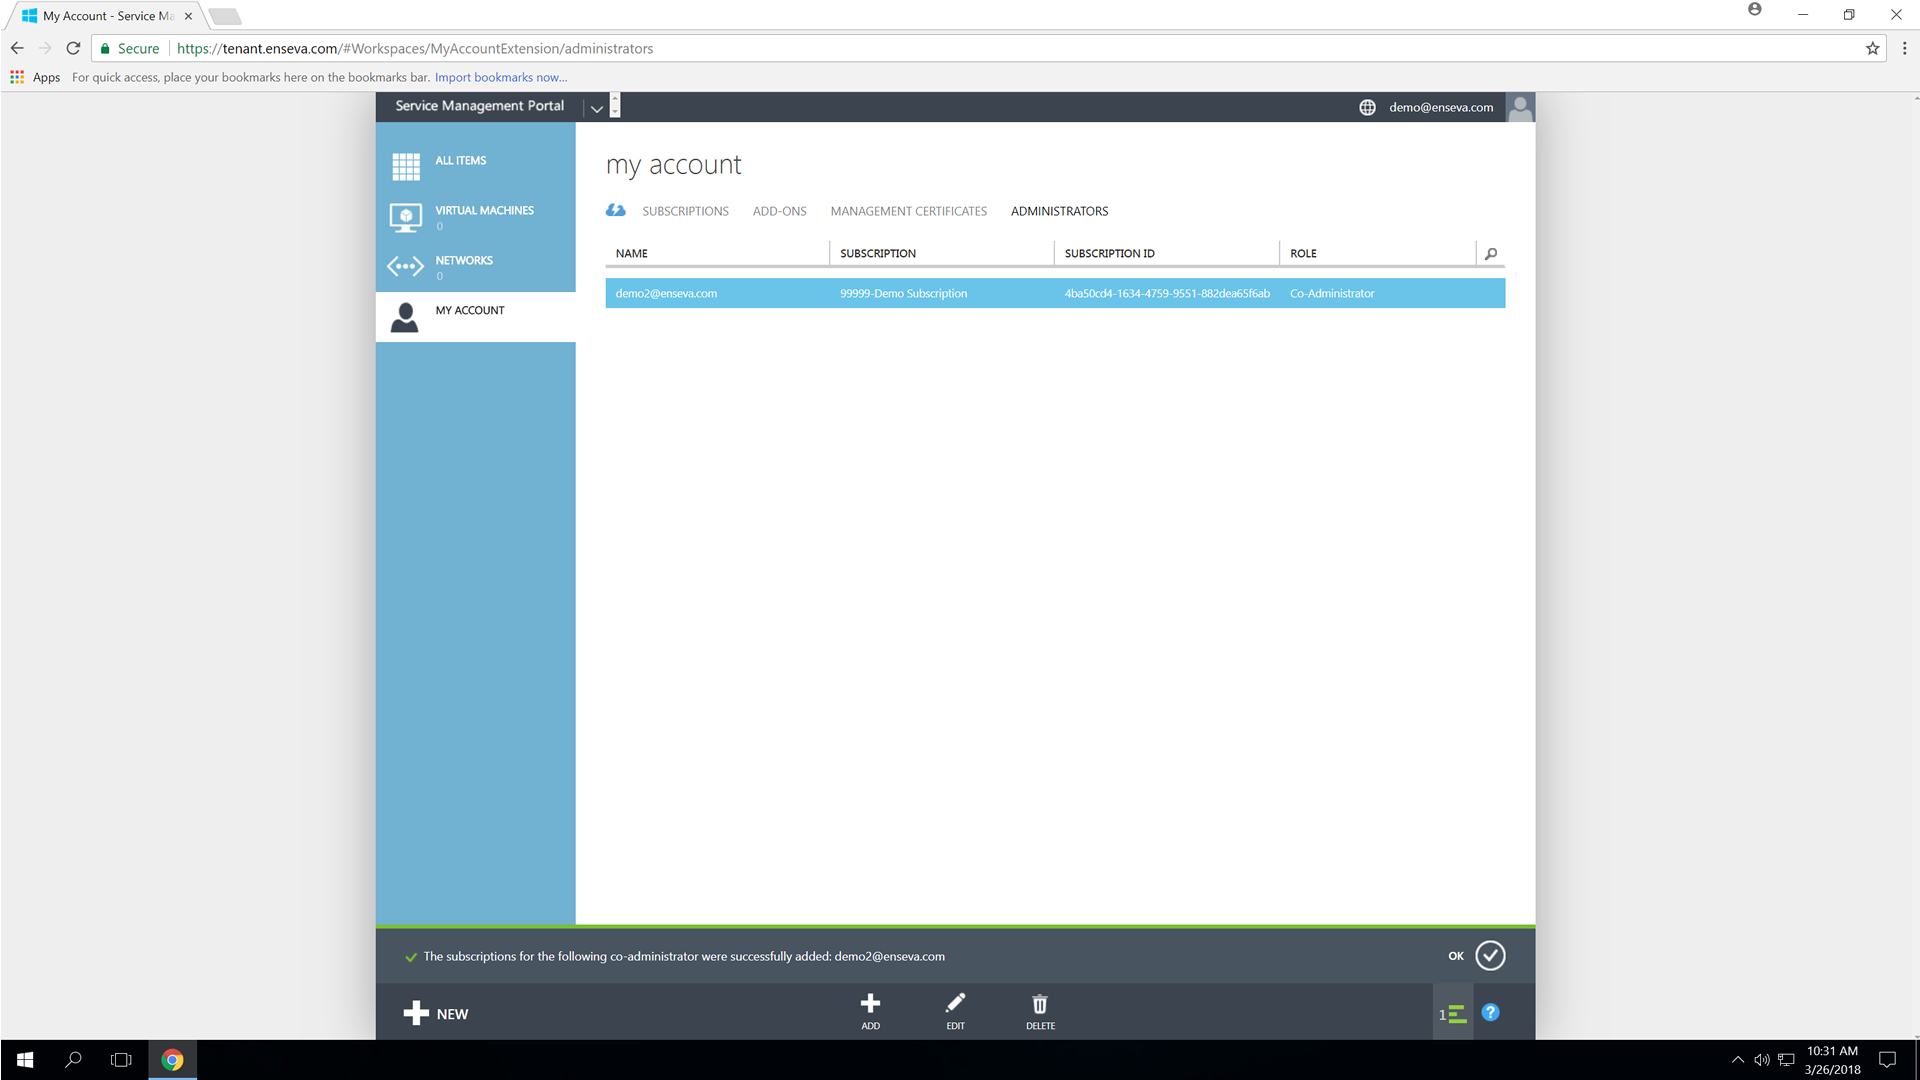
- When completed, the wizard will close and you should now see the newly added co-administration within your account.


Un-sharing Your Subscription with a Co-Administrator
Enseva Azure subscription owner are able to share their subscriptions with co-administrators. Co-administrators are able to perform some of the same functions as the subscription owner such as creating virtual machine instances, powering instances on and off, changing hardware profiles on an instance and deleting an instance. Co-administrators are not able to re-share access to a subscription they are not owners of however.
For the purposes of this tutorial, it is assumed that you have already logged into the Enseva Azure portal and are the owner of one or more subscriptions.
Removing Co-administrators from Your Subscription
- To remove a co-administrator from one of your subscriptions, start by visiting My Account in the Enseva Azure portal.
- Click Administrators at the top of the page. A list of co-administrators and the subscriptions they have access to will be listed. Select the co-administrator you wish to remove access for then click the Delete button at the bottom of the page.
- After the action has completed, you should no longer see the previous co-administrator entry visible.