Setting Time Zone and Date/Time Formats
To make your account easier to manage it is important to be able to properly recognize date and time where it is displayed across the account.
For example, when making a service request, the time stamp shown for the due date and creation date can be formatted to your preference and based on your region.
We will discuss how to modify these settings in this tutorial.
Setting Time Zone and Date/Time Formats
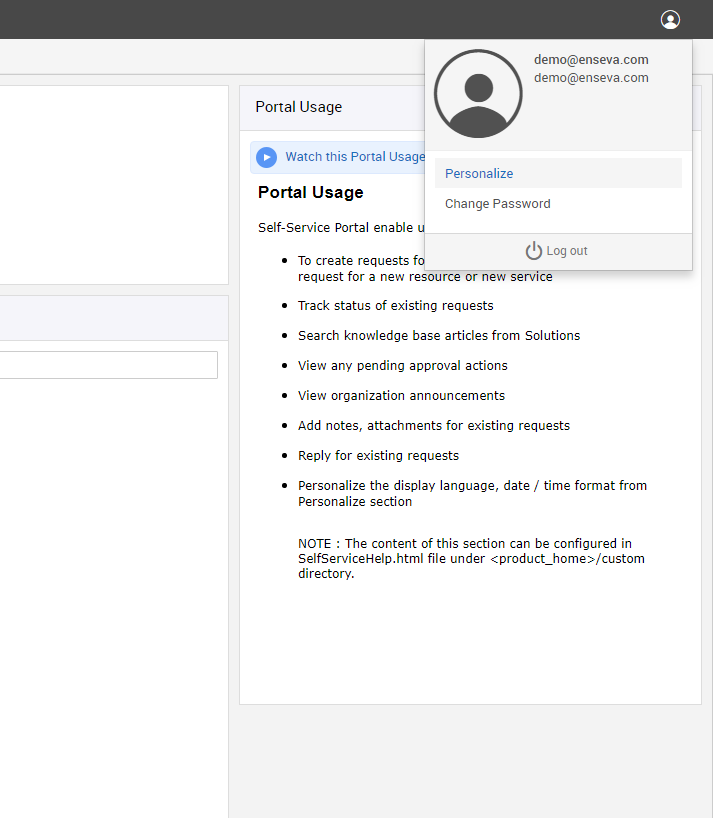
- Start by clicking on the User Menu in the upper-right corner of your account home page.
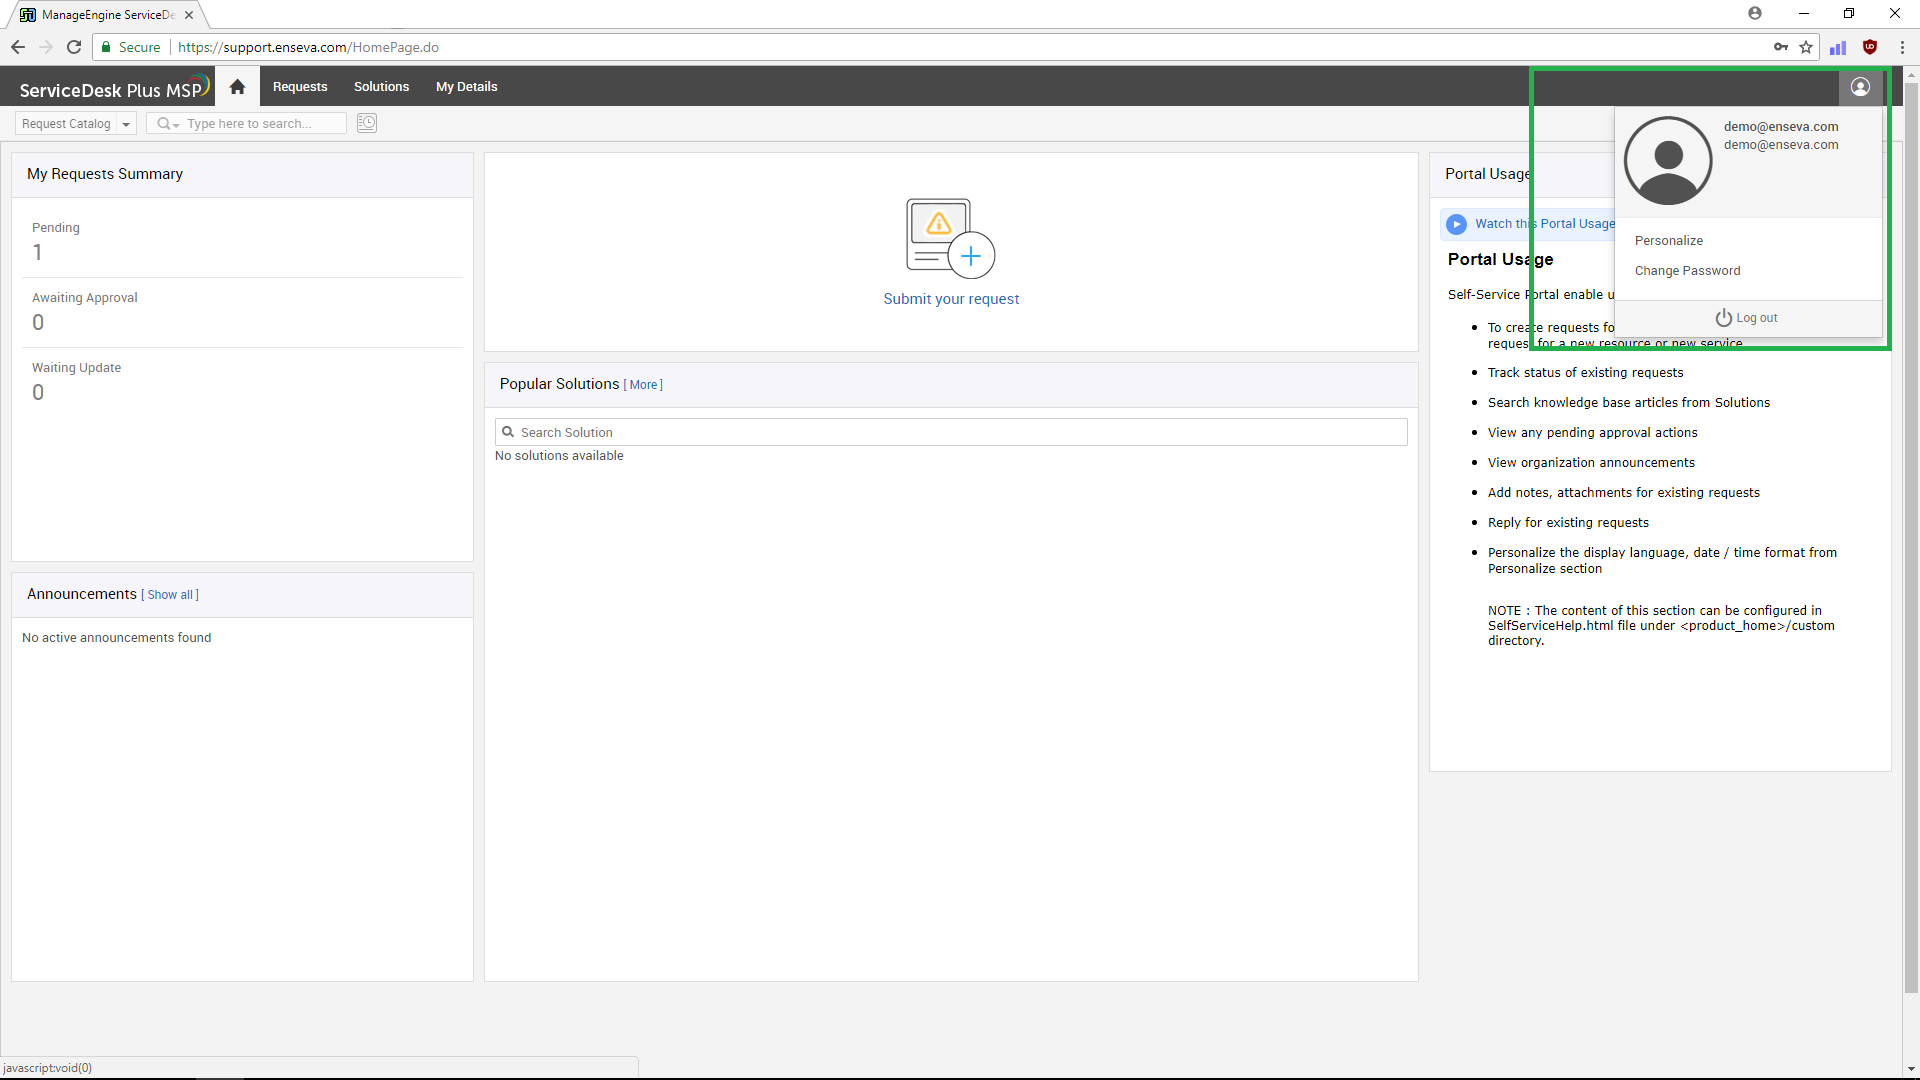
- Click on Personalize.
- On the pop-up window you will see where you can adjust the following settings
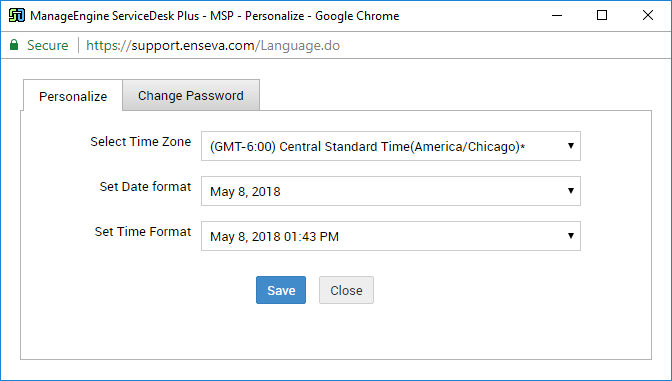
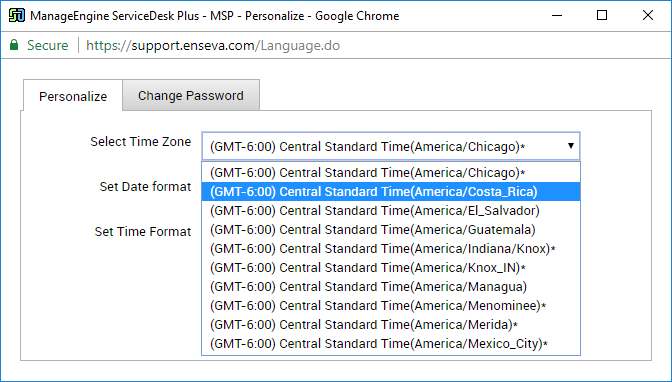
- Time Zone
Set the value for your region
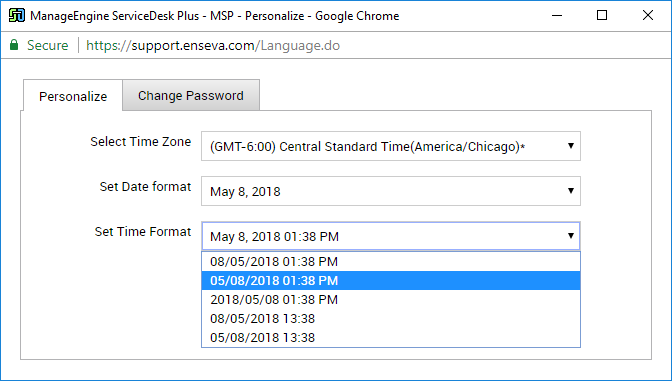
- Date Format
This will adjust the appearance of dates across your account (exa. 5 May, 2018 vs. May 5th, 2018)
- Time Format
This will adjust the appearance of date and time across your account. In most cases, this will take precedence over the Date Format setting