Creating a Virtual Machine Instance
This guide will cover Creating a Virtual Machine Instance within Enseva Azure
Creating a Virtual Machine Instance
- Navigate to the Tenant Portal
Enseva Azure allows cloud administrators to quickly provision Windows and Linux virtual machine instances. All that is required is an Enseva Azure account and a valid subscription.
For the purposes of this tutorial, it is assumed that you have already logged into the Enseva Azure portal and are the owner of one or more subscriptions.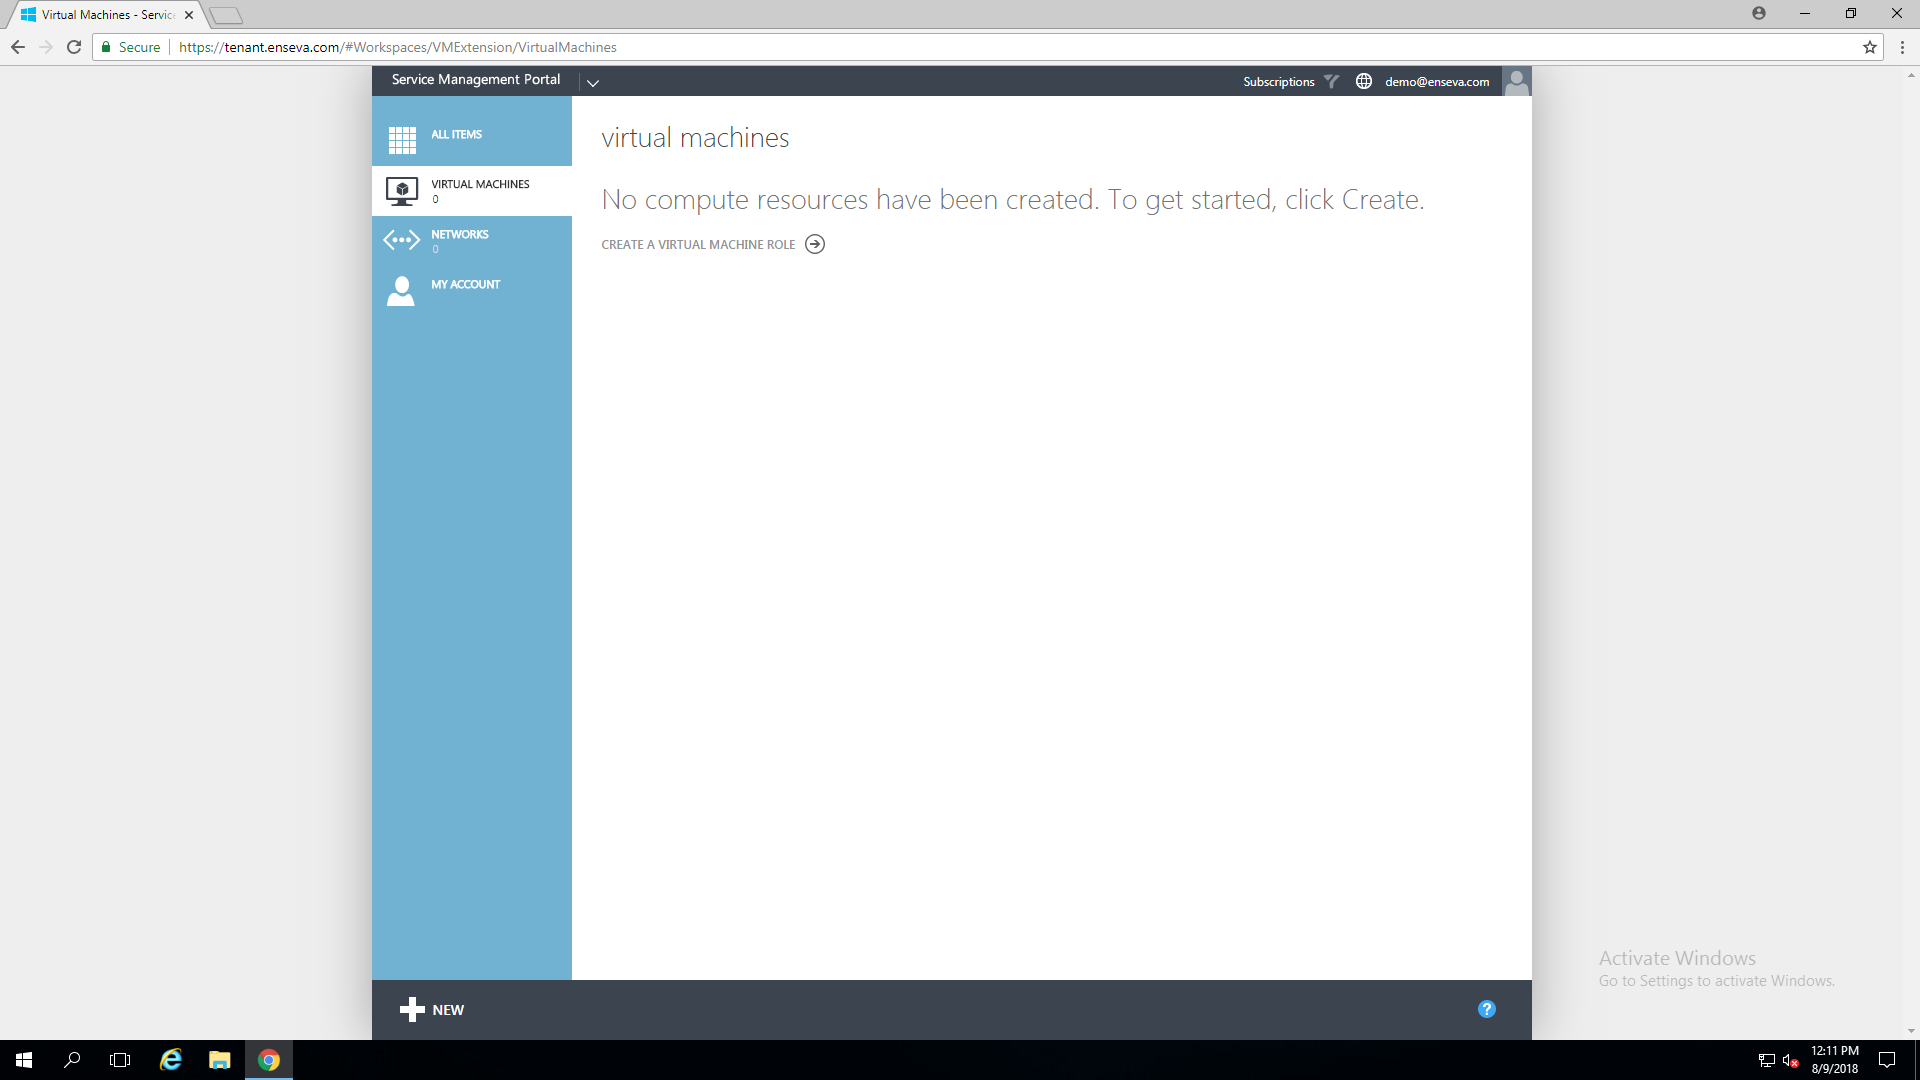
- Select New
In the bottom left hand corner, select 'New.' This will expand the New menu, allowing you to start configuring new services.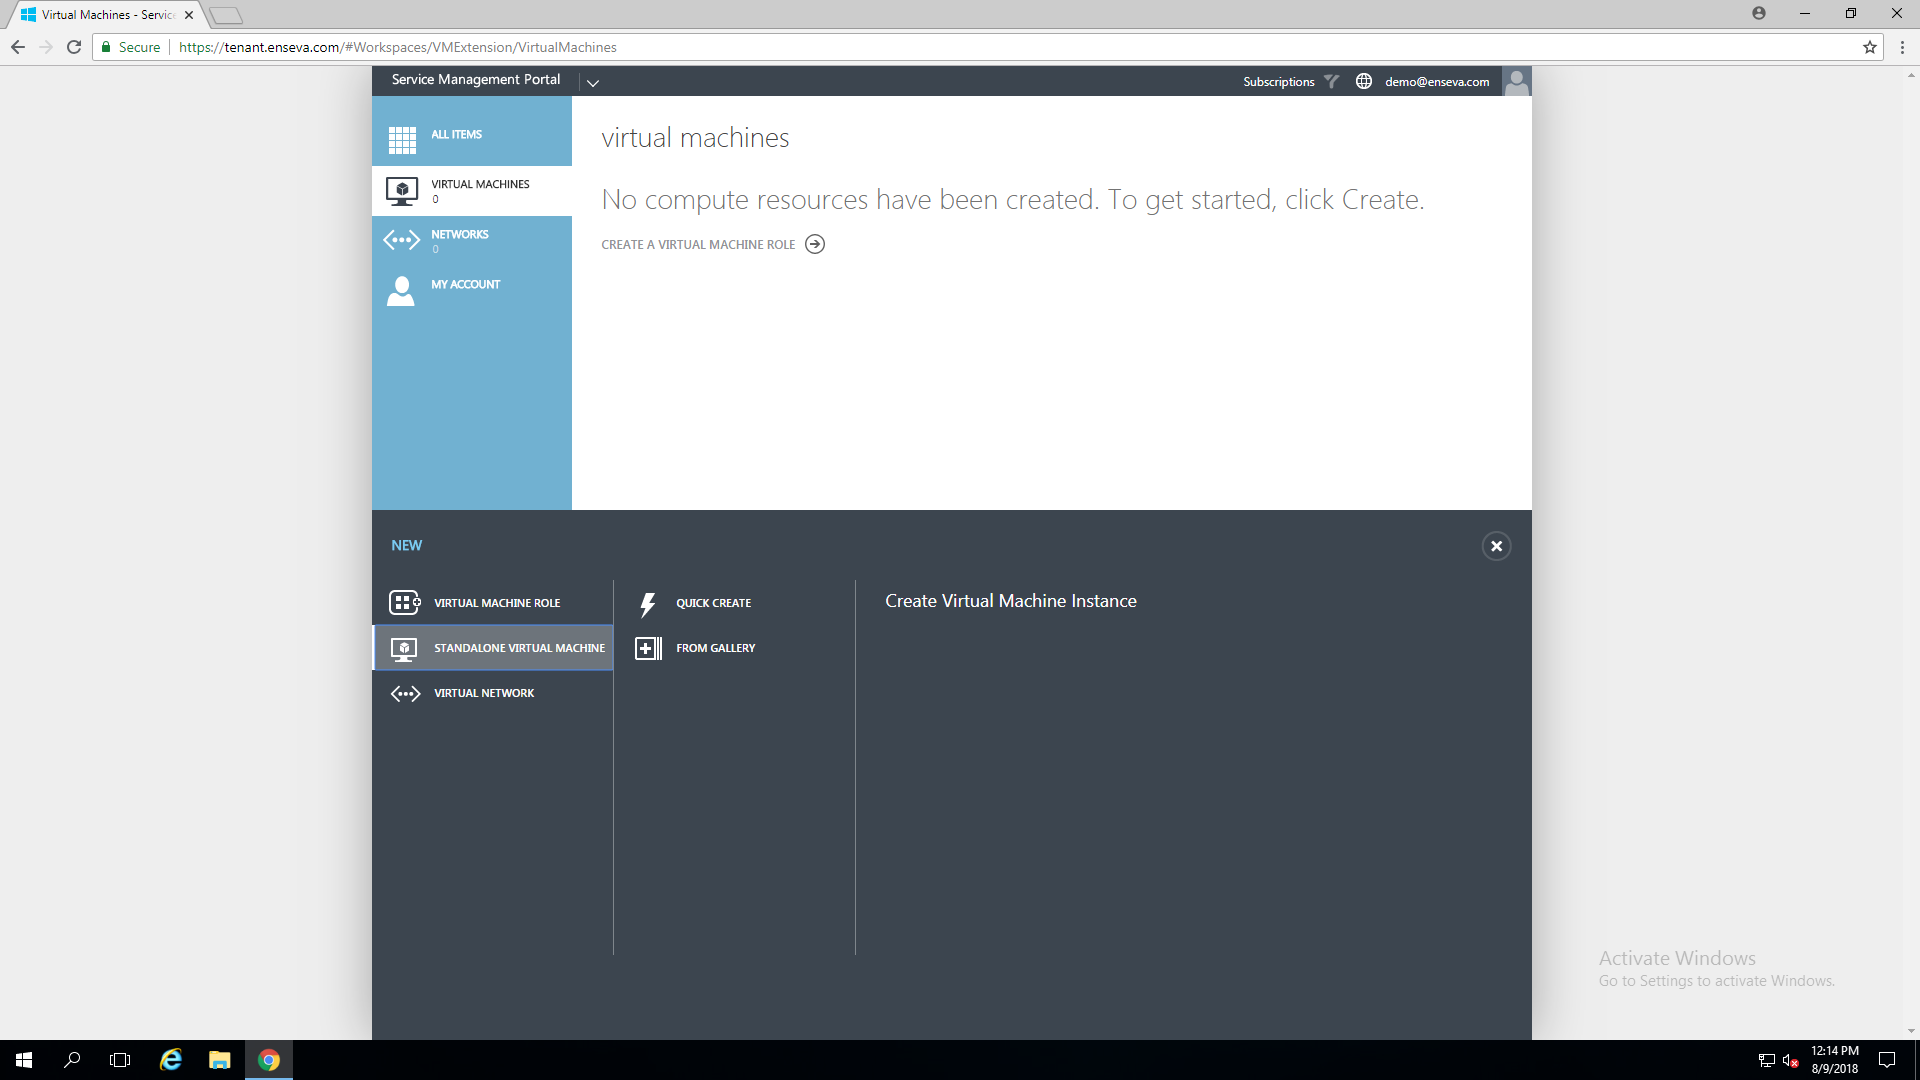
- Standalone Virtual Machine
Select 'Standalone Virtual Machine' then select 'From Gallery.' This will initiate the Virtual Machine Configuration wizard that will walk you through the process of creating a virtual machine instance.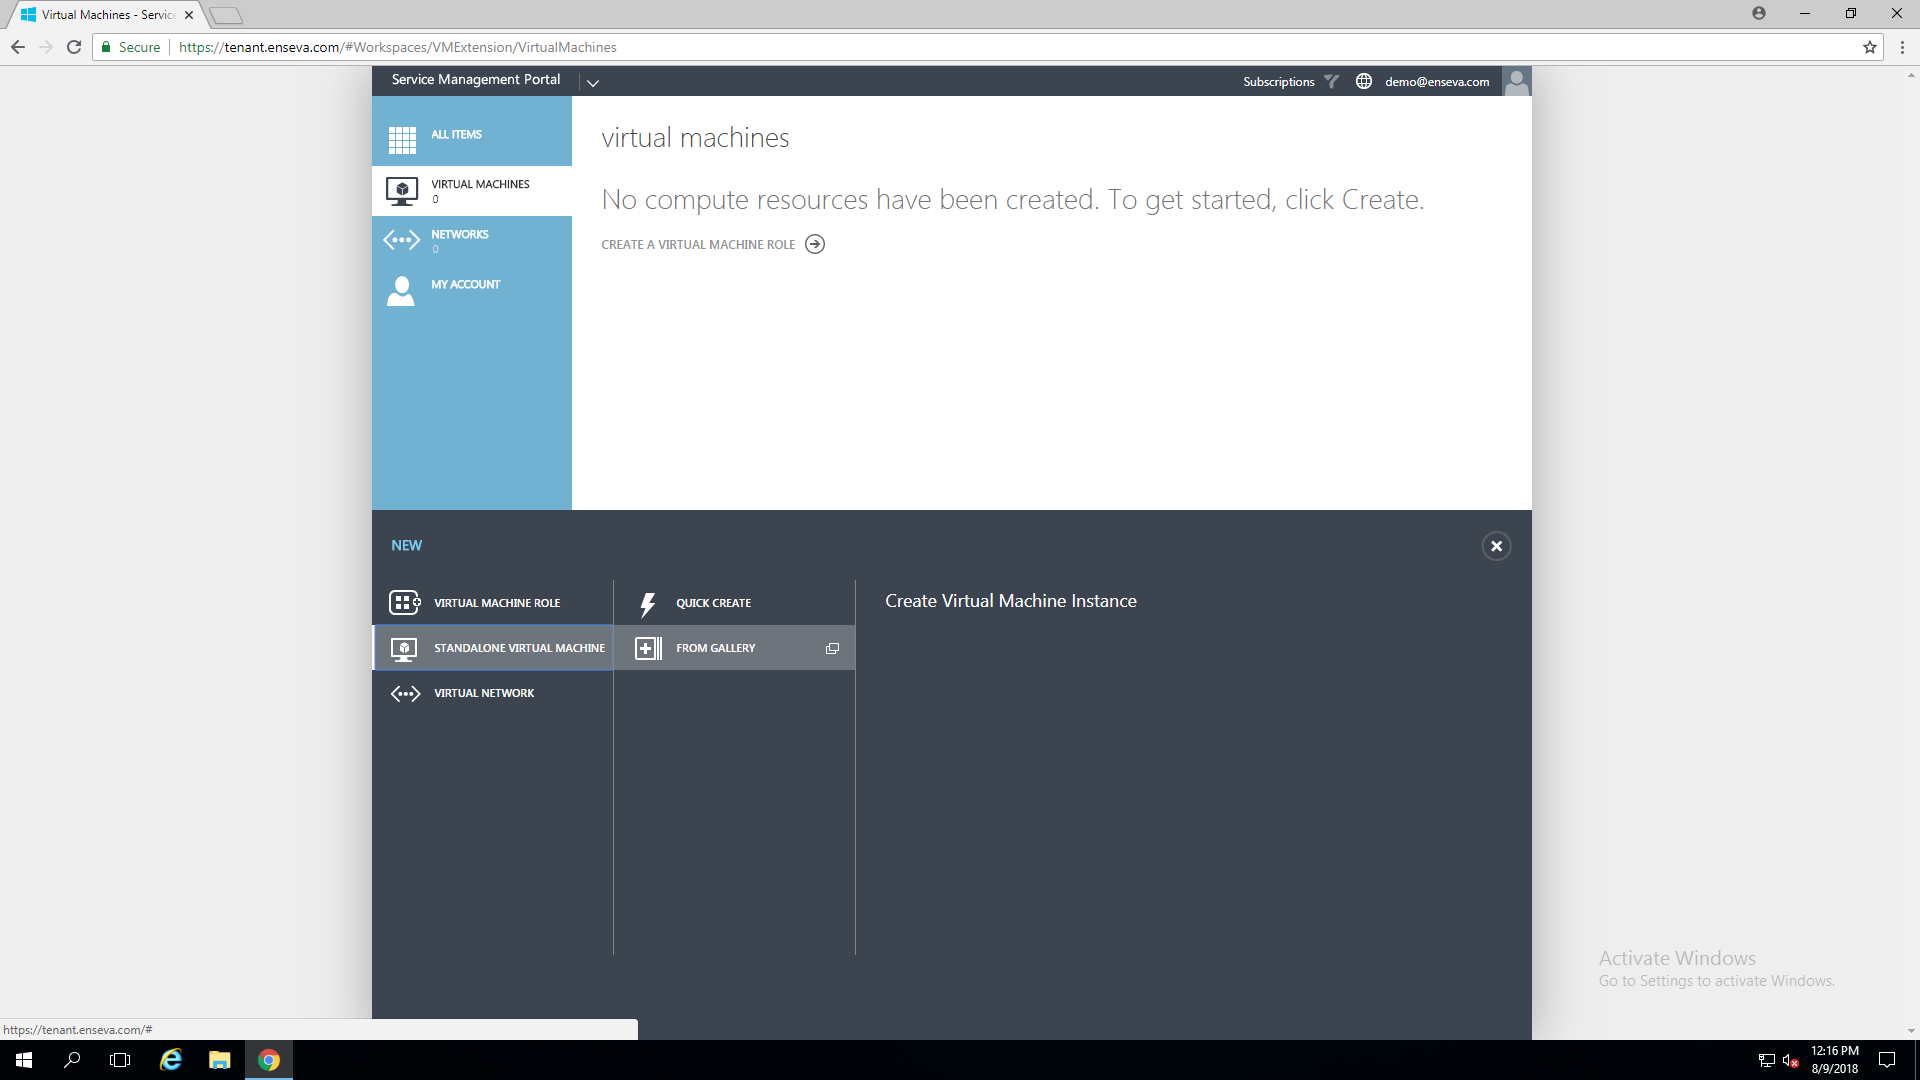
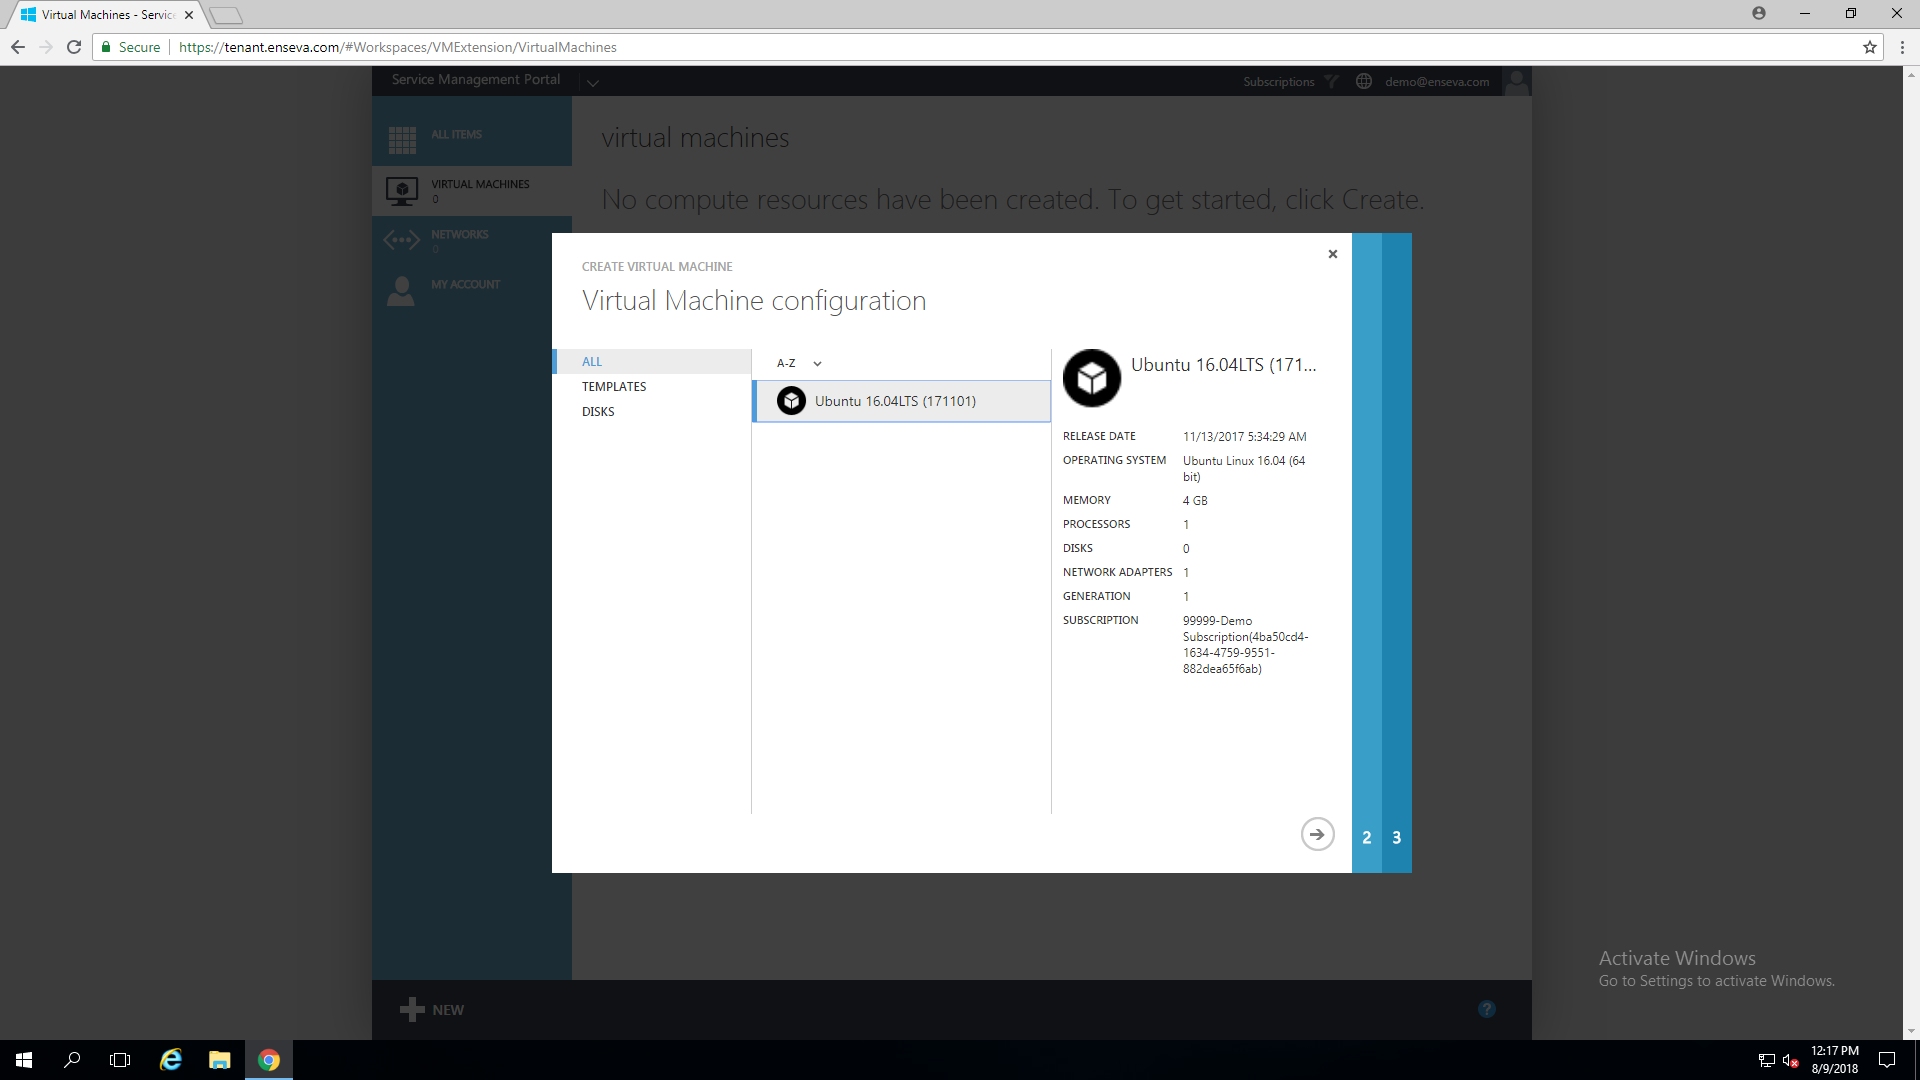
- Select a Template
From the Virtual Machine configuration page, select a template to create your virtual machine instance from, then select the next arrow in the bottom right corner of the page. For the purpose of this tutorial, we'll be creating a new Ubuntu instance.
In the pane further to the right, an overview of the template will be presented. Please note that new virtual machine instances will be created with an SP1 hardware profile (1 vCPU Core with 4GB of Memory) however the hardware profile may be altered after instance creation to adjust CPU, Memory and Disk sizes to a accommodate your needs.
- Specify VM Name and Credentials
You will now be provided an opportunity to provide your instance with a friendly name and a desired login password.
Enseva Azure utilizes Microsoft’s AVMA activation process which permits Windows virtual machine instances to activate with the Hypervisor.
A product key does not need to be entered for this process to take place.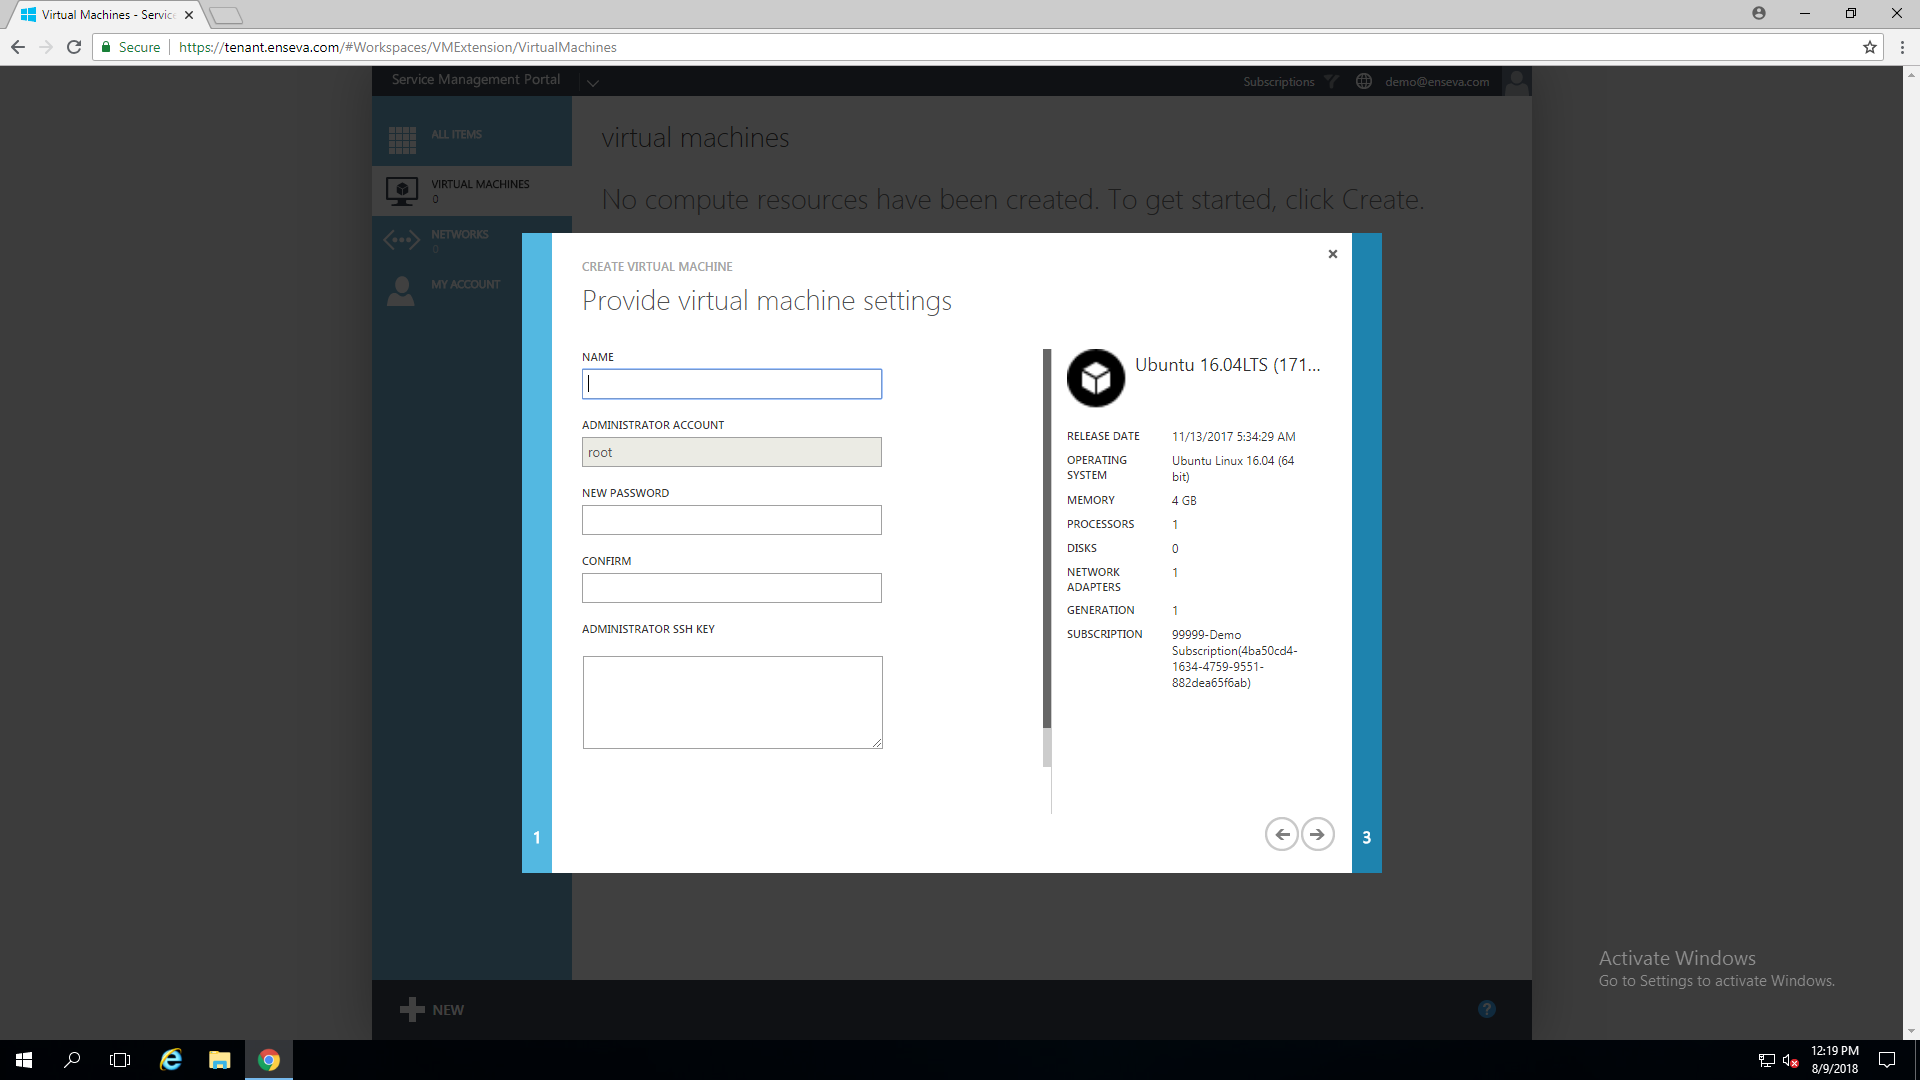
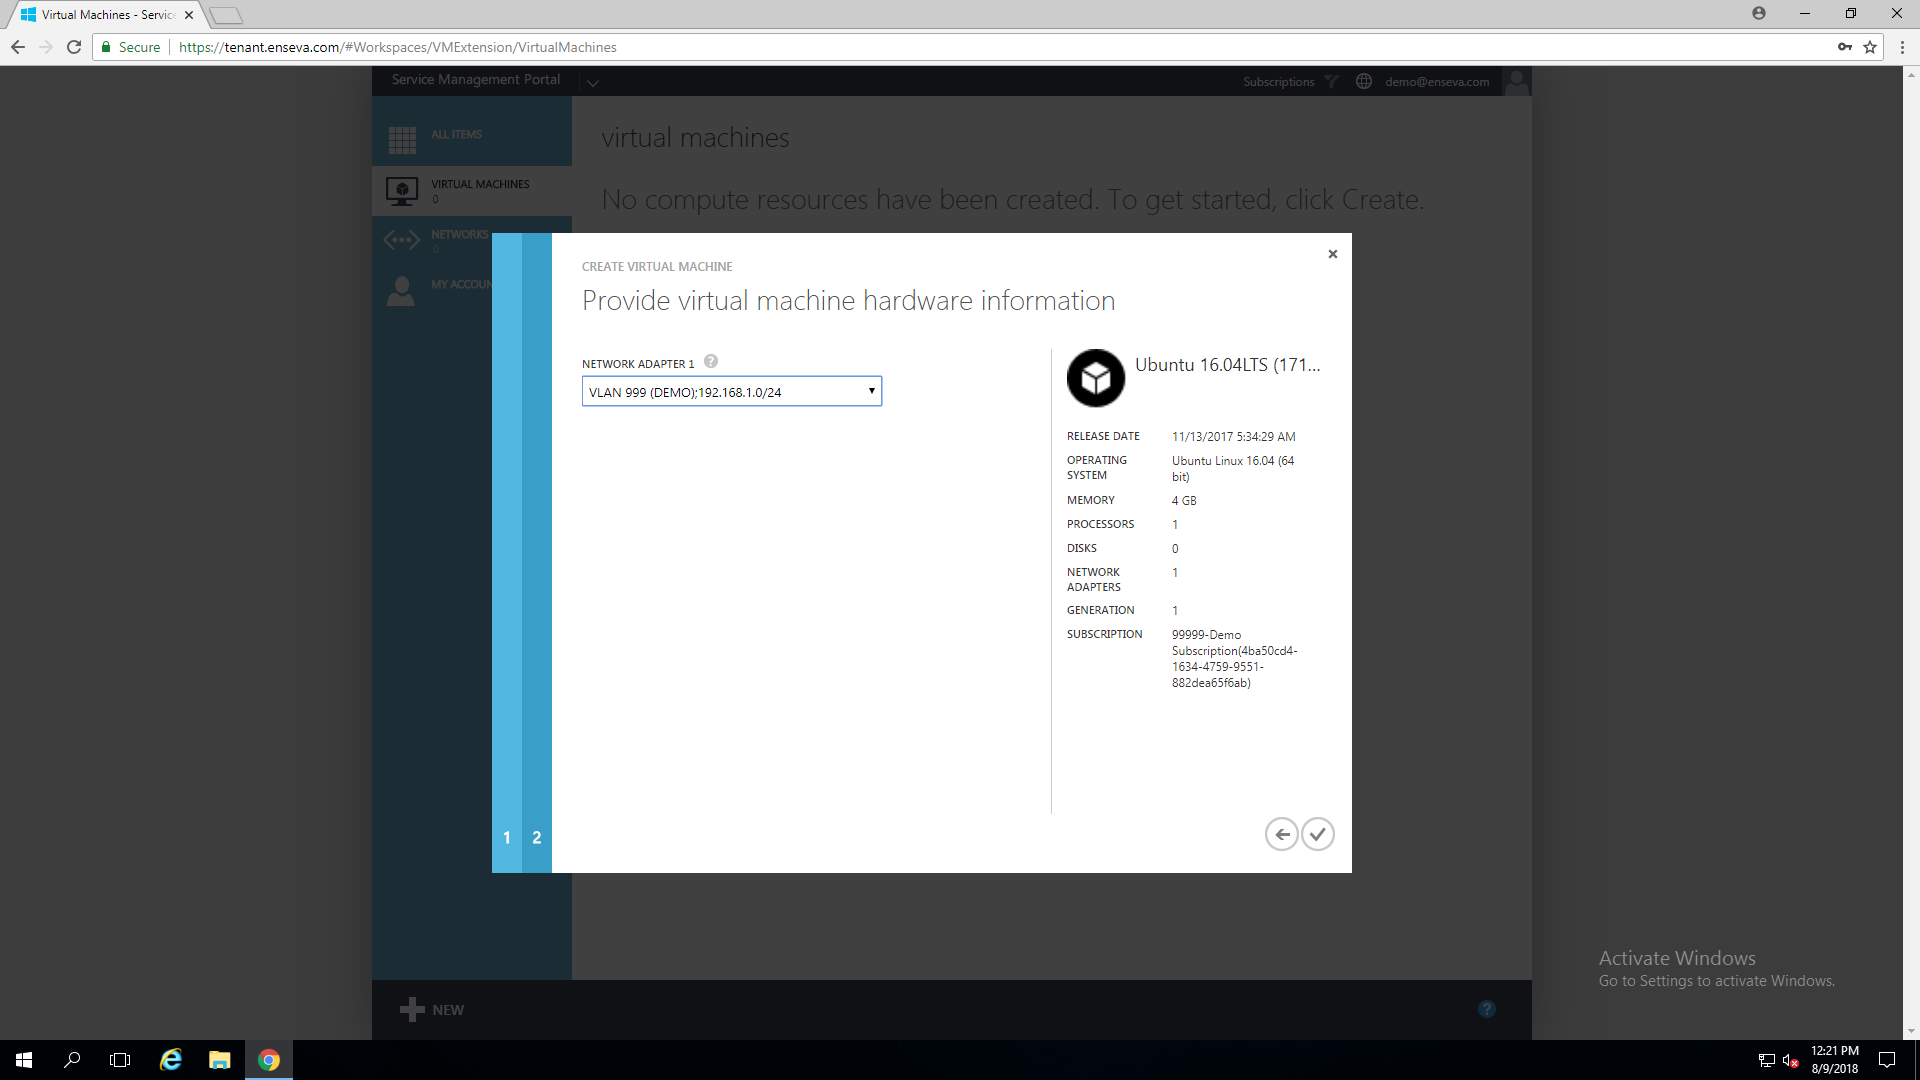
- Select a Virtual Network Adapter
In the final wizard step you are able to leave the virtual network adapter disconnected or select the network you would like the new instance to be attached to. If you choose not to attach the instance to a network now, you may attach the instance to network(s) after the creation process is completed. Click the Check button to start the instance creation process.
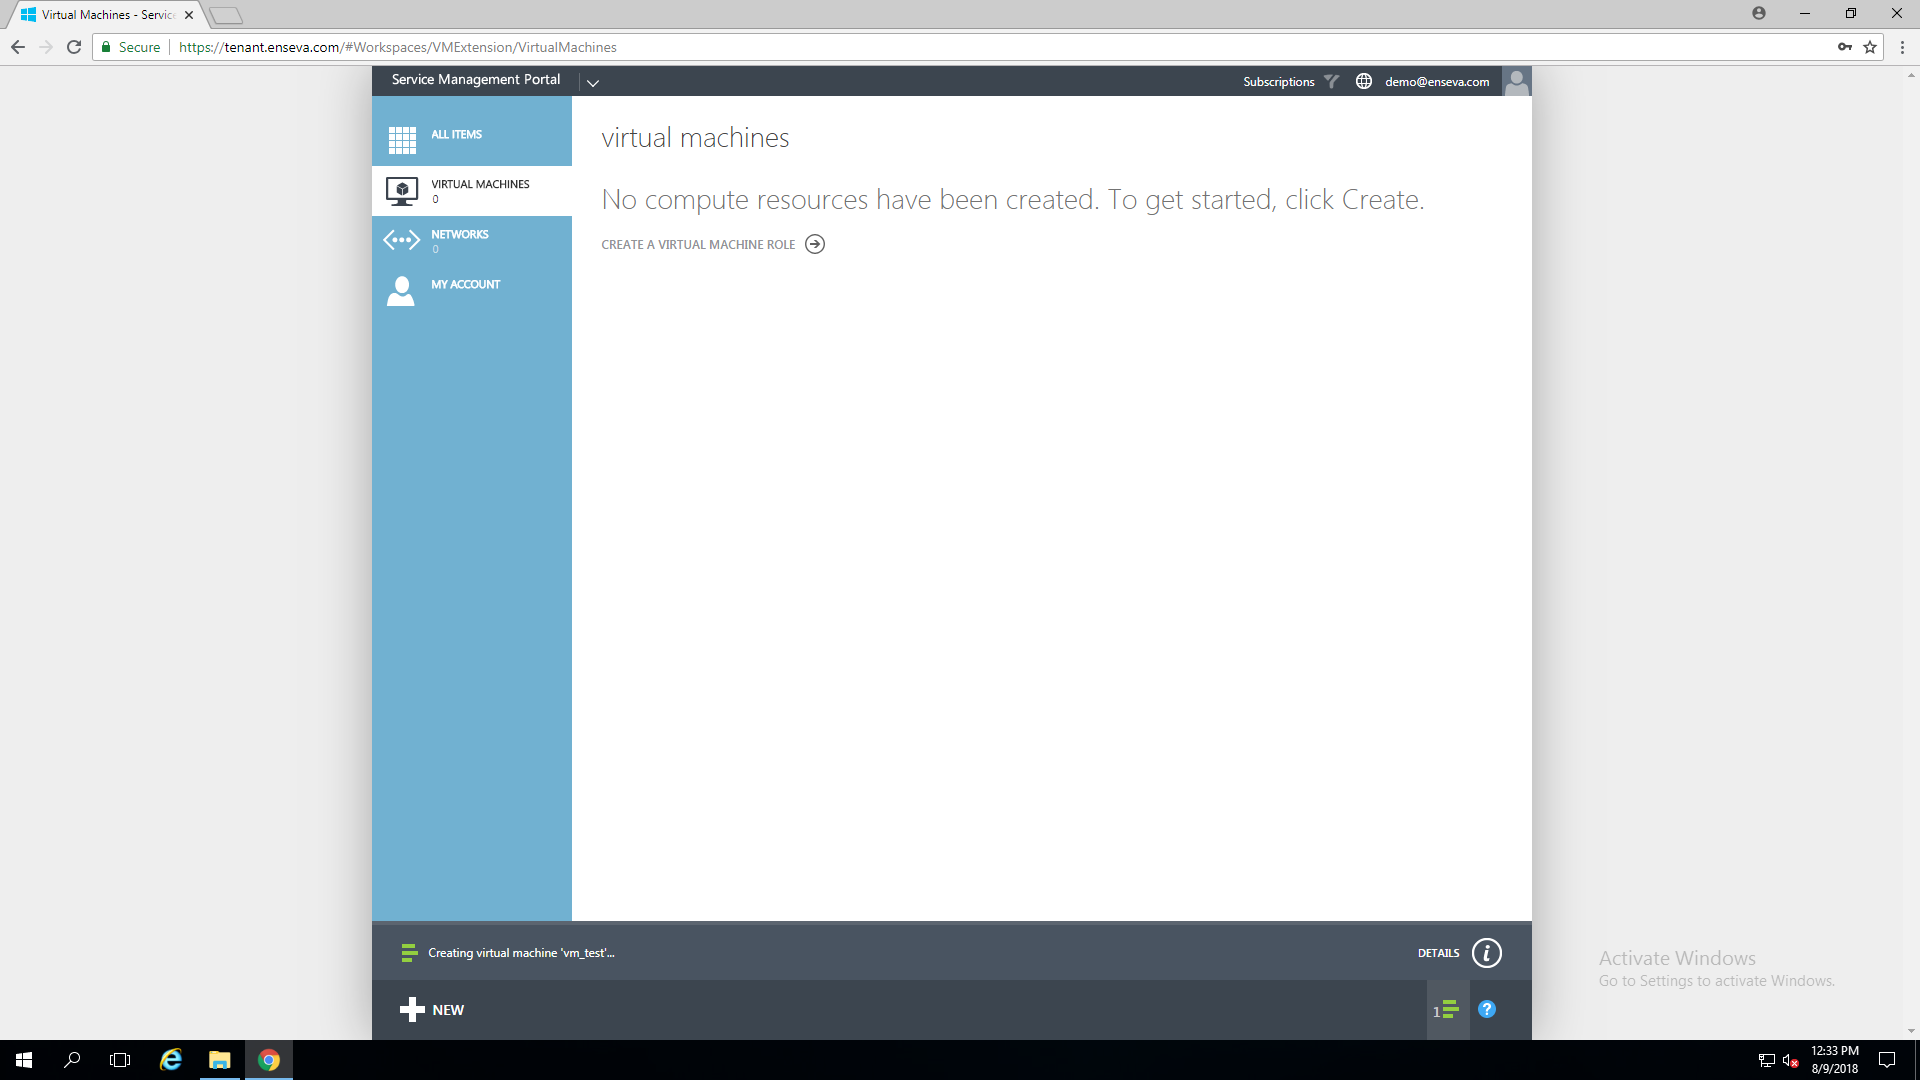
- Wait for Creation
You will notice a progress bar indicating the status of your virtual machines provisioning. Please note that this may take a few moments. You will also notice the status column that indicates 'creating.'
An instance of the template must first be copied to your subscription. The virtual machine will then be powered on so the password you specified in the instance creation wizard can be injected into the operating system allowing you to login for the first time with the desired credentials.
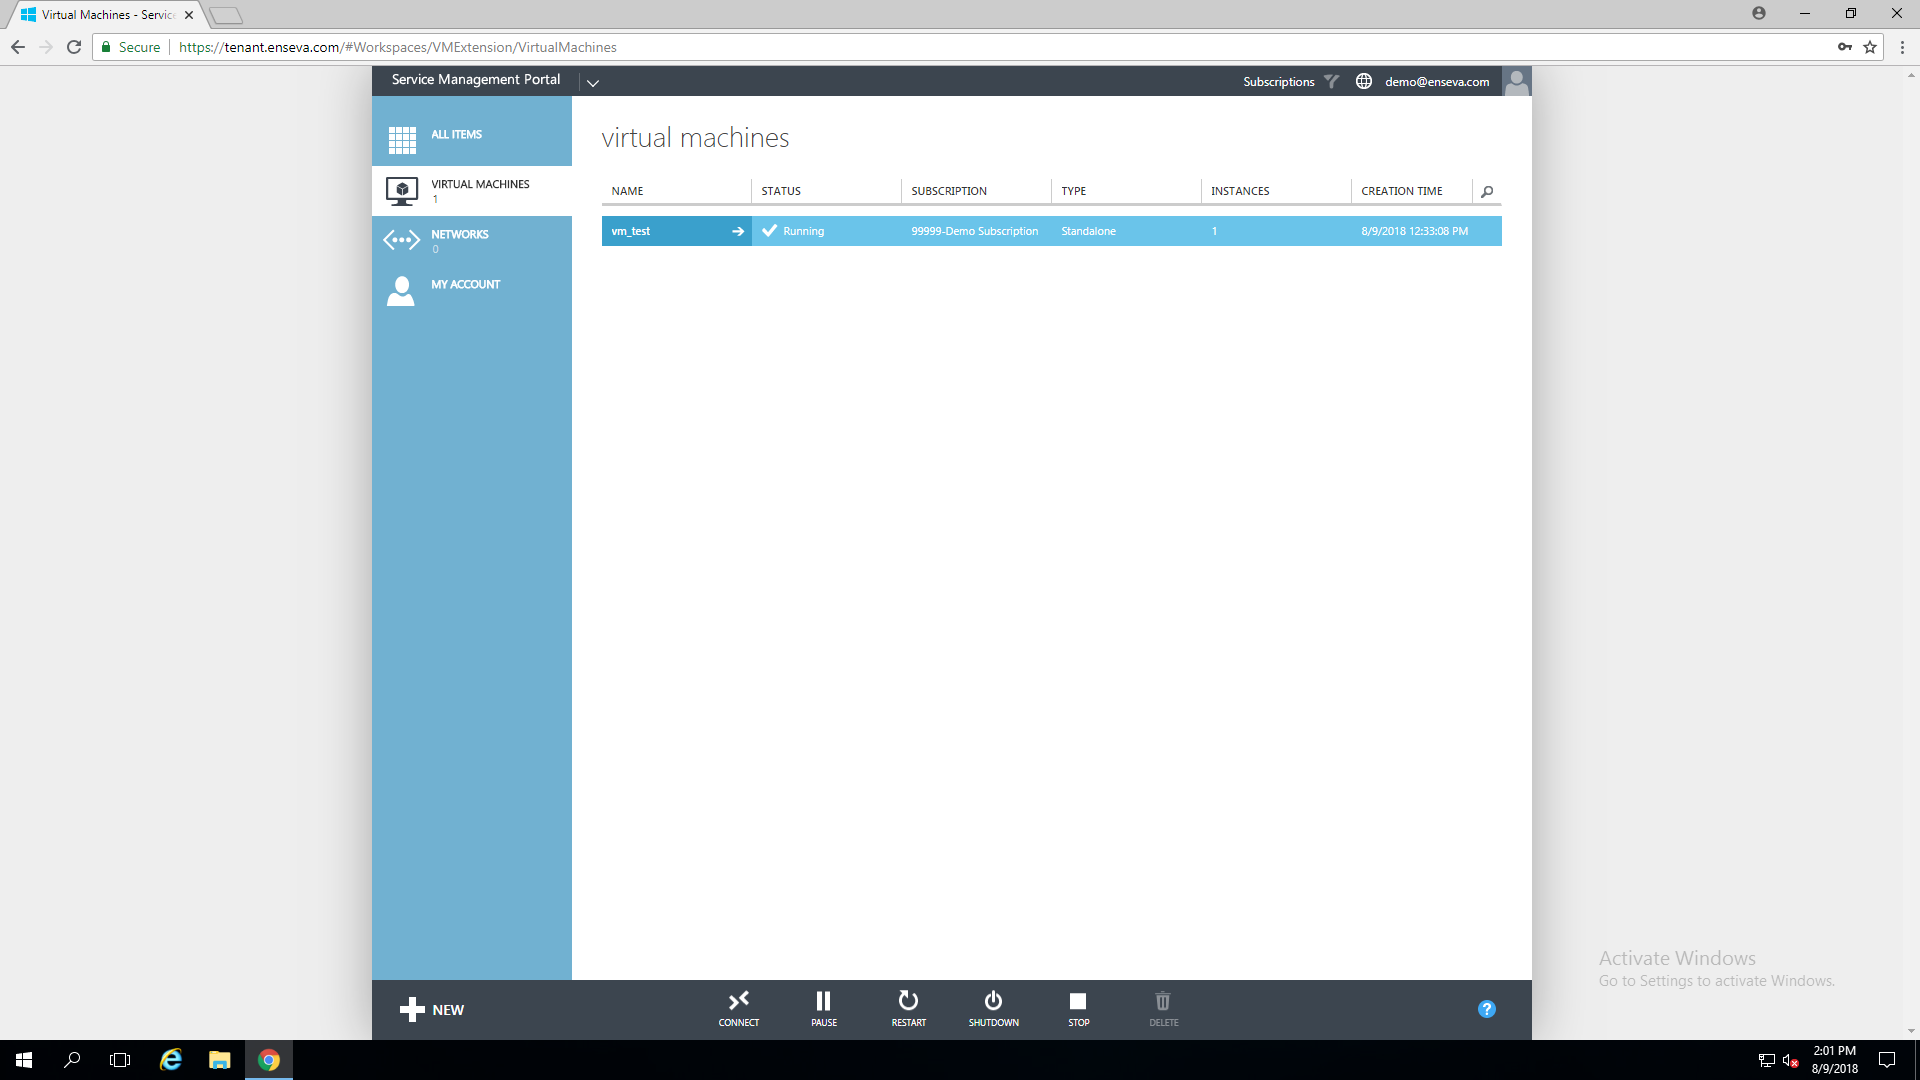
- Confirm Creation
Once your virtual machine has been created, you will notice the status change from 'Creating' to 'Running.'
At this point you are able to pause, restart, shutdown, stop, delete, or connect to your virtual machine instance.
You are now able to manipulate configurations such as networks, hardware profiles, etc.. Please reference related tutorials for more detailed instructions on these actions.