Creating an Instance Check-Point
This guide will cover Creating an Instance Check-point within Enseva Azure.
Creating an Instance Check-Point
- Navigate to the Tenant Portal
Navigate to https://tenant.enseva.com and enter your login credentials, then sign into your account.
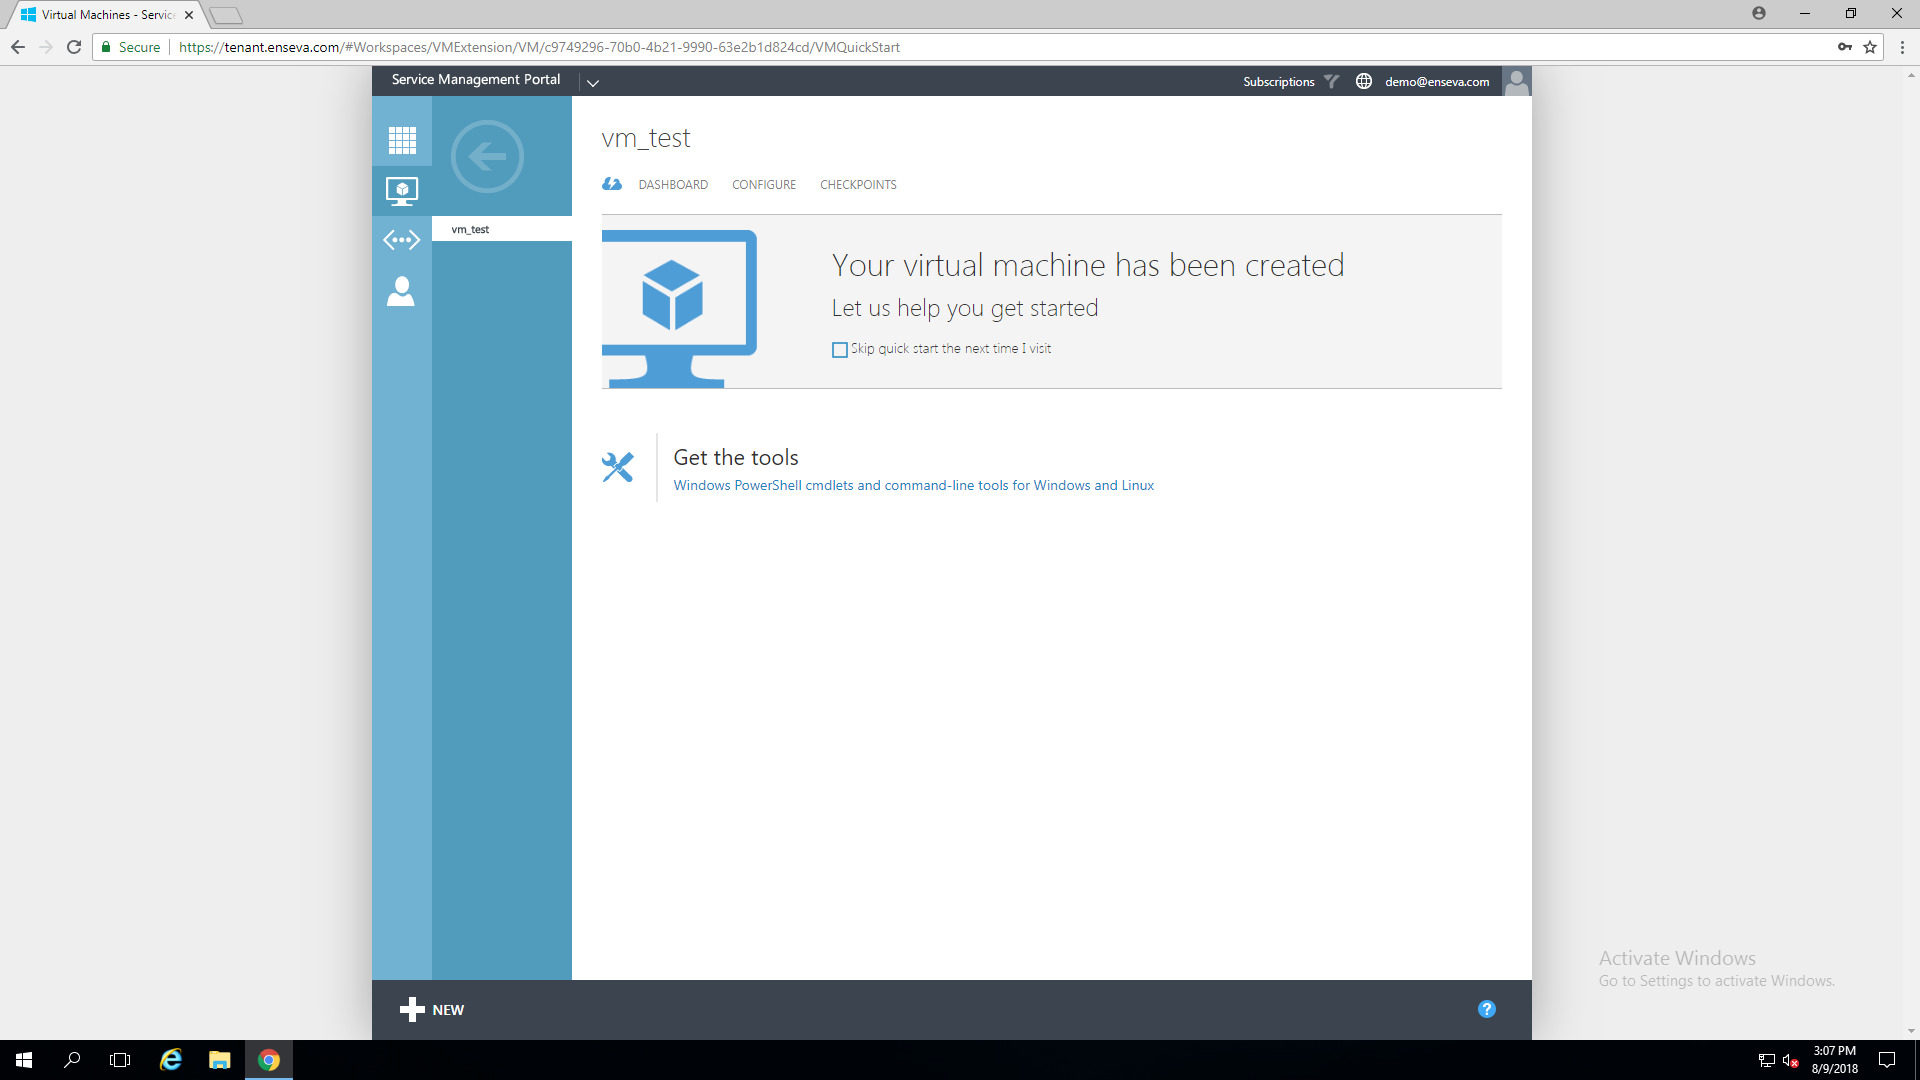
For the purposes of this tutorial, we already have a virtual machine created with the friendly name of 'vm_test'
- Select Virtual Machine
Click on the virtual machine's name in which you want to create a checkpoint, this will bring you to the vm's dashboard.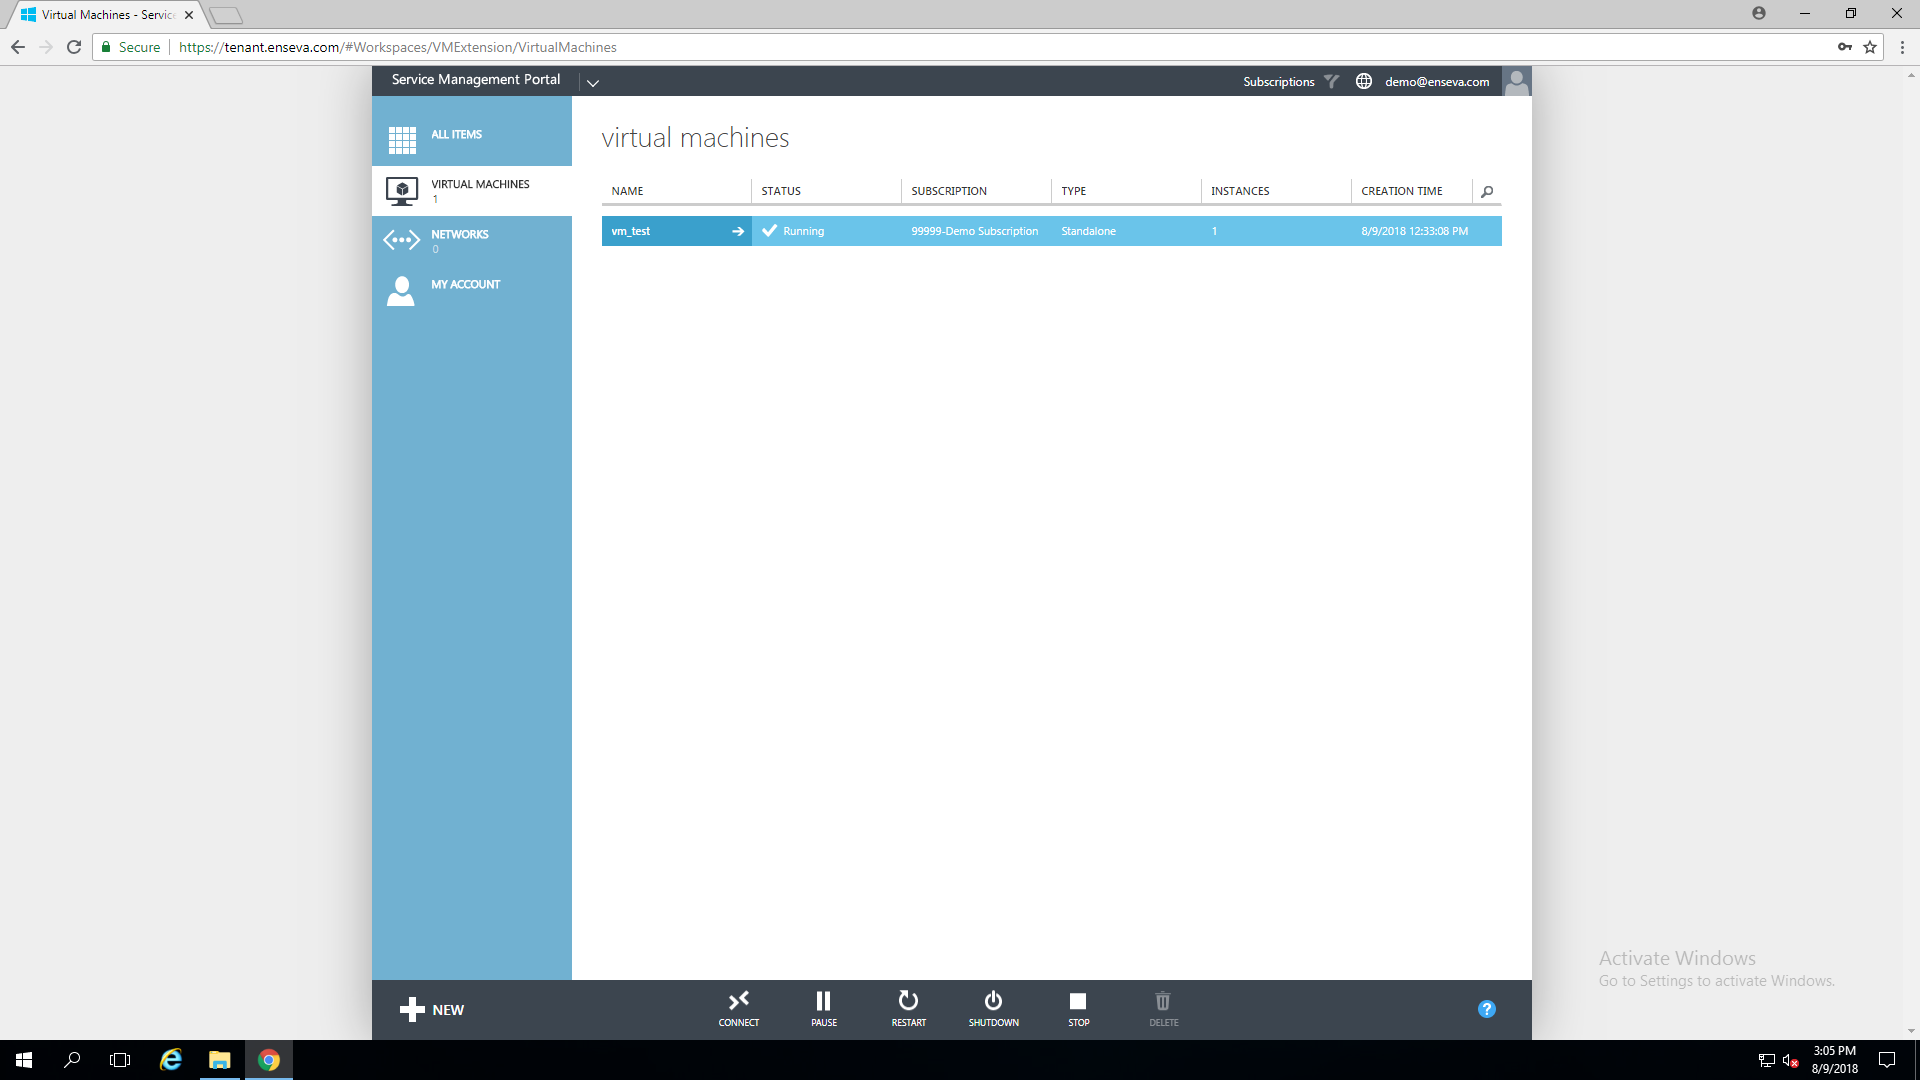
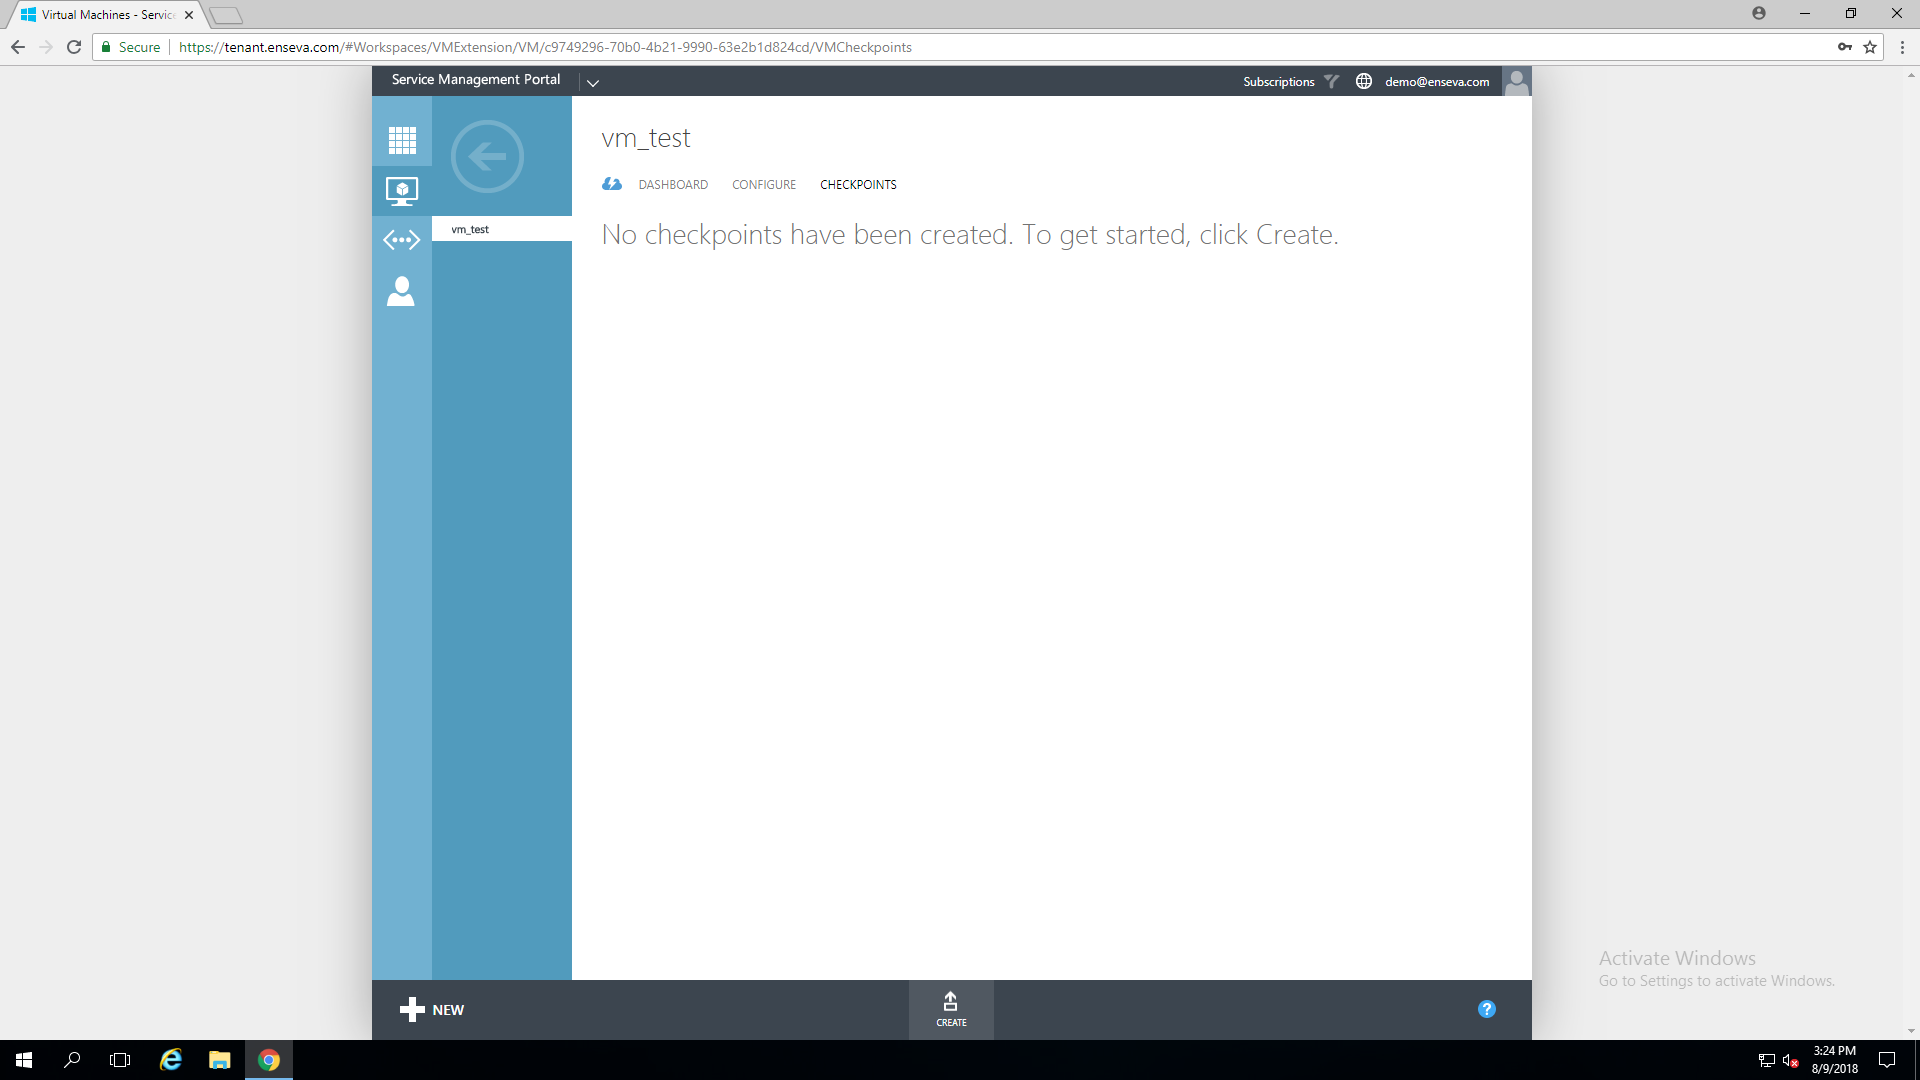
- Select Checkpoints
From the dashboard, select checkpoints near the top of the page.
- Create a Checkpoint
Near the bottom of the page click on the 'create' button.
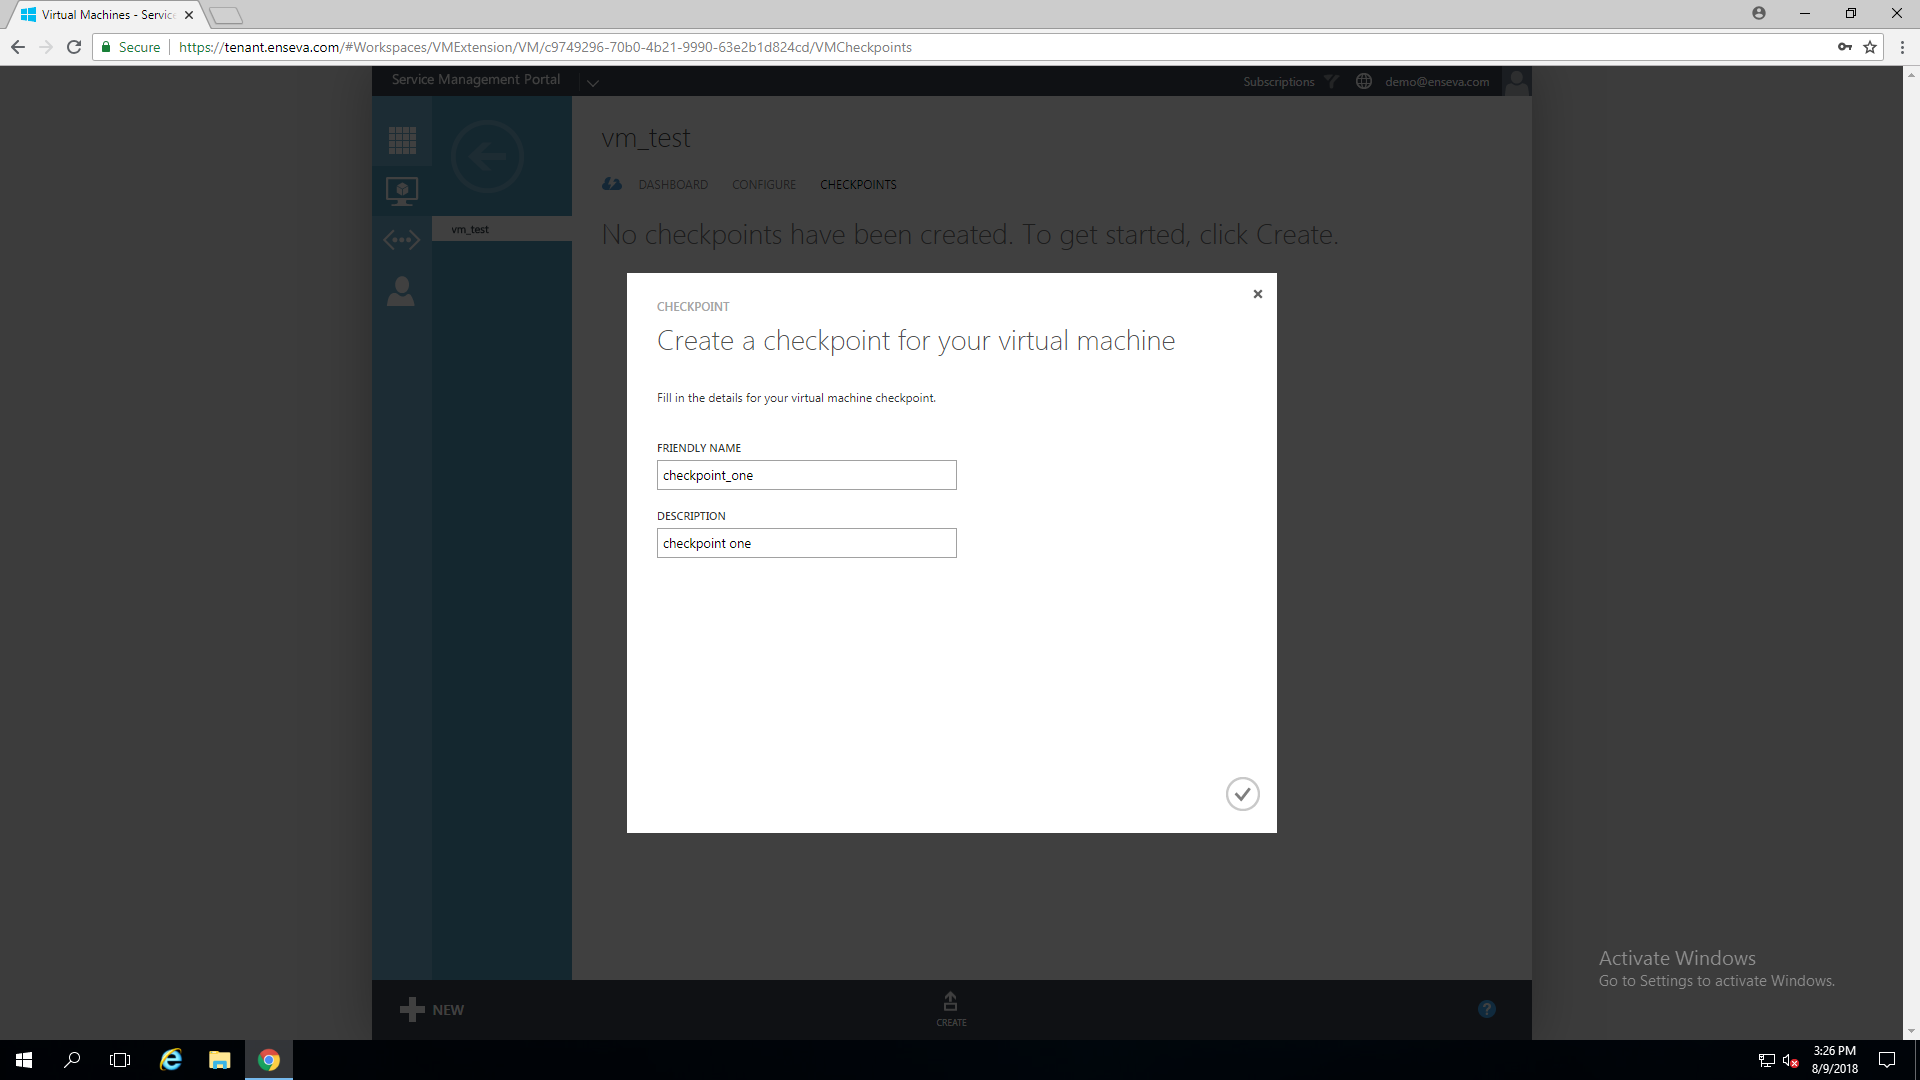
- Specify Checkpoint Details
A window will appear that allows you to specify a friendly name for your checkpoint and a description.

- Confirm Selection
A pop-up bar will appear towards the bottom of the screen asking you to confirm your decision, select 'Yes'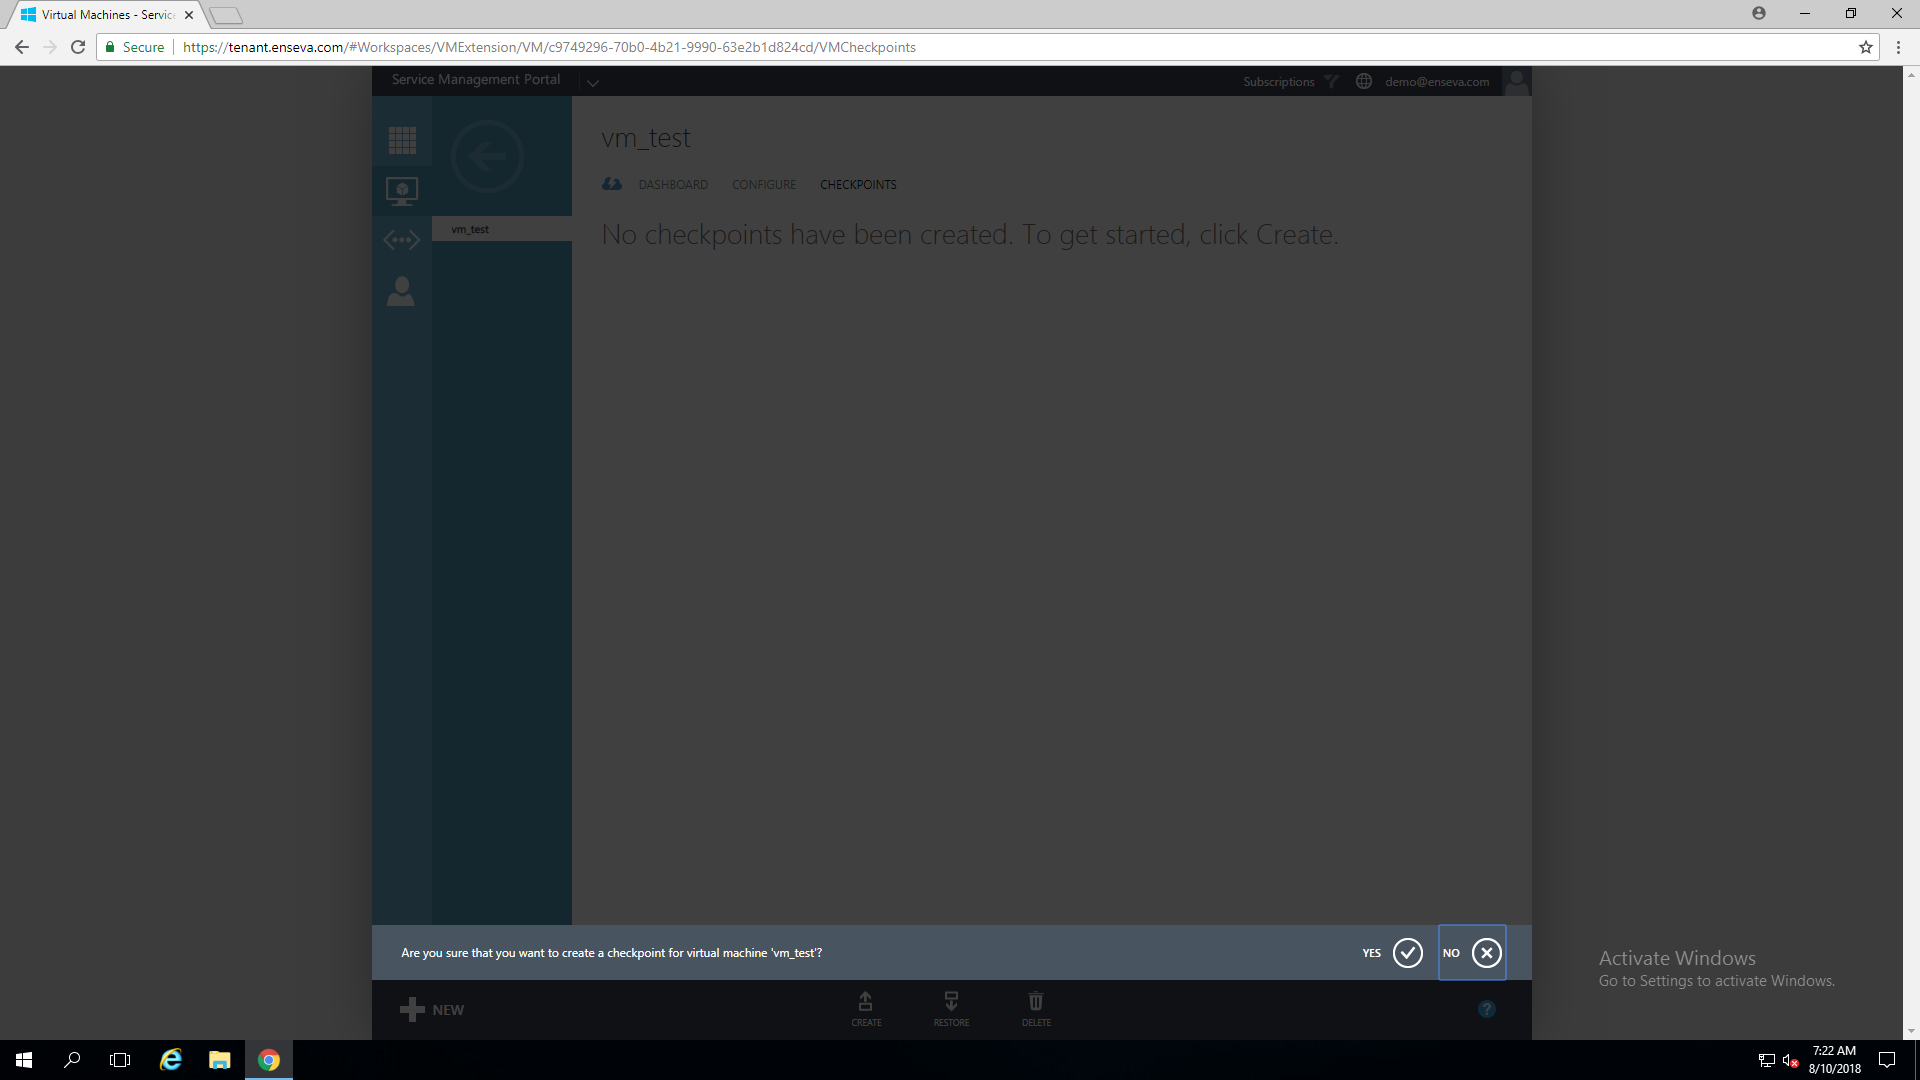
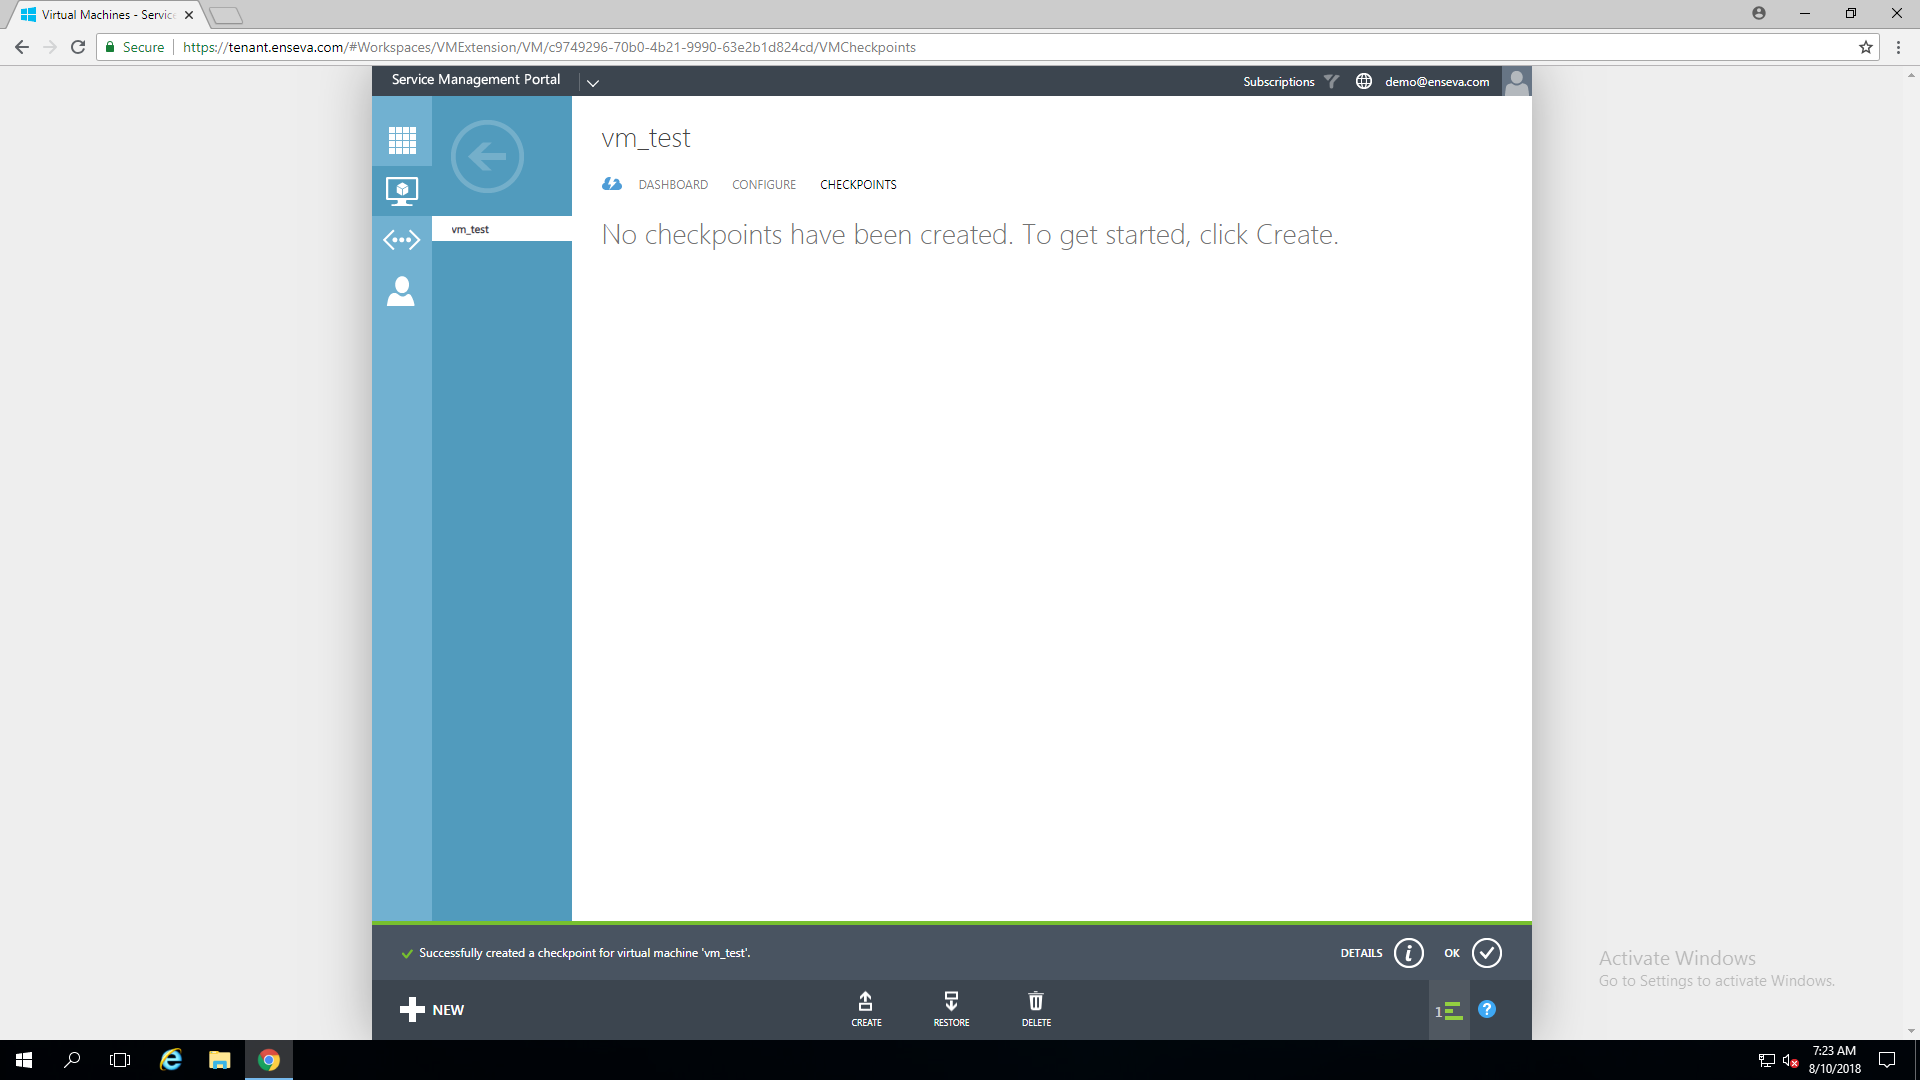
- Verify Creation
A pop-up bar towards the bottom of the screen will indicate that a checkpoint is being created, wait for this operation to complete.
When the operation has finished you will notice the message within the bottom pop-up bar change to Successfully created a checkpoint for virtual machine 'your_vm_name'
- Review Checkpoint
If you don't see your checkpoint appear, try refreshing your page to confirm it has been created.