Managing Multiple Subscriptions
This guide will cover Managing Multiple Subscriptions within the Enseva Azure Portal
Managing Multiple Subscriptions
- Navigate to the Enseva Azure Portal
It’s possible for a user to own or have access to multiple subscriptions. This comes in handy in cases where separation is required between virtual machine instances and in cases of managed service providers having access to multiple client environments using a single pane of glass.
For the purposes of this tutorial, it is assumed that you have already logged into the Enseva Azure portal and multiple subscriptions have already been assigned to your account.
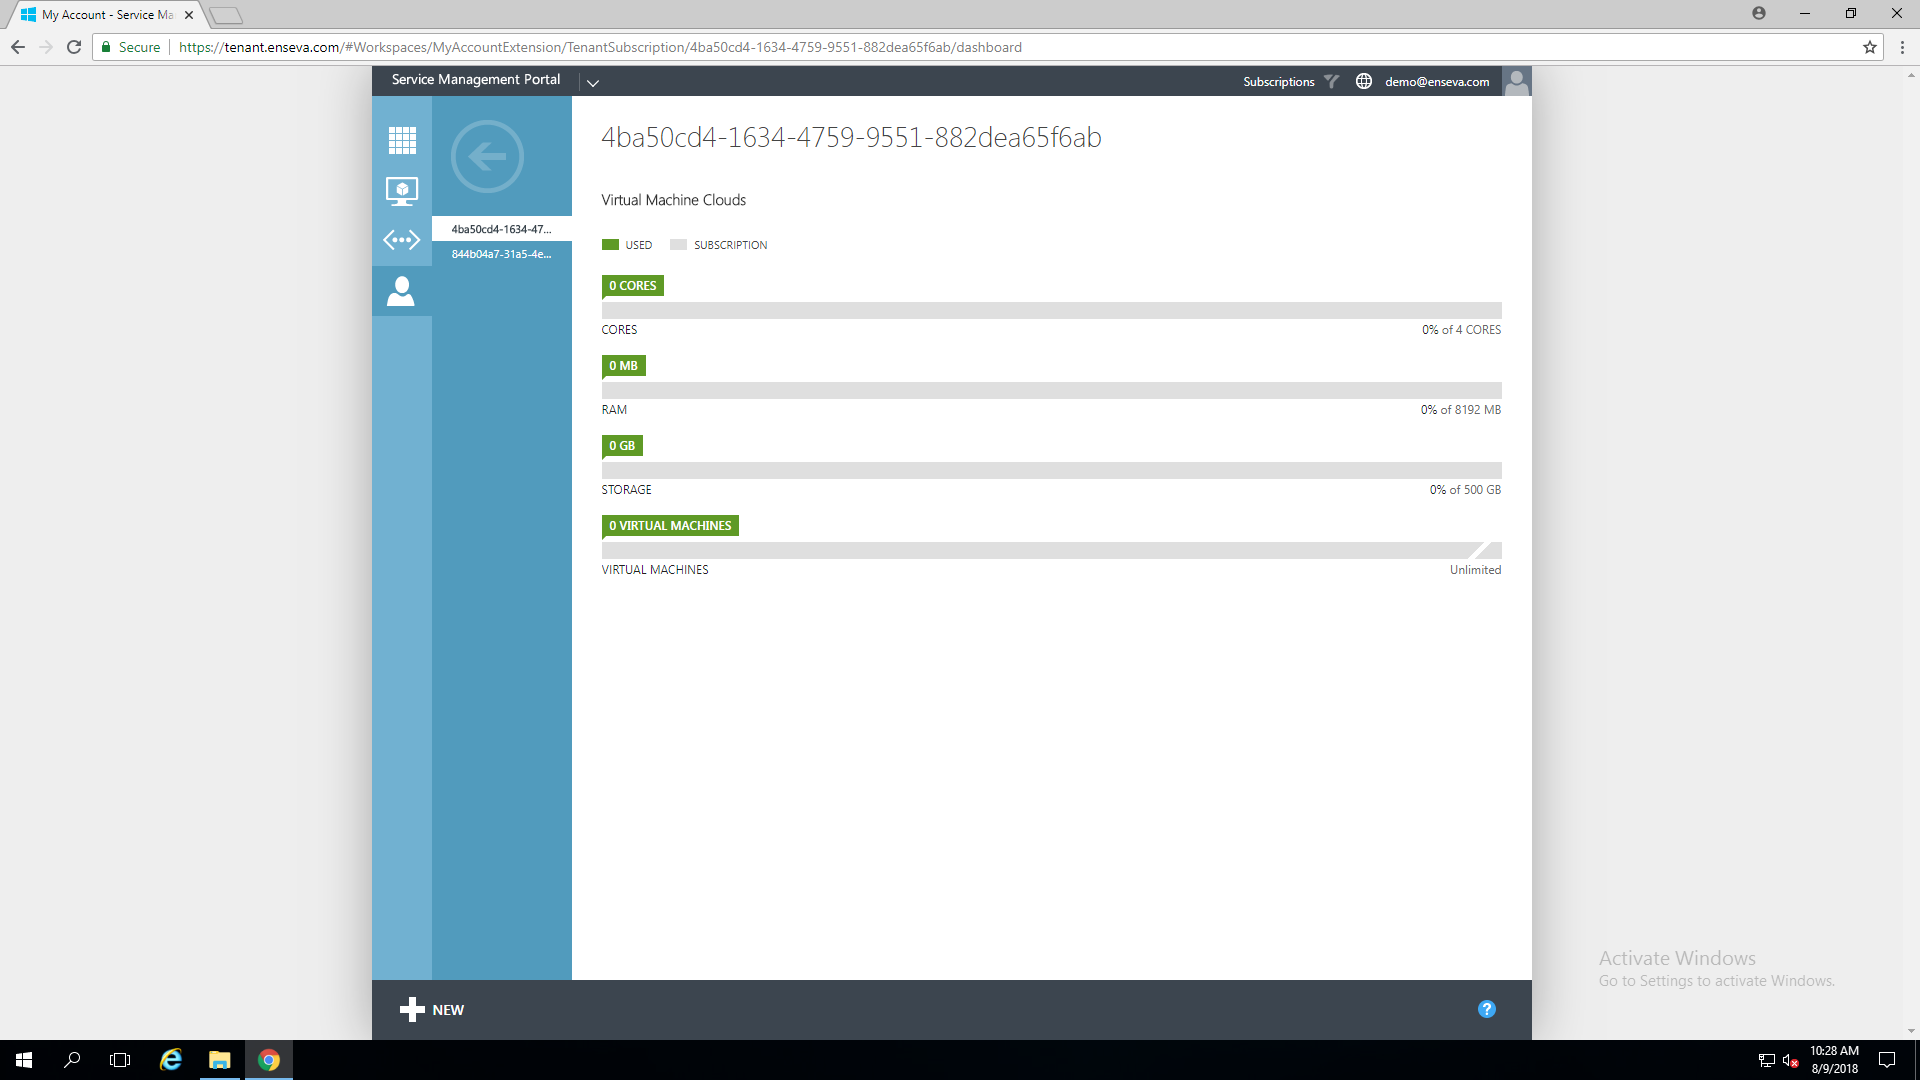
- Select Plan To Review
Within the 'Subscriptions' page you will see the plans that are currently associated with your account, click on the 'Subscription ID' of the plan in which you would like to review.

- View an Alternate Subscription
If you would like to review a different subscription, click on the back button in the top left corner.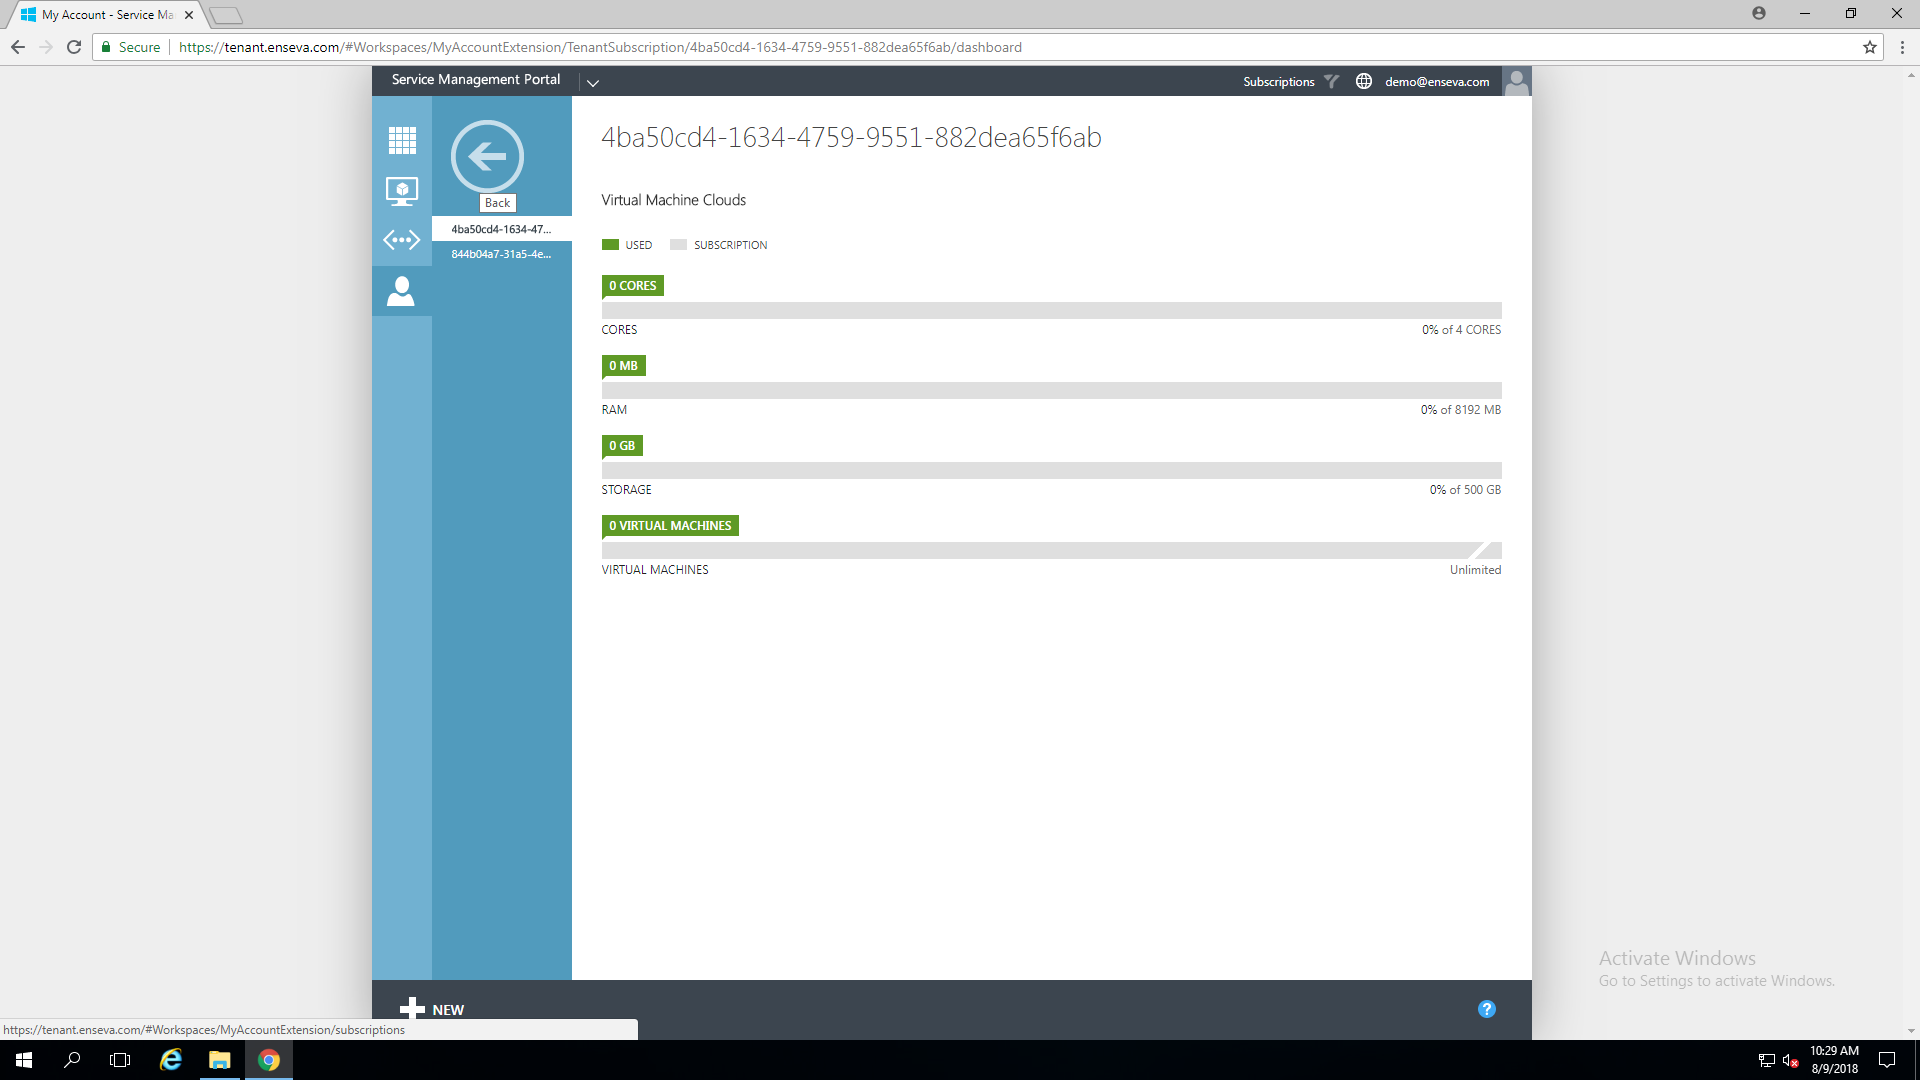
- Select a Different Plan to Review
From the 'Subscriptions' page choose the next plan in which you would like to review.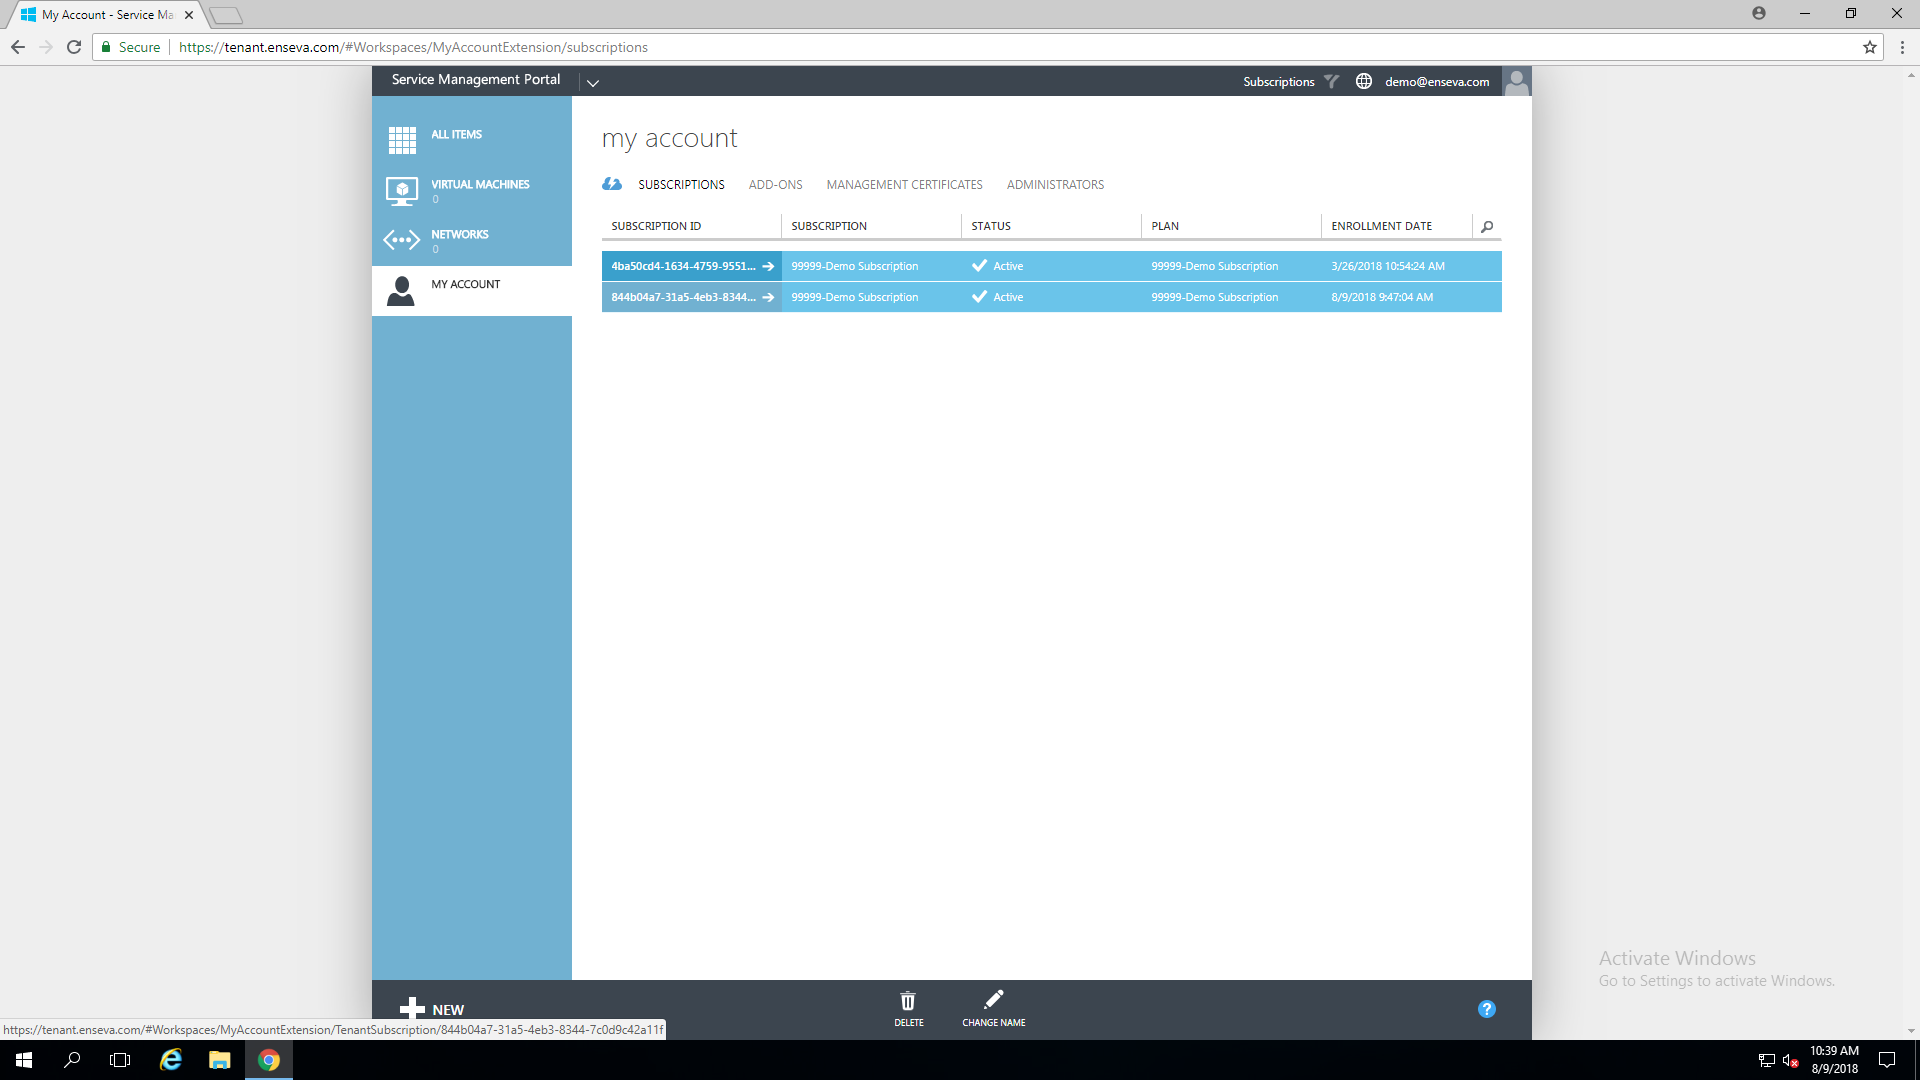
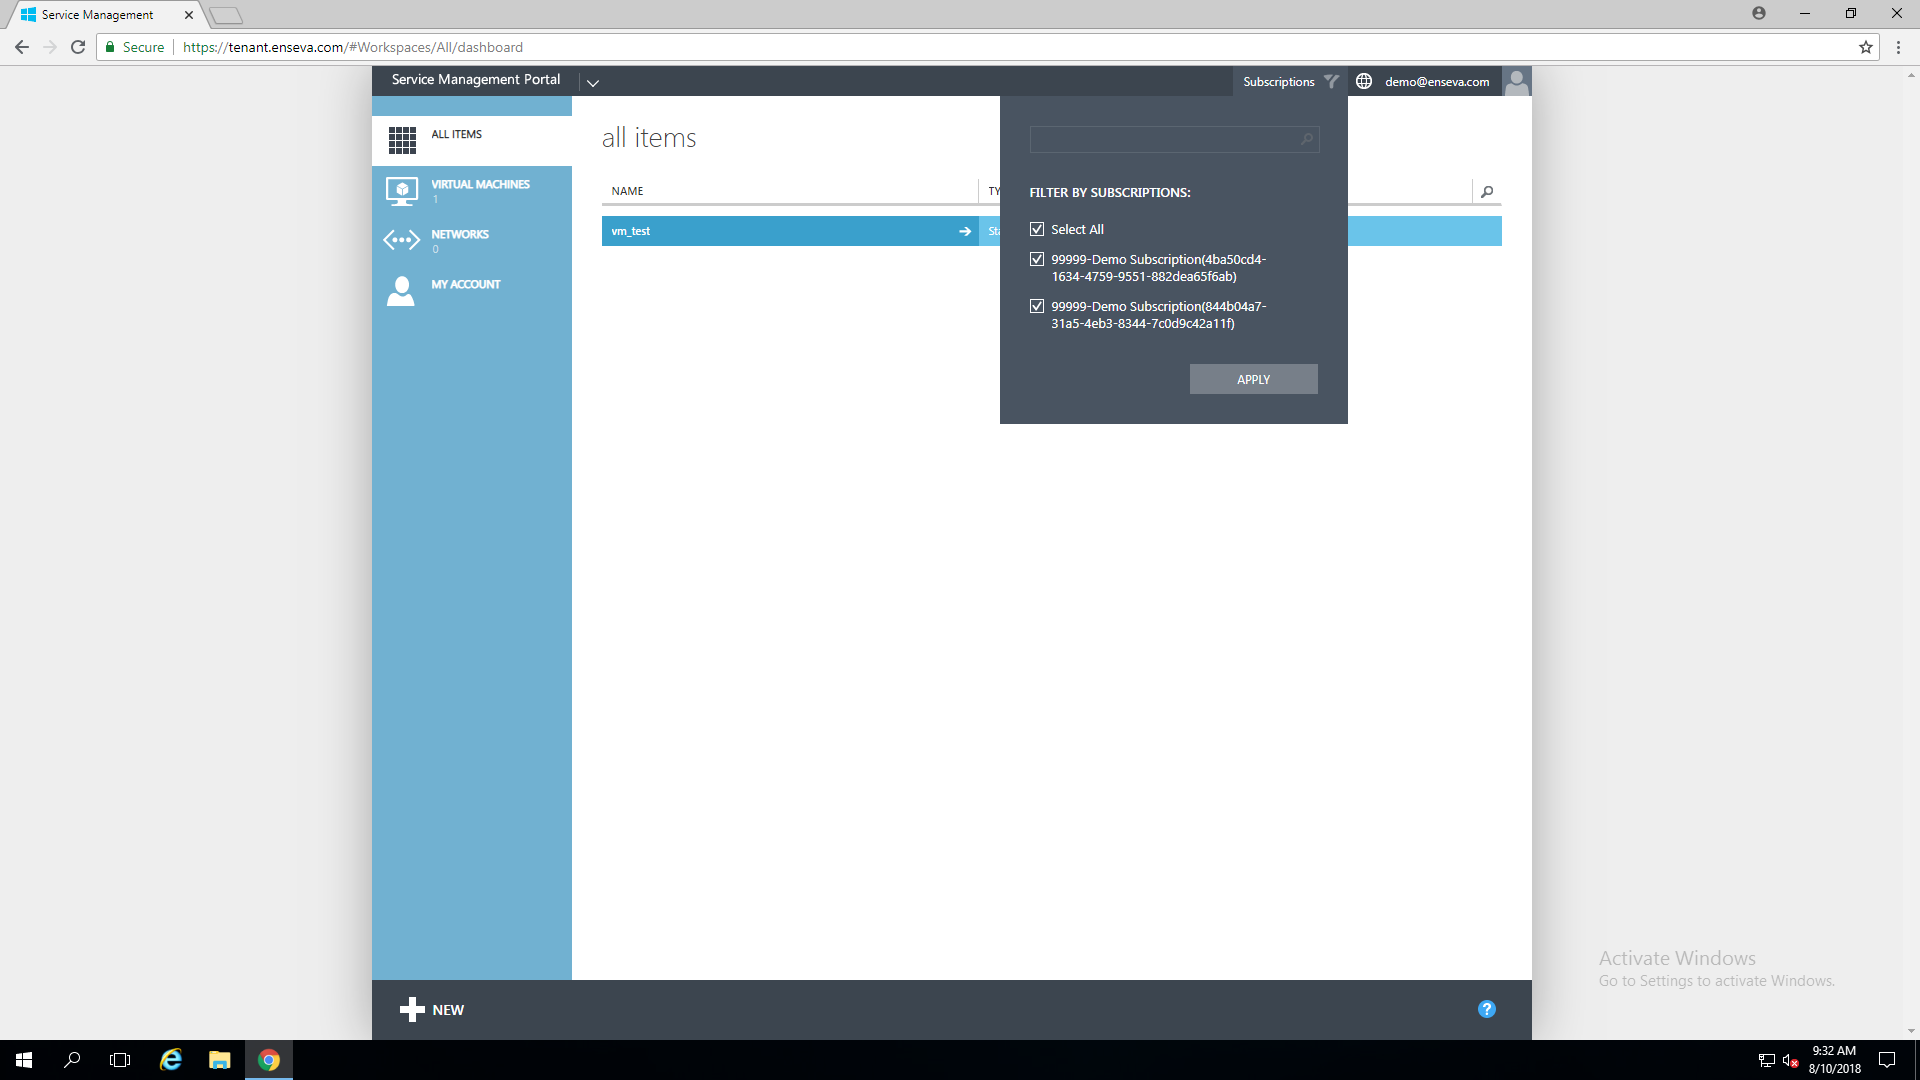
- Filter Subscriptions
It is also possible to filter which subscription you are currently interacting with. This can be done by clicking the 'Subscriptions' button towards the top of the page. Click the checkbox to the left of the subscription you would like to manage, then click 'Apply.'