Reviewing Your Enseva Azure Subscription
This guide will cover Reviewing your Enseva Azure Subscriptions
Reviewing Your Enseva Azure Subscription
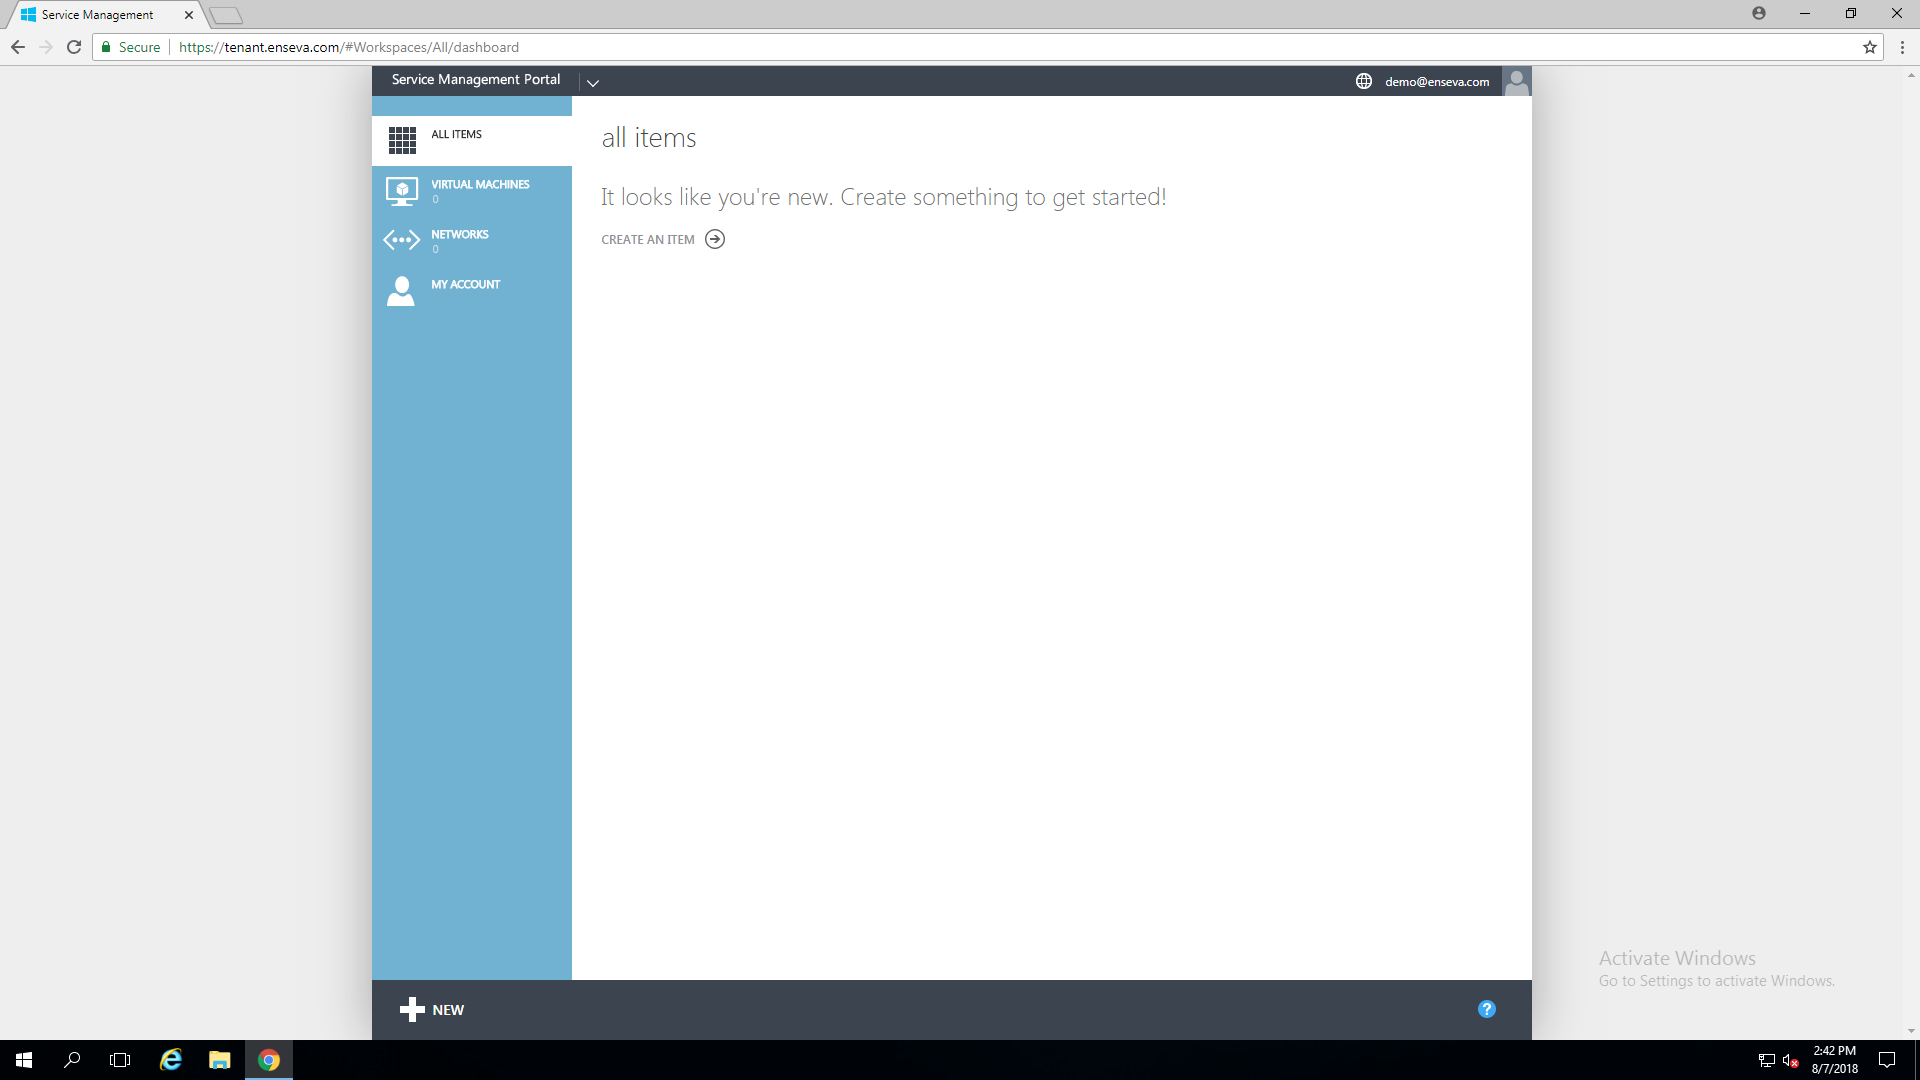
- Navigate to the Enseva Azure Portal
Enseva Azure subscriptions allow users and organizations to self-provision resources in the cloud. These subscriptions are typically associated with your account after purchasing from the Enseva sales team. Any automated email message will be delivered to the purchaser at the time the subscription gets created.
For the purposes of this tutorial, it is assumed that a subscription has already been assigned to your account and that you are logged into the Enseva Tenant Portal.
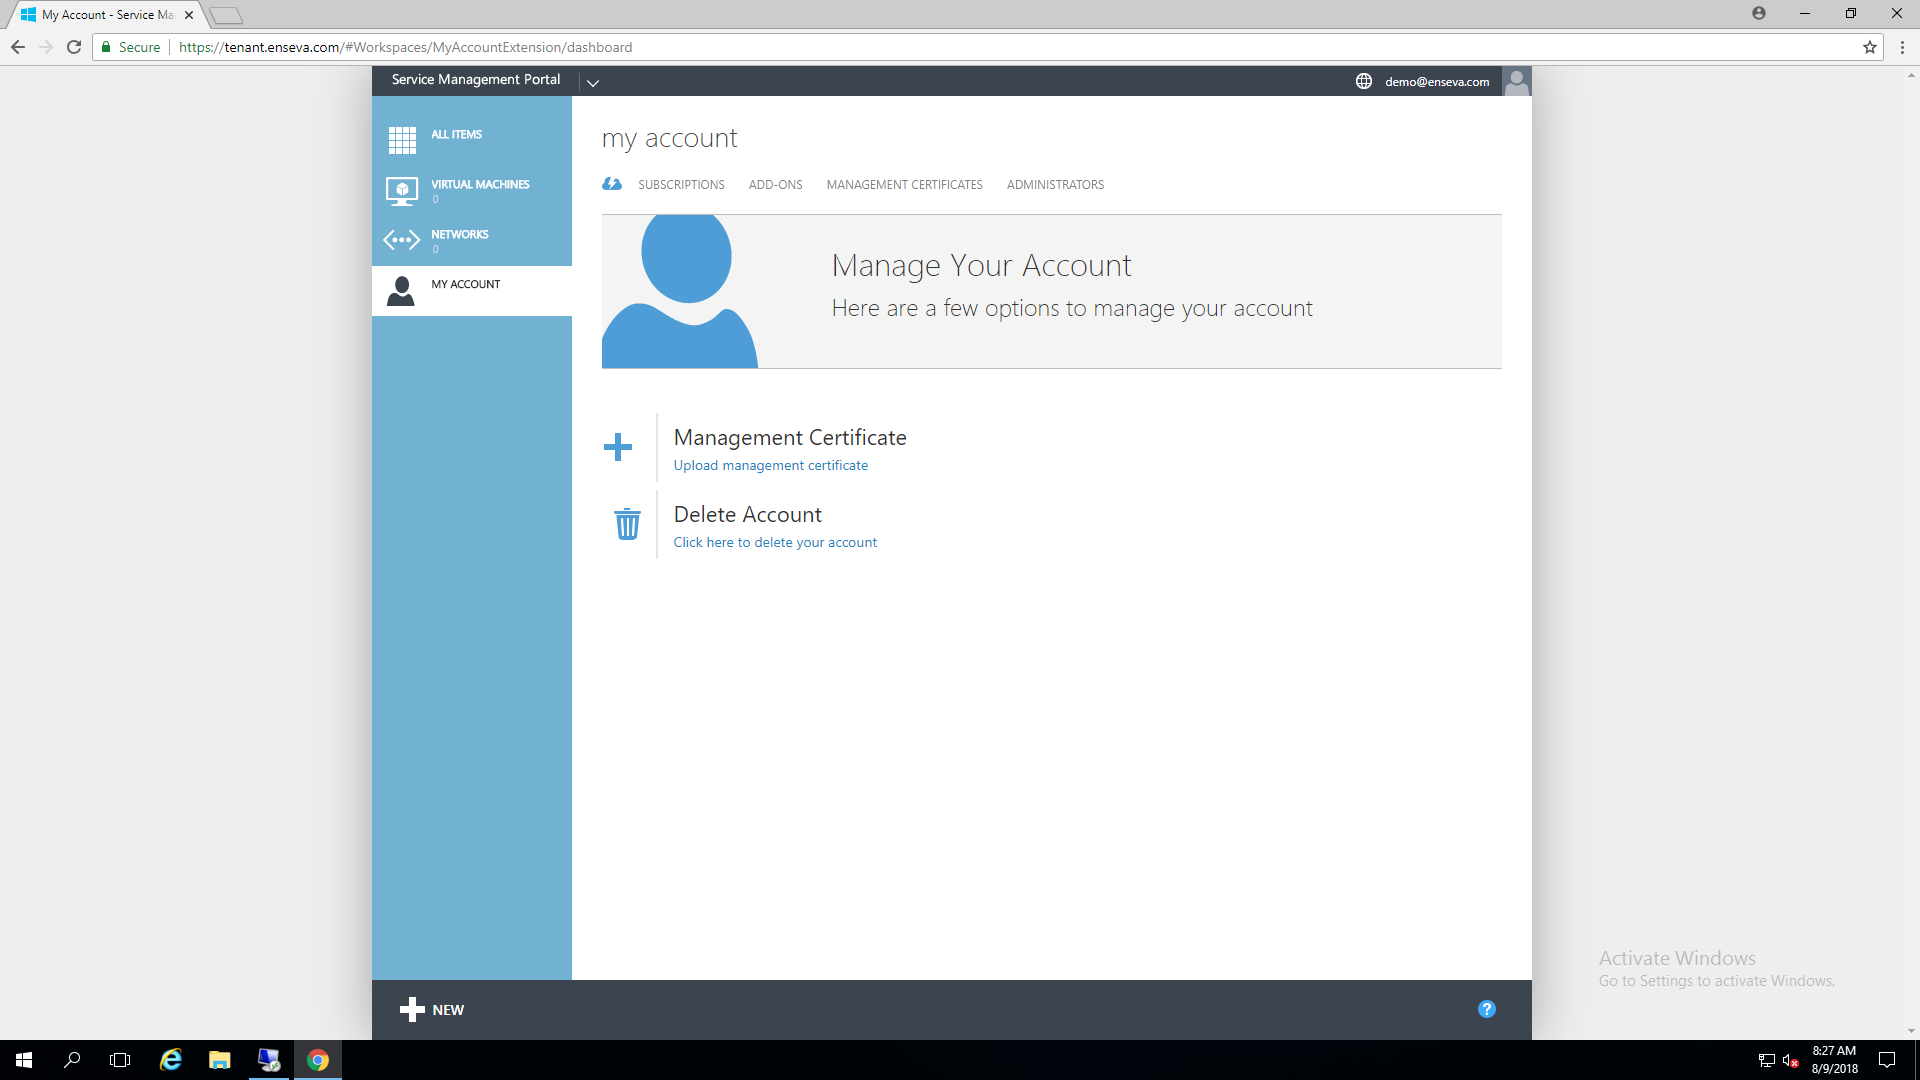
- Navigate to My Account
Users can review the subscriptions they have access to by clicking on 'My Account' in the Enseva Azure portal.
- Navigate to Subscriptions
At the top of the page, click on the 'Subscriptions' button to display a list of subscriptions your account currently has access to.
The demo account we're working with has a single subscription. For each subscription you'll be presented a Subscription ID, a friendly Subscription name, the Status of the subscription, the Plan the subscription was generated from and the Enrollment Date.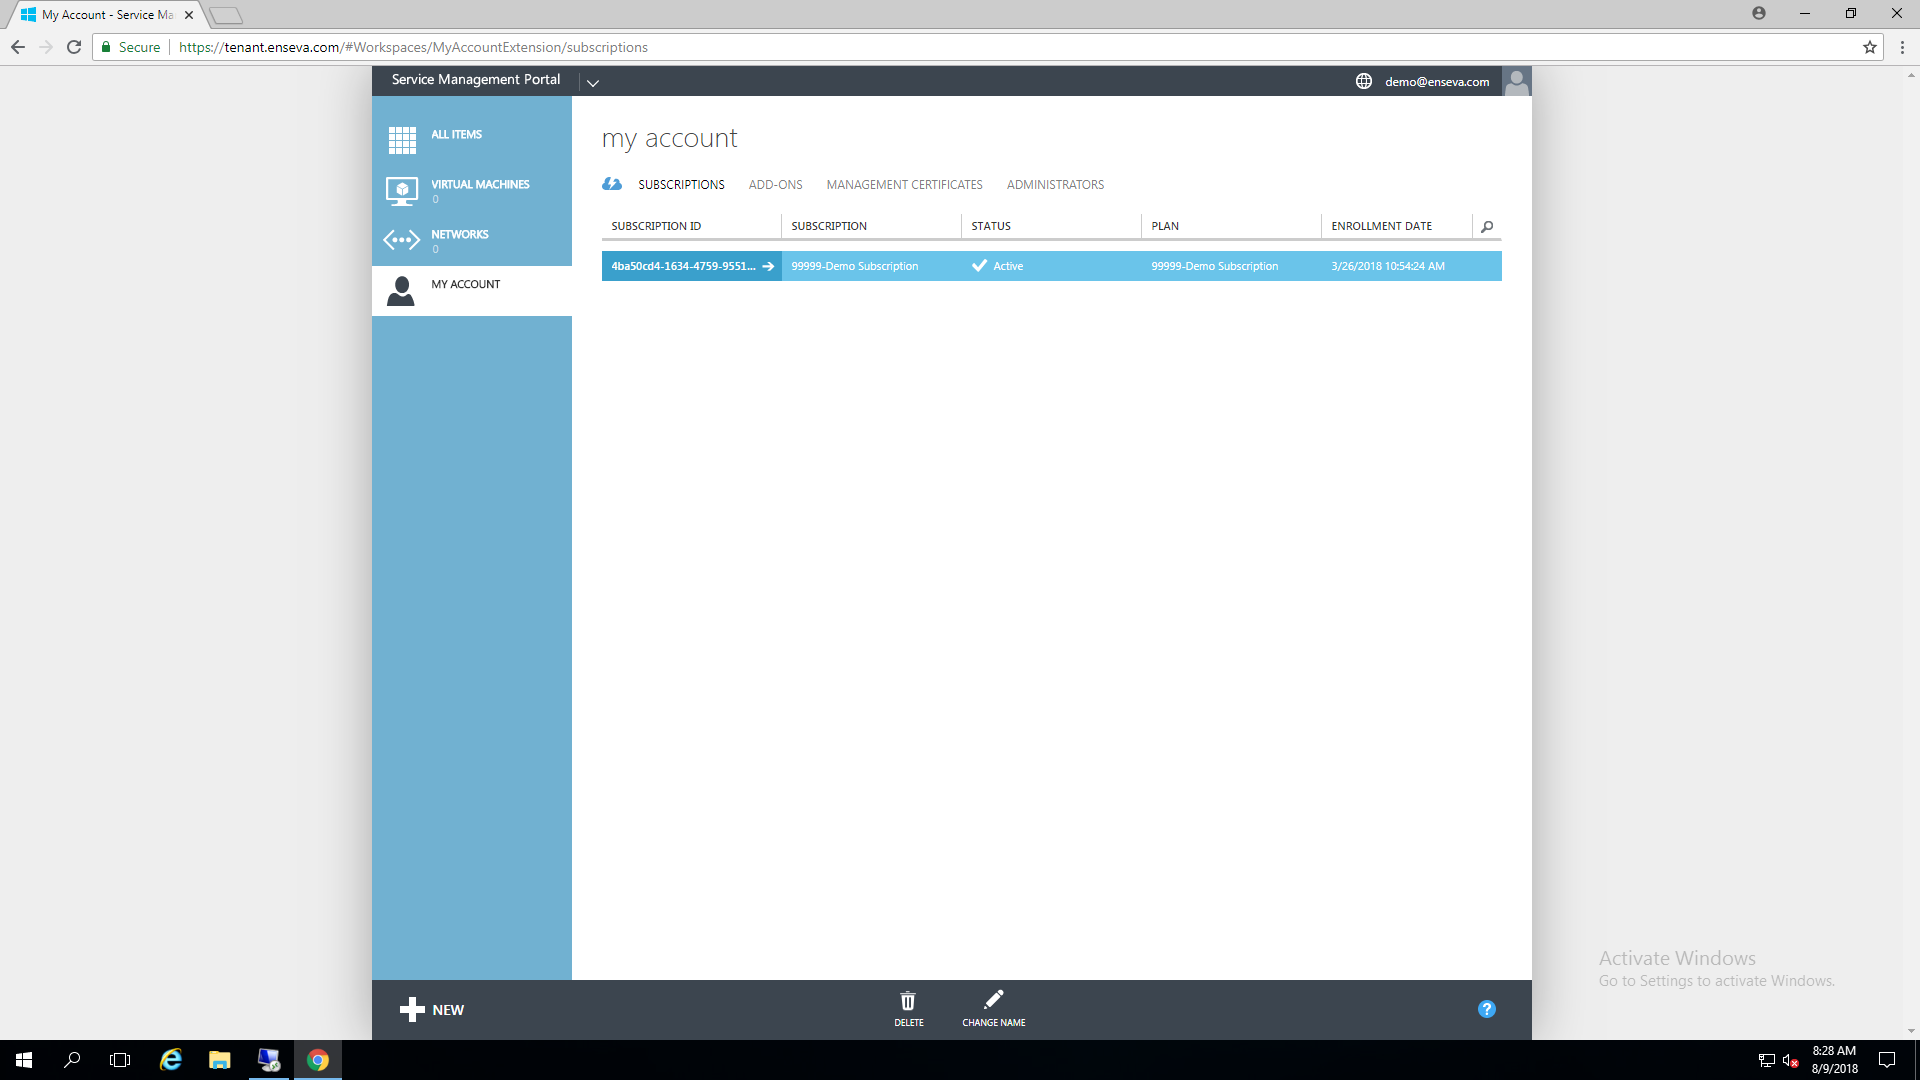
- Subscription Details
Clicking on one of the subscriptions will display additional details about the subscription. In the below example, we have not created any virtual machine instances yet, however you can see that the subscription has 4 vCPU Cores, 8GB of Memory, 500GB of Block Storage and we can create an unlimited number of virtual machine instances, of which we currently have zero.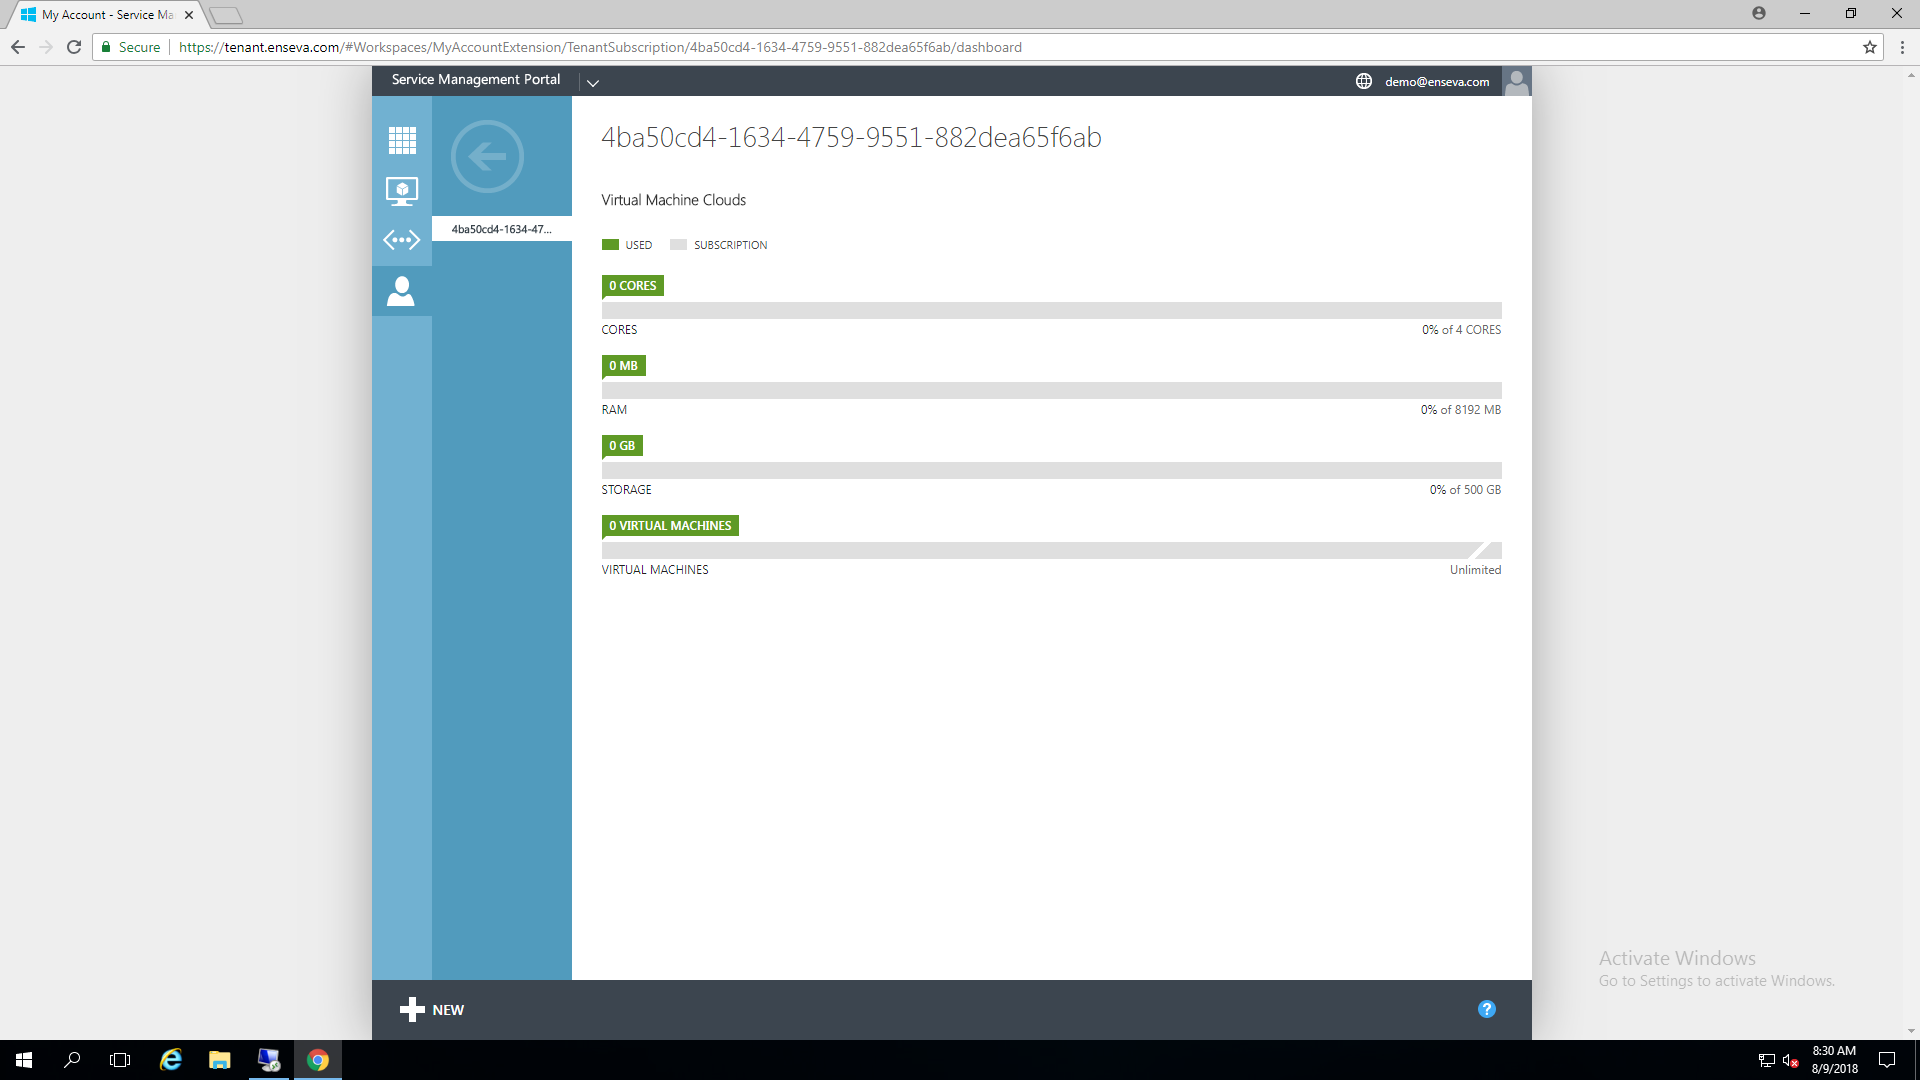
- Return to Subscriptions
Clicking the back arrow will return you to the subscription list.